Most first-time fall manicures go wrong in the first five minutes. Not because of the color choice or the design because the nail surface was not ready.
Polish applied over old residue, oily skin, or uneven edges will chip by day two. Every time. Learning how to do fall nails properly means understanding that the prep work is the whole job. The actual polish goes on fast.
This guide walks you through How to Do Cute Fall Nails complete fall manicure at home from bare nails to a finished look with a seasonal accent design.
You will choose a warm fall color, apply it cleanly, and add one simple design that makes the set look intentional. No nail art skills needed. No expensive tools required.
The whole process takes about 45 to 60 minutes, including dry time. The active hands-on work is closer to 30 minutes. If you have ever done your nails before and watched the polish bubble, peel, or streak this guide fixes every one of those problems.
Each step explains not just what to do but exactly why it matters, so you understand what you are actually building toward. Gather your supplies, find a clean flat surface, and start here.
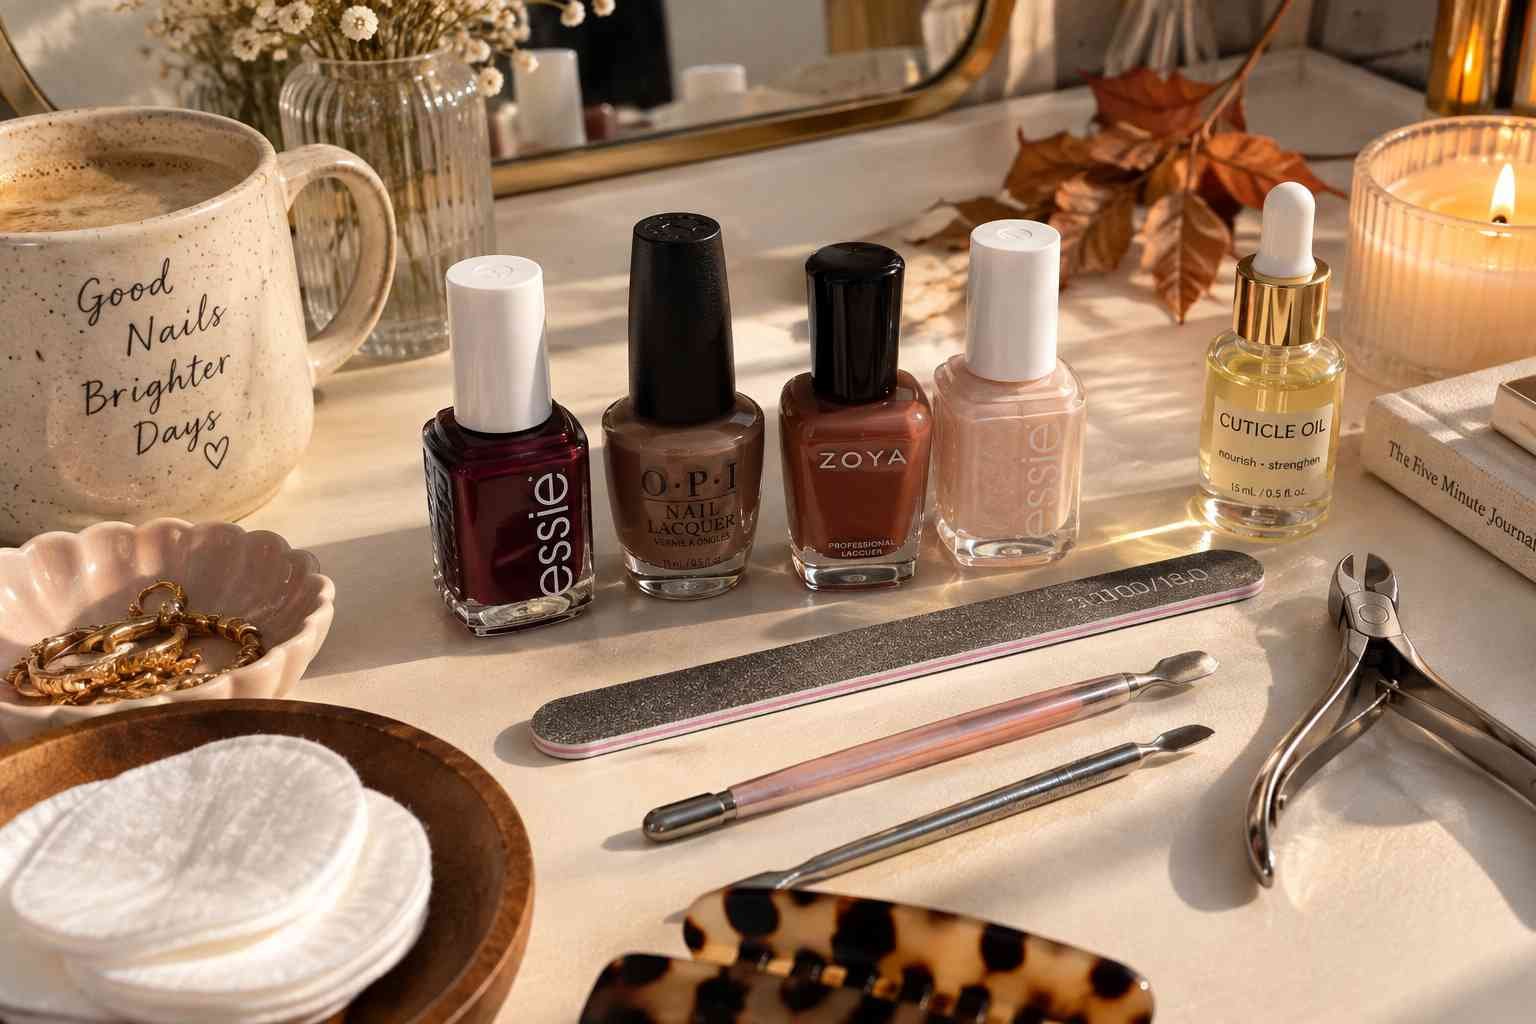
🛒 What You Need
📋 At a Glance — All 11 Steps
STEP 1 Gather Your Supplies Before You Start
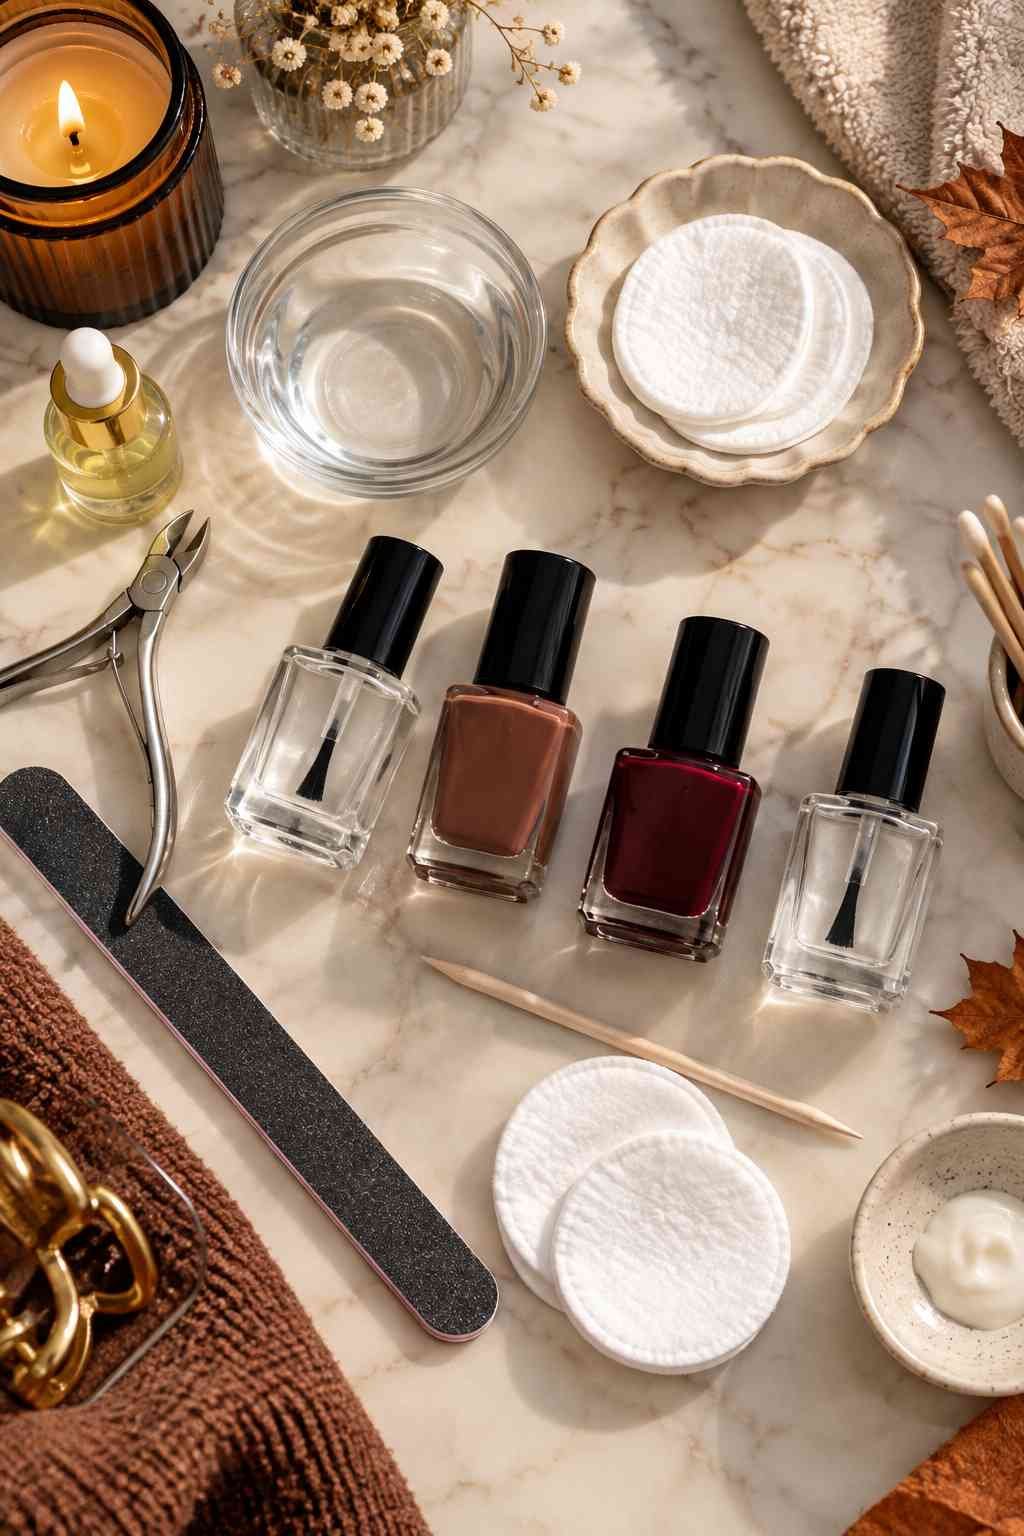
Everything you need should be within arm’s reach before you open a single bottle. Once you start applying polish, stopping to search for your file or topcoat will cost you.
Polish starts skinning over in 2 to 3 minutes, and any interruption shows in the final finish.
Line up your supplies in order of use: remover and cotton pads first, then file and cuticle tools, then base coat, color, and topcoat from left to right.
A paper towel under everything catches drips and keeps your work surface clean.
STEP 2 Remove Old Polish Completely
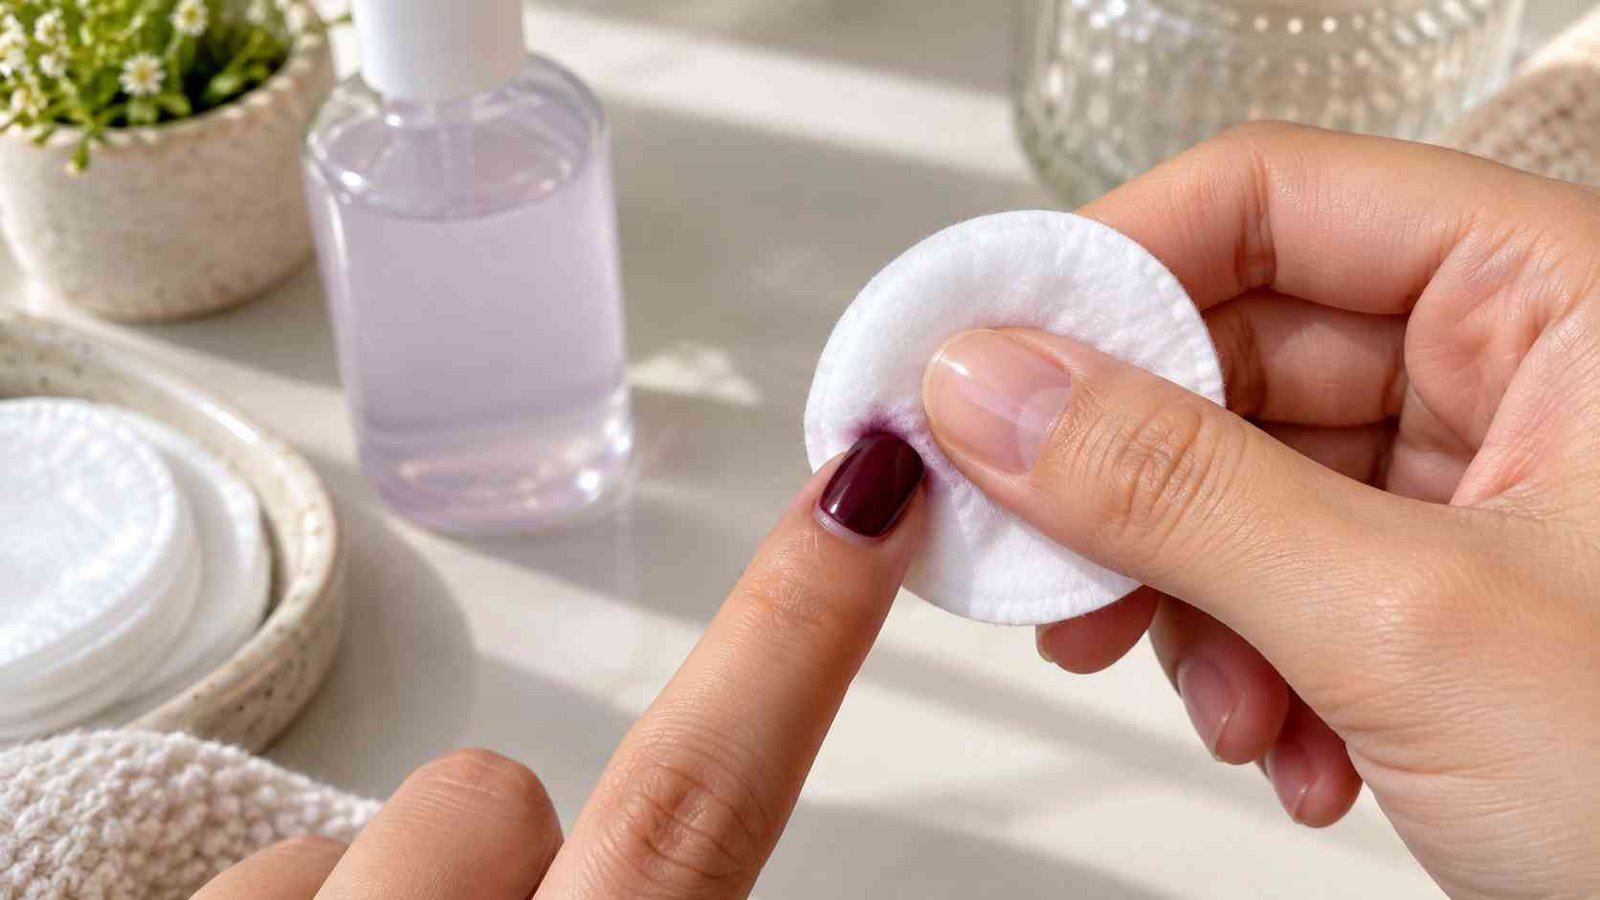
Soak a cotton pad with nail polish remover and press it flat against the nail for 5 full seconds before wiping.
That pause lets the remover break down the polish instead of just smearing it sideways.
Wipe in one direction base to tip and use a fresh section of the pad for each nail. Old polish dragged back across the nail leaves a thin invisible film that stops new polish from bonding properly.
If color remains near the cuticle or side walls, wrap a small piece of cotton around an orange stick, dip it in remover, and trace the edge.
⚠️ Heads Up
Acetone is faster and more thorough than non-acetone remover, but it dries the nail plate and surrounding skin. Apply cuticle oil immediately after removal if you are using acetone — do not skip this, especially in dry fall weather.
STEP 3 File Your Nails to the Right Shape
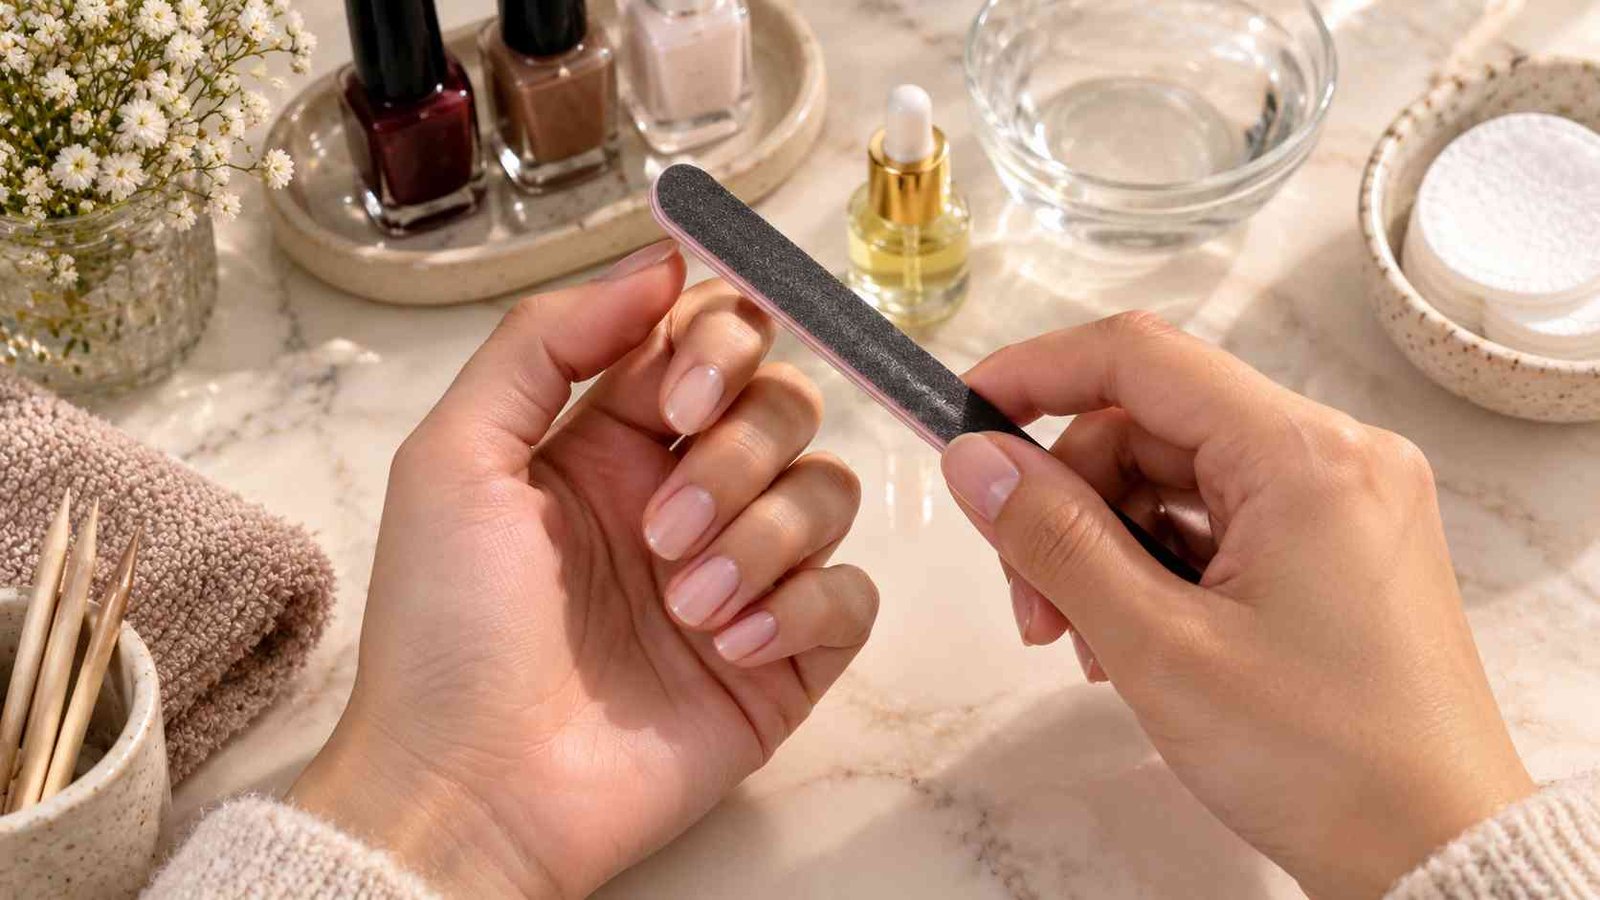
Hold the file flat against the tip of your nail at a 45-degree angle and move in one direction only never back and forth.
Sawing damages the nail edge and causes peeling that shows under polish.
For fall nails, oval and almond shapes are the most forgiving for beginners because the rounded edge is harder to mess up than a straight square tip.
File each nail until all sides match, then lightly buff the surface once across the top to smooth any ridges. Ridges in the nail plate show through thin polish, especially dark fall colors.
STEP 4 Push Back Your Cuticles Gently
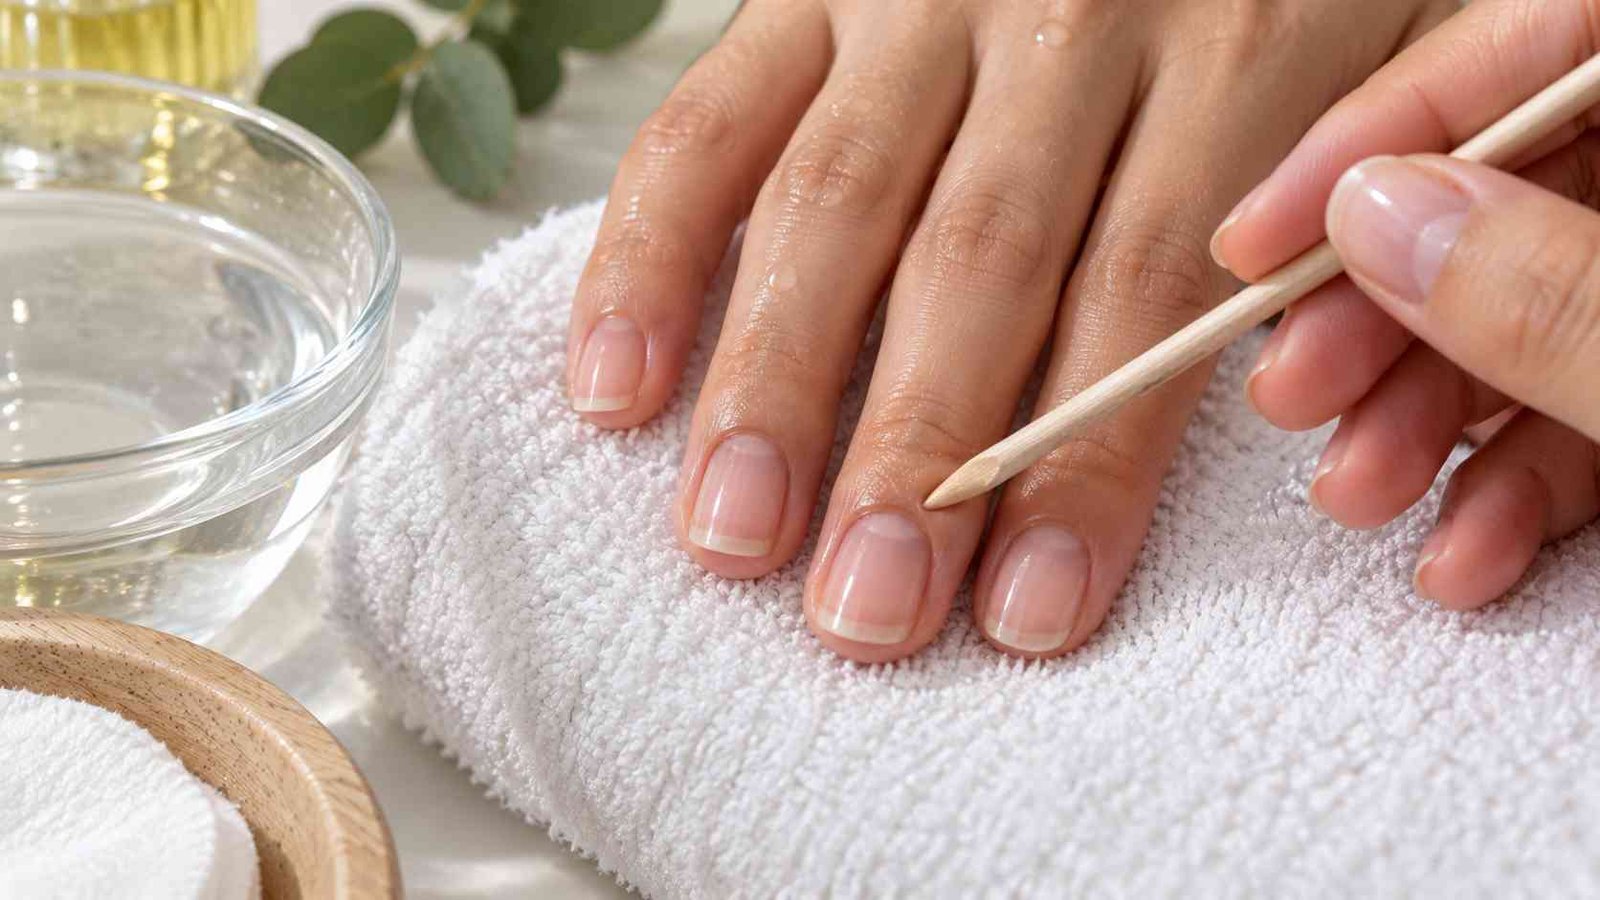
Soak your fingertips in warm water for 3 to 5 minutes first or apply cuticle oil directly to each nail and let it sit for 2 minutes.
Dry cuticles tear when pushed, and a torn cuticle is painful and takes weeks to heal.
Use an orange stick or rubber-tipped cuticle pusher and work in small circular motions at the base of each nail.
You are not cutting anything you are just moving the thin layer of skin back so your polish has a clean starting edge.
Push gently. If you feel resistance, stop and add more oil. Force causes damage every time.
STEP 5 Apply a Thin Base Coat
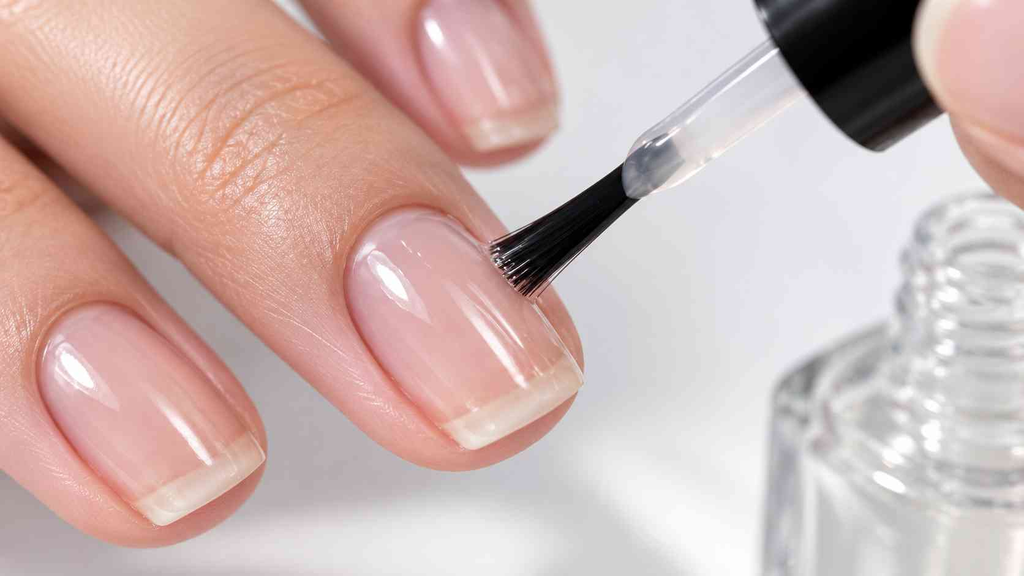
Wipe the brush against the inside of the bottle neck before applying. That single step removes the excess that causes thick, slow-drying coats.
Start at the center of the nail near the cuticle, then stroke toward the tip. Do the same on both sides.
Three strokes total per nail center, left, right. Cap the tip by running the brush across the very edge of the nail.
This seals the end and is the single most effective thing a beginner can do to prevent early tip chipping. Wait 2 full minutes before moving to color.
💡 Pro Tip
Base coat is not optional. It gives the color something to grip, prevents dark shades from staining your nail plate yellow, and adds a flexible layer that absorbs impact before the color does. Skipping it shortens wear by days.
STEP 6 Choose Your Fall Color Combination
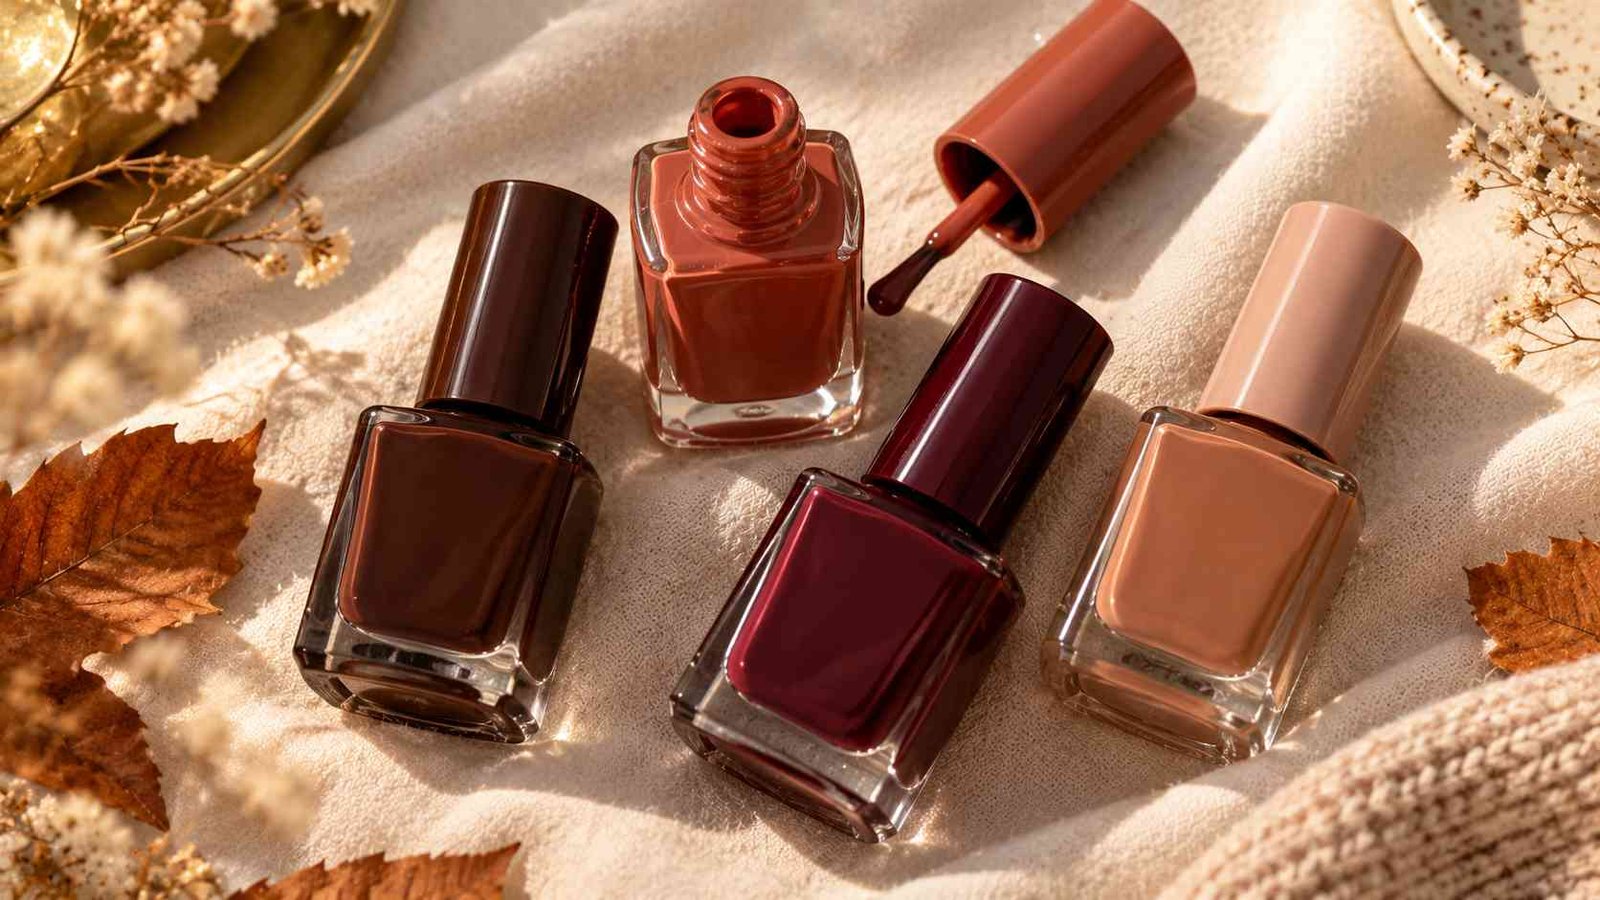
Pick before you start applying not halfway through. Changing your mind after the base coat is dry wastes time and risks smudging wet nails while you search.
The most wearable fall combinations for beginners:
- Chocolate brown on most nails, caramel or nude on one accent nail
- Burgundy on most nails, dusty rose on two accent nails
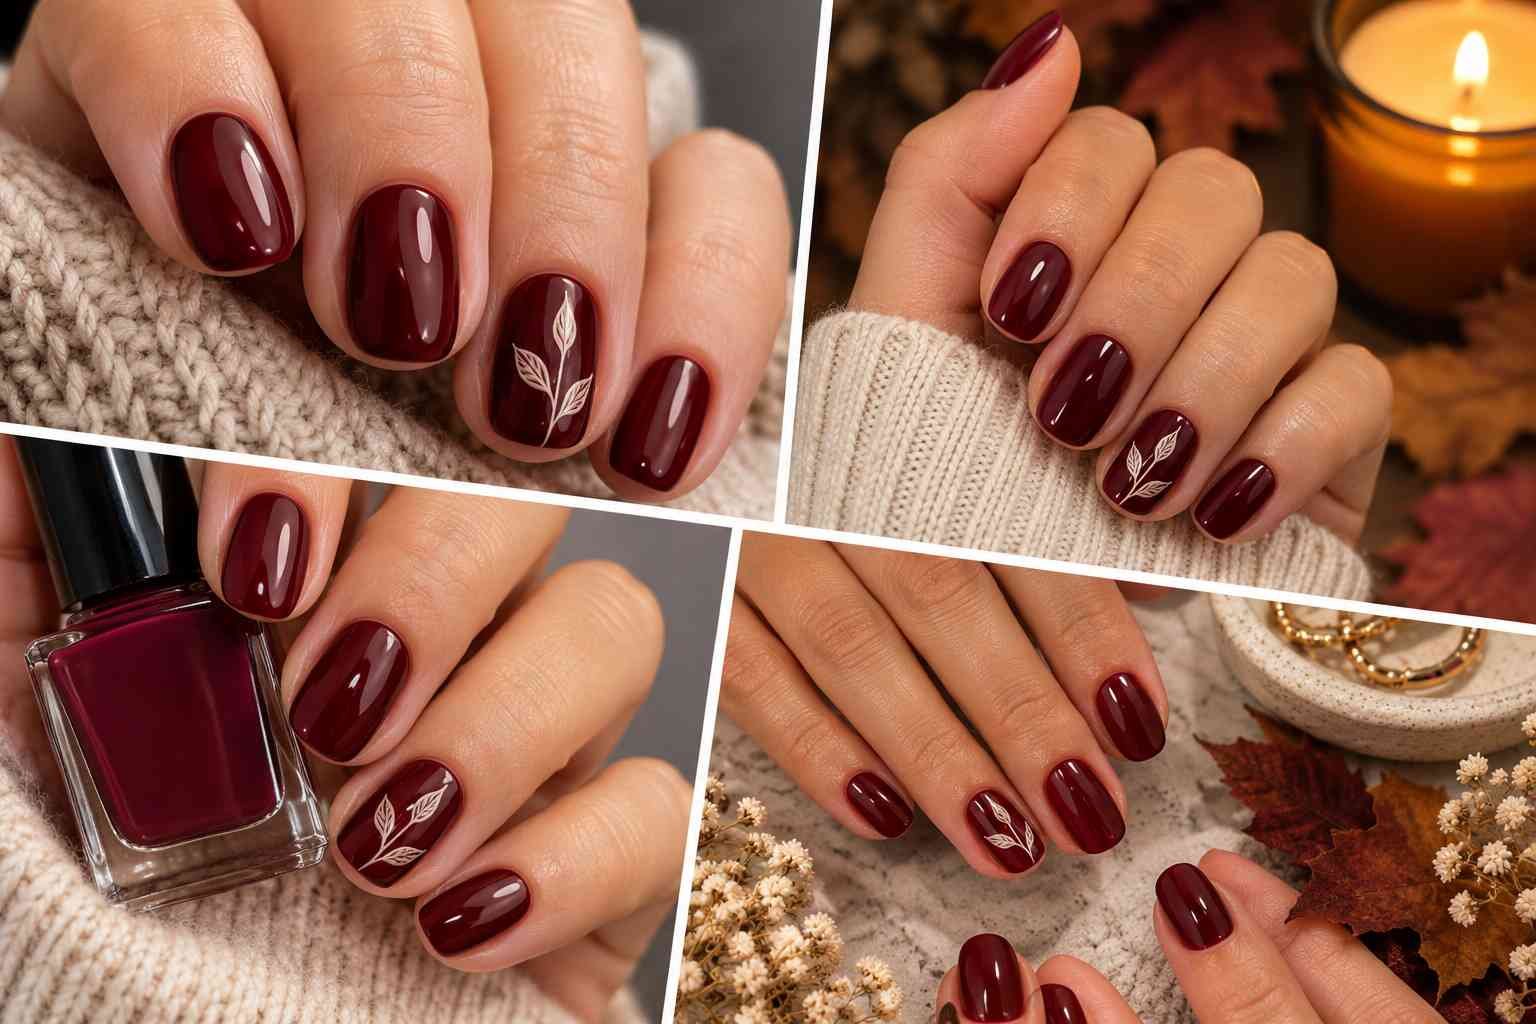
- Terracotta on all nails, one nail in cream with a simple leaf design
- Warm nude on most nails, dark olive or chocolate French tips
If you only have one fall color, that works too. A single well-applied coat of a rich fall shade looks more intentional than a rushed two-color set.
Avoid mixing more than two colors your first time the simpler the plan, the cleaner the result.
💡 Pro Tip
Test your chosen colors against your skin before committing. Hold the closed bottle against the back of your hand in natural light. What looks deep and moody indoors can read completely different outside. Warm-toned fall shades — browns, rusts, burgundies — work on every skin tone because they share undertones with natural skin pigment.
STEP 7 Apply Your First Coat of Color
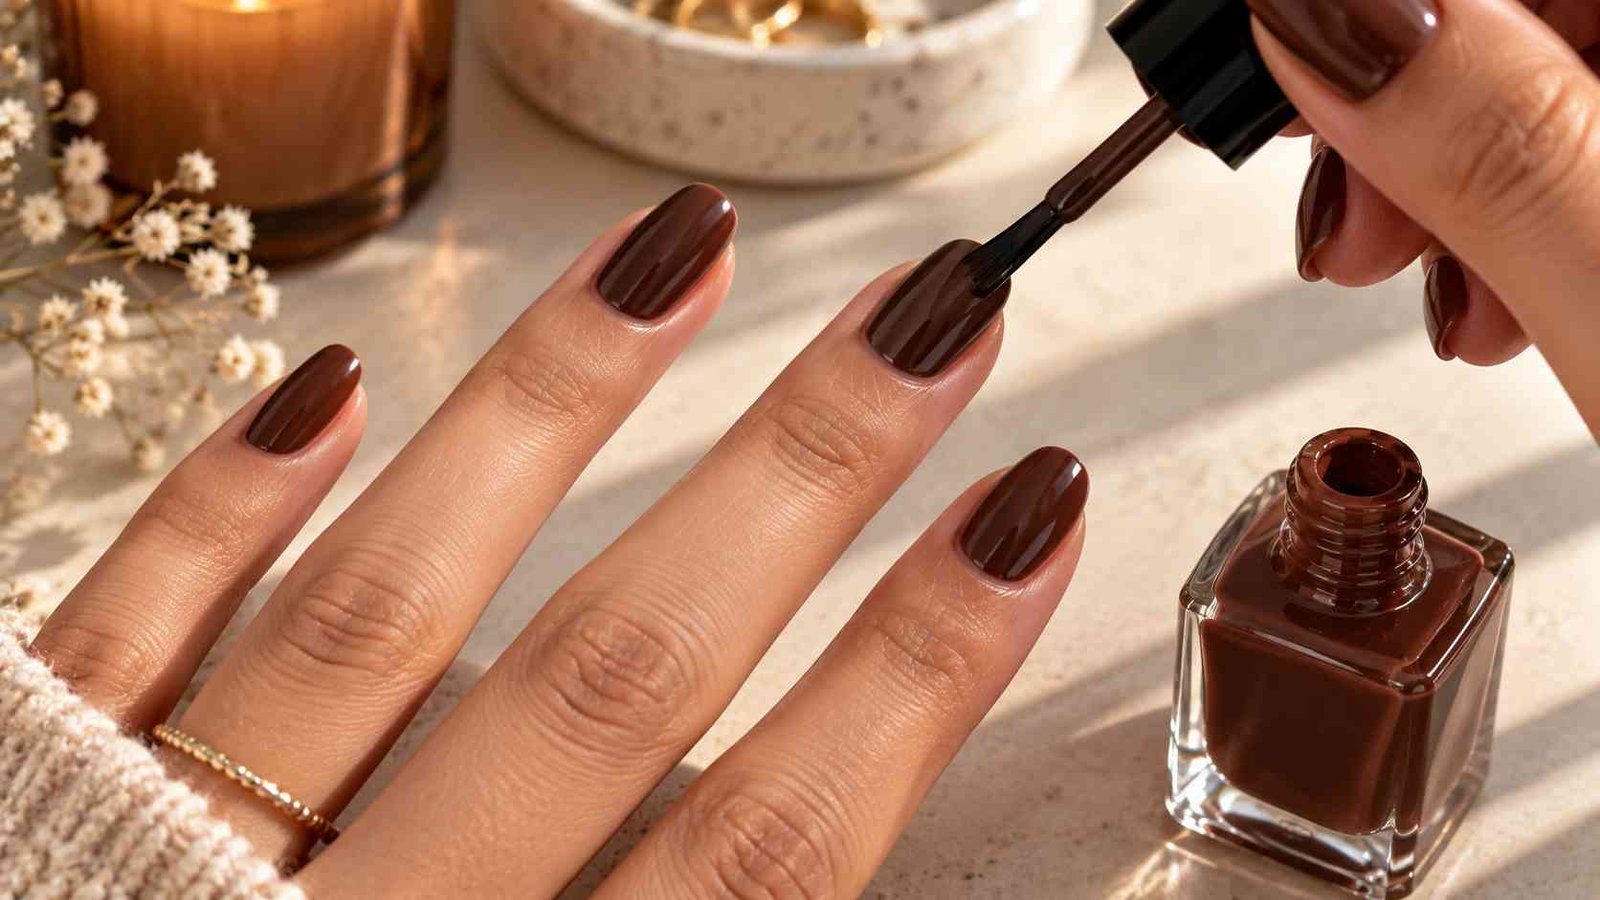
Thin is the rule here, and most beginners apply three times more than they need on the first coat.
A thin coat dries in 3 to 4 minutes. A thick one takes 10 to 15 minutes and stays soft underneath even when the surface feels dry which leads to denting and smudging later.
Use the same three-stroke technique from the base coat: center stroke from cuticle to tip, then left side, then right.
Leave a tiny gap about 1 millimeter between the polish and your cuticle. Polish touching the cuticle lifts from that edge first and peels away faster.
Do not try to cover every nail perfectly on the first coat. Gaps and streaks are expected. The second coat fixes them.
⚠️ Heads Up
Do not go back over a stroke you already made unless the polish is completely wet. Dragging the brush over polish that has started to set causes drag lines and texture that no second coat will fix. If a stroke goes wrong, leave it and let the second coat correct it.
STEP 8 Apply the Second Coat for Full Coverage
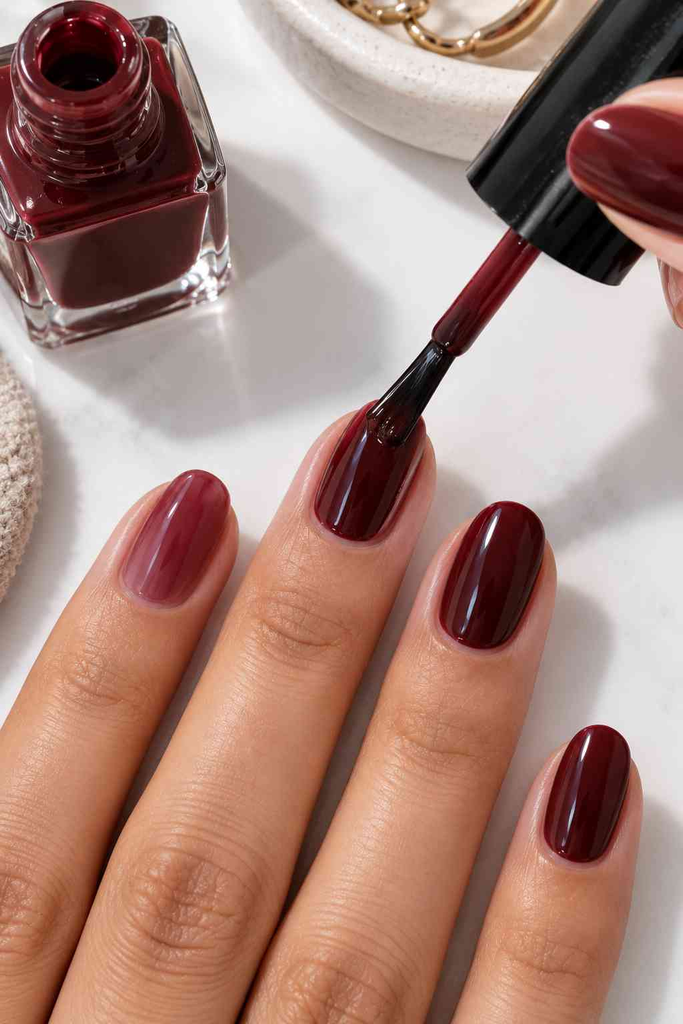
Wait until the first coat is no longer tacky to the touch before adding a second roughly 3 to 5 minutes depending on room temperature.
Touch the side of your thumbnail lightly against one nail.
If it pulls or drags even slightly, wait another 60 seconds and test again.
The second coat follows the exact same motion as the first. What changes is the result coverage becomes even, color deepens, and any thin patches from the first coat disappear.
Cap the tip again just like you did with the base coat. This is easy to forget on the second application, and the tip is always the first area to chip.
💡 Pro Tip
Two thin coats always beat one thick coat. One thick coat pools at the cuticle, bubbles in the center, and chips within two days. Two thin coats dry flat, bond properly to the base coat, and typically last twice as long.
STEP 9 Add a Simple Fall Accent Design
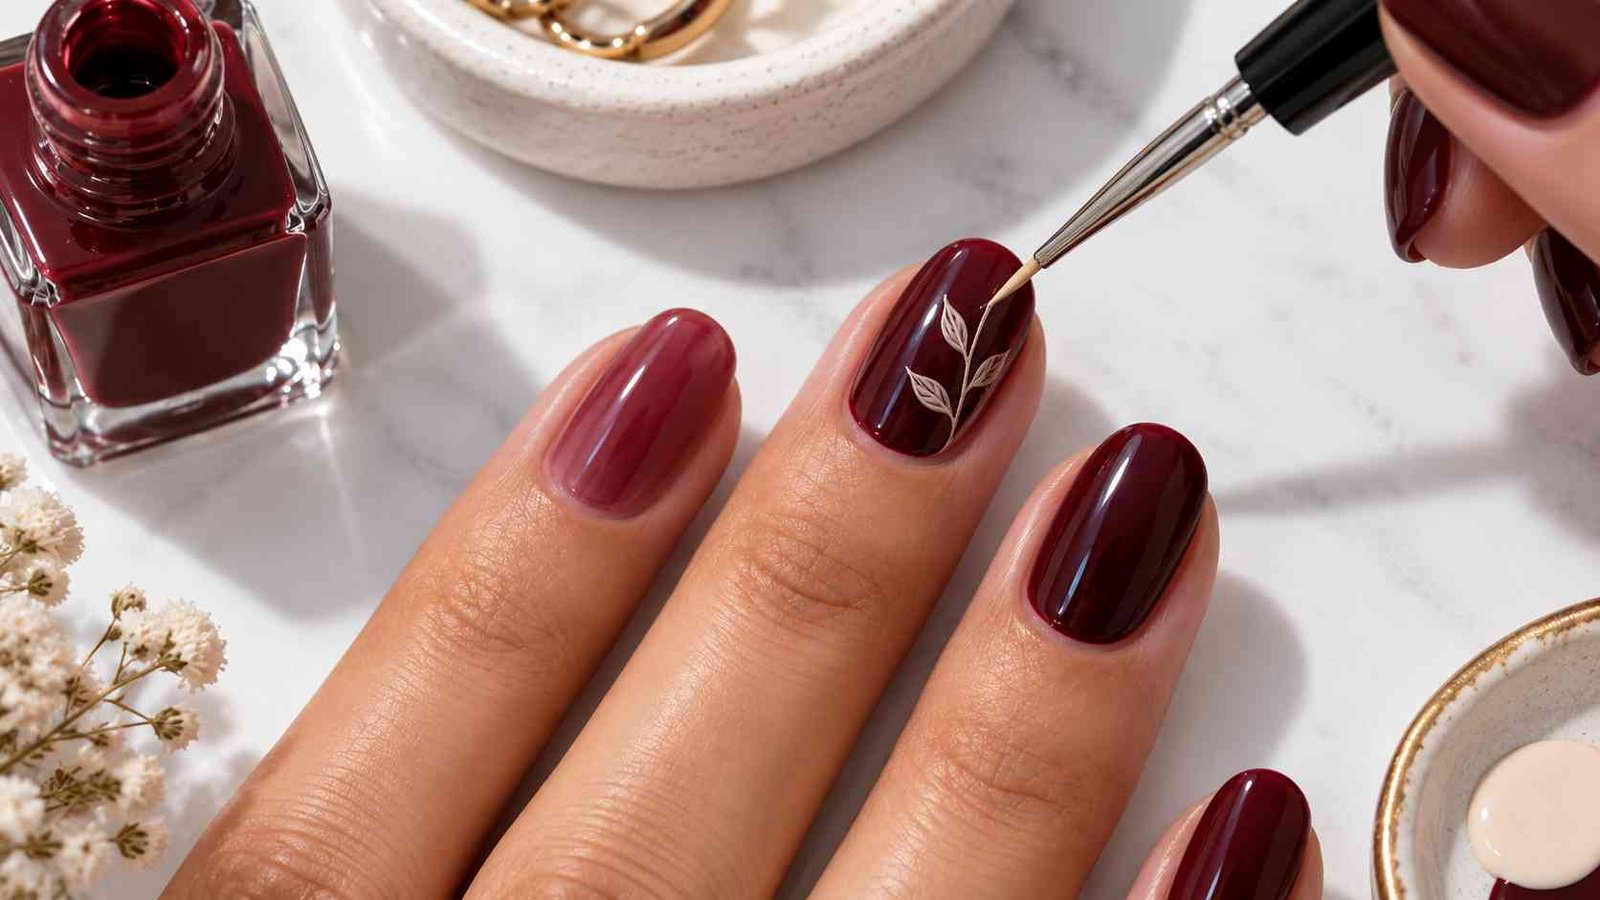
Pick one nail per hand for your accent the ring finger is the most common choice because it is naturally framed by the other fingers when your hand is flat.
Let your second coat dry for at least 5 minutes before adding any design on top.
Four designs that work for complete beginners, each requiring only a toothpick or thin brush:
Leaf outline: Dip a toothpick in your accent color and draw a simple leaf shape two curved lines that meet at a point, with a single center vein. One leaf per nail is enough.
Diagonal stripe: Load a thin brush with accent color and draw one diagonal line from corner to corner. Clean and graphic. Hard to mess up.
Small dots: Dip the rounded end of a toothpick in accent color and press it onto the nail in a small cluster near the cuticle corner. Three to five dots, varied sizes, done.
Thin French tip: Use a nail art brush or the very tip of the polish brush to paint a thin curved line across the tip of the accent nail in a contrasting fall color.
Work slowly. Accent designs look best when minimal one clear element, not multiple layered ideas on a single nail.
💡 Pro Tip
A toothpick dipped in nail polish remover is one of the most useful beginner tools. Use it to erase small smudges from your accent design while the polish is still wet — drag it gently along the mistake and it lifts cleanly without disturbing the layer underneath.
STEP 10 Seal Everything with Topcoat
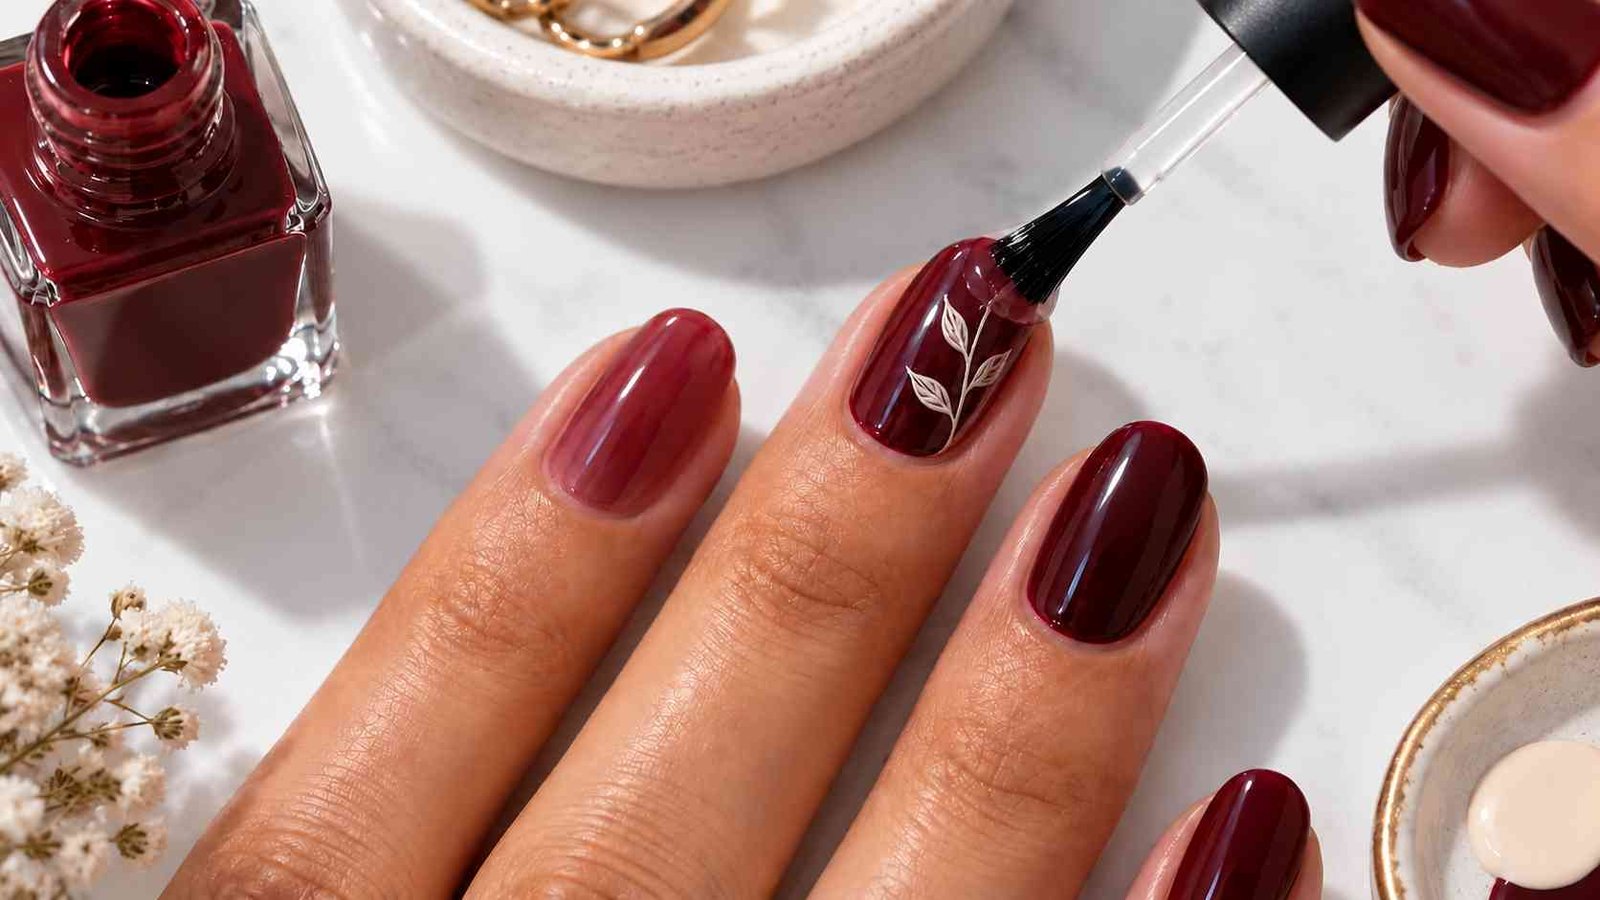
Wait 5 full minutes after your accent design before touching topcoat to it.
Topcoat dragged over a design that is not fully dry will smear the whole thing in one stroke and there is no recovering it cleanly.
Apply topcoat using the same three-stroke method center, left, right then cap the tip. One coat is enough.
The topcoat is doing two things at once: locking in your color and design, and adding a high-shine finish that makes even a simple manicure look salon-quality.
Let it dry for 10 minutes untouched before doing anything with your hands.
STEP 11 Clean Up Edges for a Finished Look
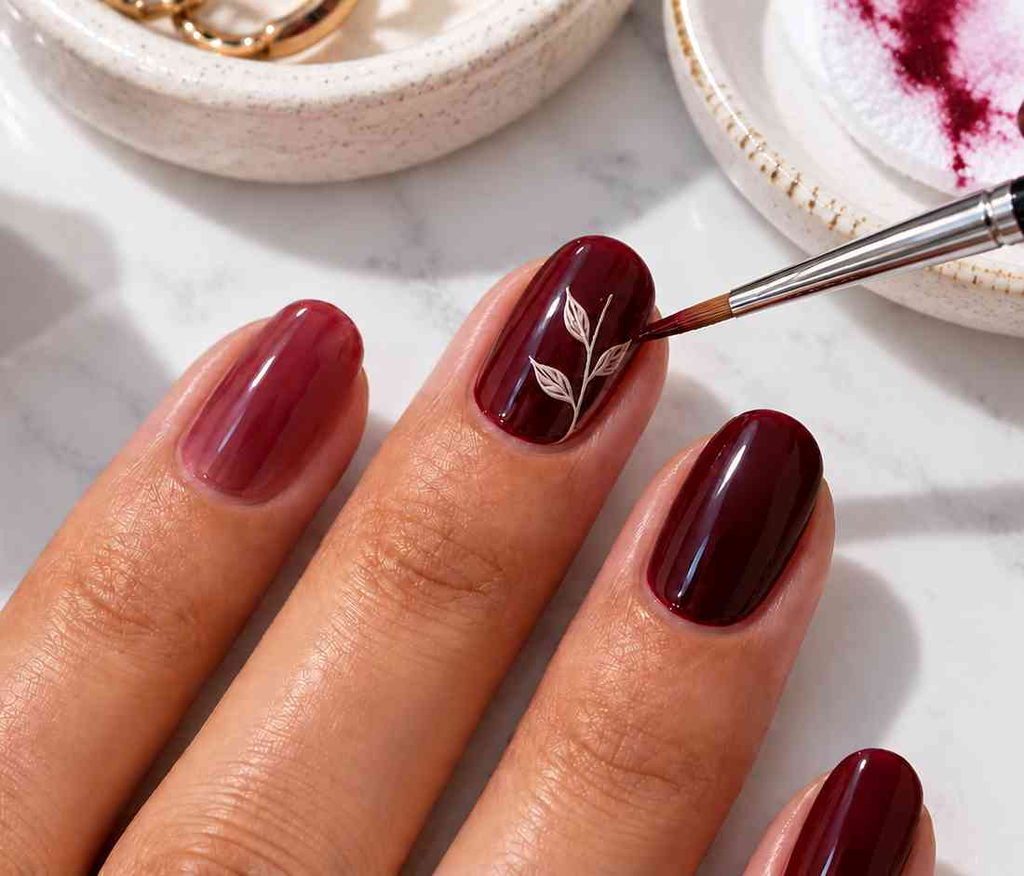
Dip a thin brush or the pointed end of an orange stick in nail polish remover. Trace it along any skin or cuticle area where polish has gone outside the nail edge.
Work slowly remover on skin is fine, but dragging it across the nail plate smears the topcoat.
One pass is usually enough per nail. Do not scrub. Let the remover do the dissolving work. After cleanup, apply a small drop of cuticle oil to each nail and rub it in.
The oil hydrates the skin you just cleaned with remover and gives the finished manicure a healthy, polished look that photographs better and feels better throughout the day.
🚫 5 Mistakes That Ruin Fall Nails (And How to Fix Them)
1. Applying polish to oily nails
Natural skin oils sit on the nail plate and stop polish bonding. Wipe every nail with a cotton pad soaked in remover — even if you just washed your hands. This single step extends wear by 2 to 3 days.
2. Skipping the base coat
Dark fall shades — burgundy, chocolate, terracotta — stain the nail plate yellow or orange without a barrier layer. The stain takes weeks to grow out. Base coat takes 2 minutes. Never skip it with dark colors.
3. Applying thick coats to speed things up
Thick coats dry on the outside while staying soft inside. They dent hours later, bubble in the center, and peel from the tip within a week. Two thin coats always dry faster and last longer than one thick one.
4. Not capping the tip
The tip of the nail takes the most impact. Without a sealed edge on every coat — base, color, and topcoat — polish lifts from the tip first and peels backward. One extra stroke per nail is the difference between a 3-day manicure and a 10-day one.
5. Rushing topcoat over a wet accent design
Topcoat is a solvent. Dragged over a leaf or dot design that has not dried fully, it dissolves the design and smears it across the nail in one stroke. Wait a full 5 minutes after any accent work before applying topcoat.
❓ Beginner Questions Answered
How long should I wait between coats?
At least 3 to 5 minutes between each coat. Touch the side of your thumbnail lightly against a nail — if it pulls at all, wait another 60 seconds. Room temperature matters: a cold room slows drying, a warm dry room speeds it up.
My polish keeps streaking. What am I doing wrong?
Streaking usually means one of three things: the coat is too thick, you went back over a stroke that had already started setting, or the formula is old and thickened. Wipe the brush on the bottle neck to remove excess, work in three clean strokes, and replace polish that has been open more than two years.
Can I skip base coat if my polish is a base-and-color-in-one?
Yes — combination polishes are designed to work without a separate base coat. Check the bottle label. If it says “base and color” or “nail strengthener color,” one product is enough. A standard color-only polish needs a separate base coat underneath dark or pigmented shades.
How do I stop the accent design from smearing?
Wait longer before topcoat — 5 minutes minimum. Use a light hand when applying topcoat over the design: one slow, flat stroke rather than back-and-forth. A no-wipe gel topcoat cures harder and smears less than regular topcoat, if you have a UV lamp.
How long will a home fall manicure last?
With proper prep and all coats applied correctly, 5 to 7 days is realistic for regular nail polish. Gel polish lasts 2 to 3 weeks but requires a UV lamp to cure. The biggest wear factor is not the polish itself — it is whether the surface was clean and dry before the first coat went on.