

We’ve curated 25 of the absolute cutest hot pink nail ideas for you. From professional salon designs to simple DIY looks.
Some ideas feature glitter and sparkle. Some showcase florals and botanical details. Some are just solid hot pink perfection with nothing else needed.
Every single one of these nail ideas is screenshot-worthy and worth saving to your inspiration board.
All nail images are credited to their original Instagram creators as watermarked. For inspiration purposes only.
1.Hot Pink Stiletto Nails with Gold Accents
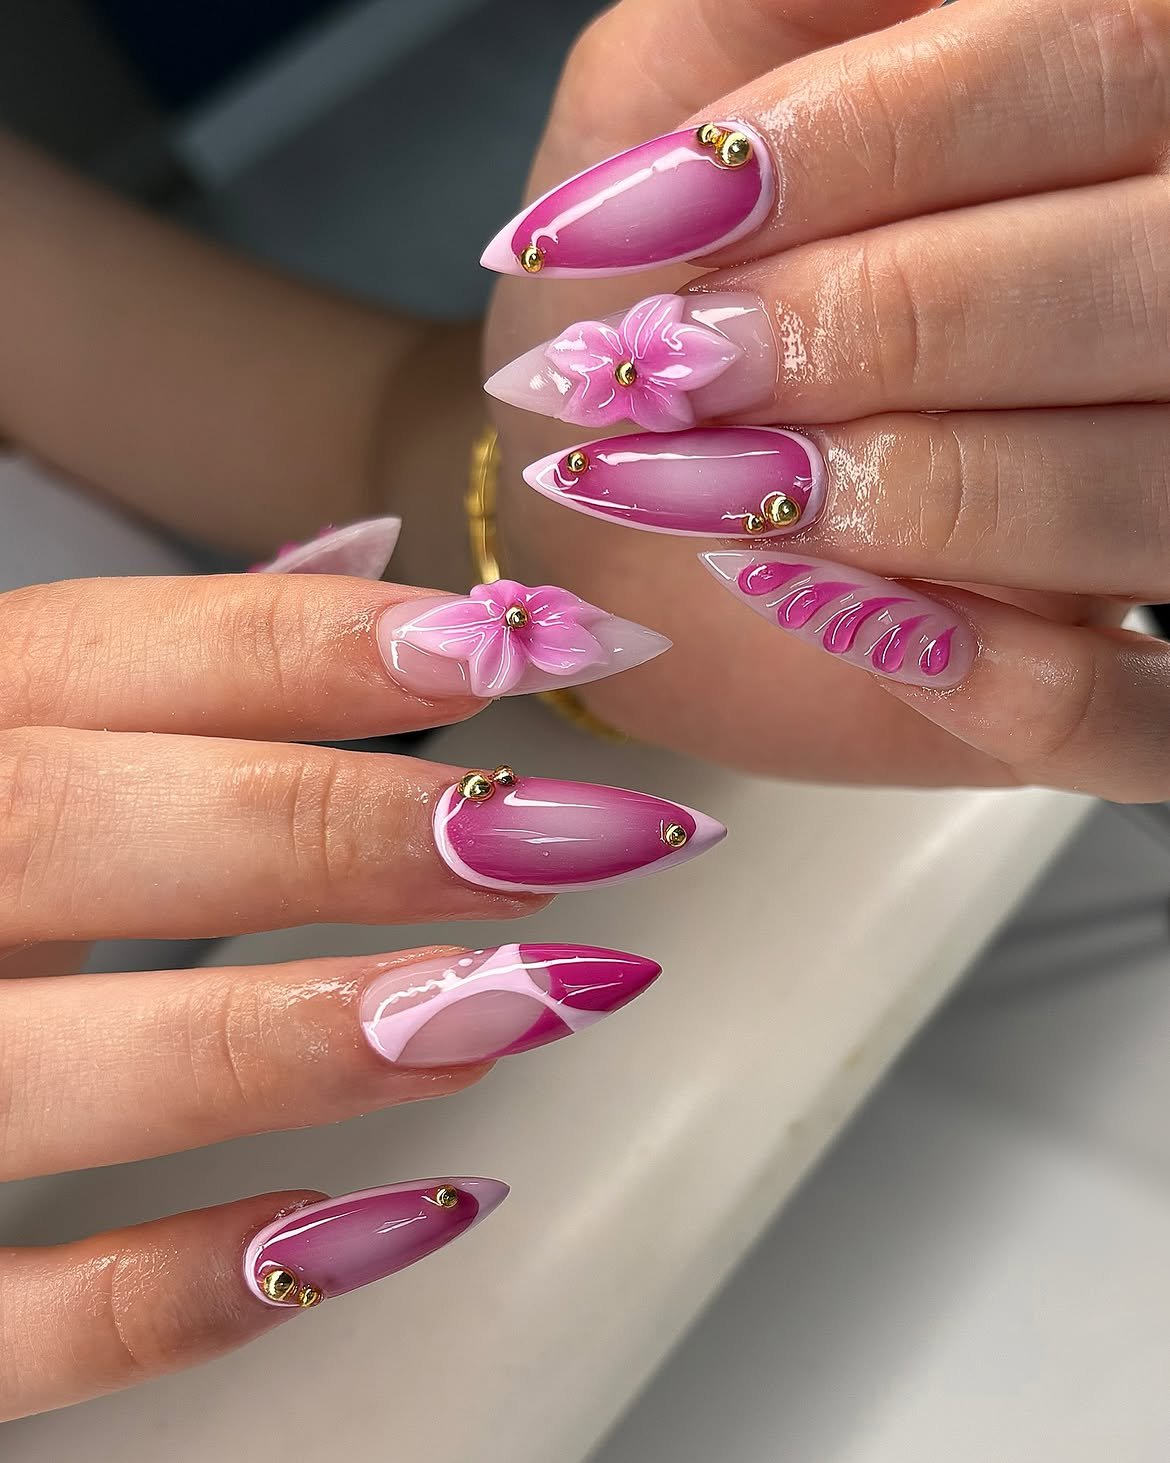
Stiletto nails in hot pink are bold and polished. This set shows the range: deep magenta catches light, pale pink glows soft, and a mix of solid and art nails keeps things fresh.
Gold studs sit at the cuticle, adding just enough shine without competing with the
color. The formula here is simple glossy finish, one metal accent, and either a solid nail or a geometric floral design. Wear it for special events or everyday confidence.
2. Hot Pink Ombre with Wavy Details
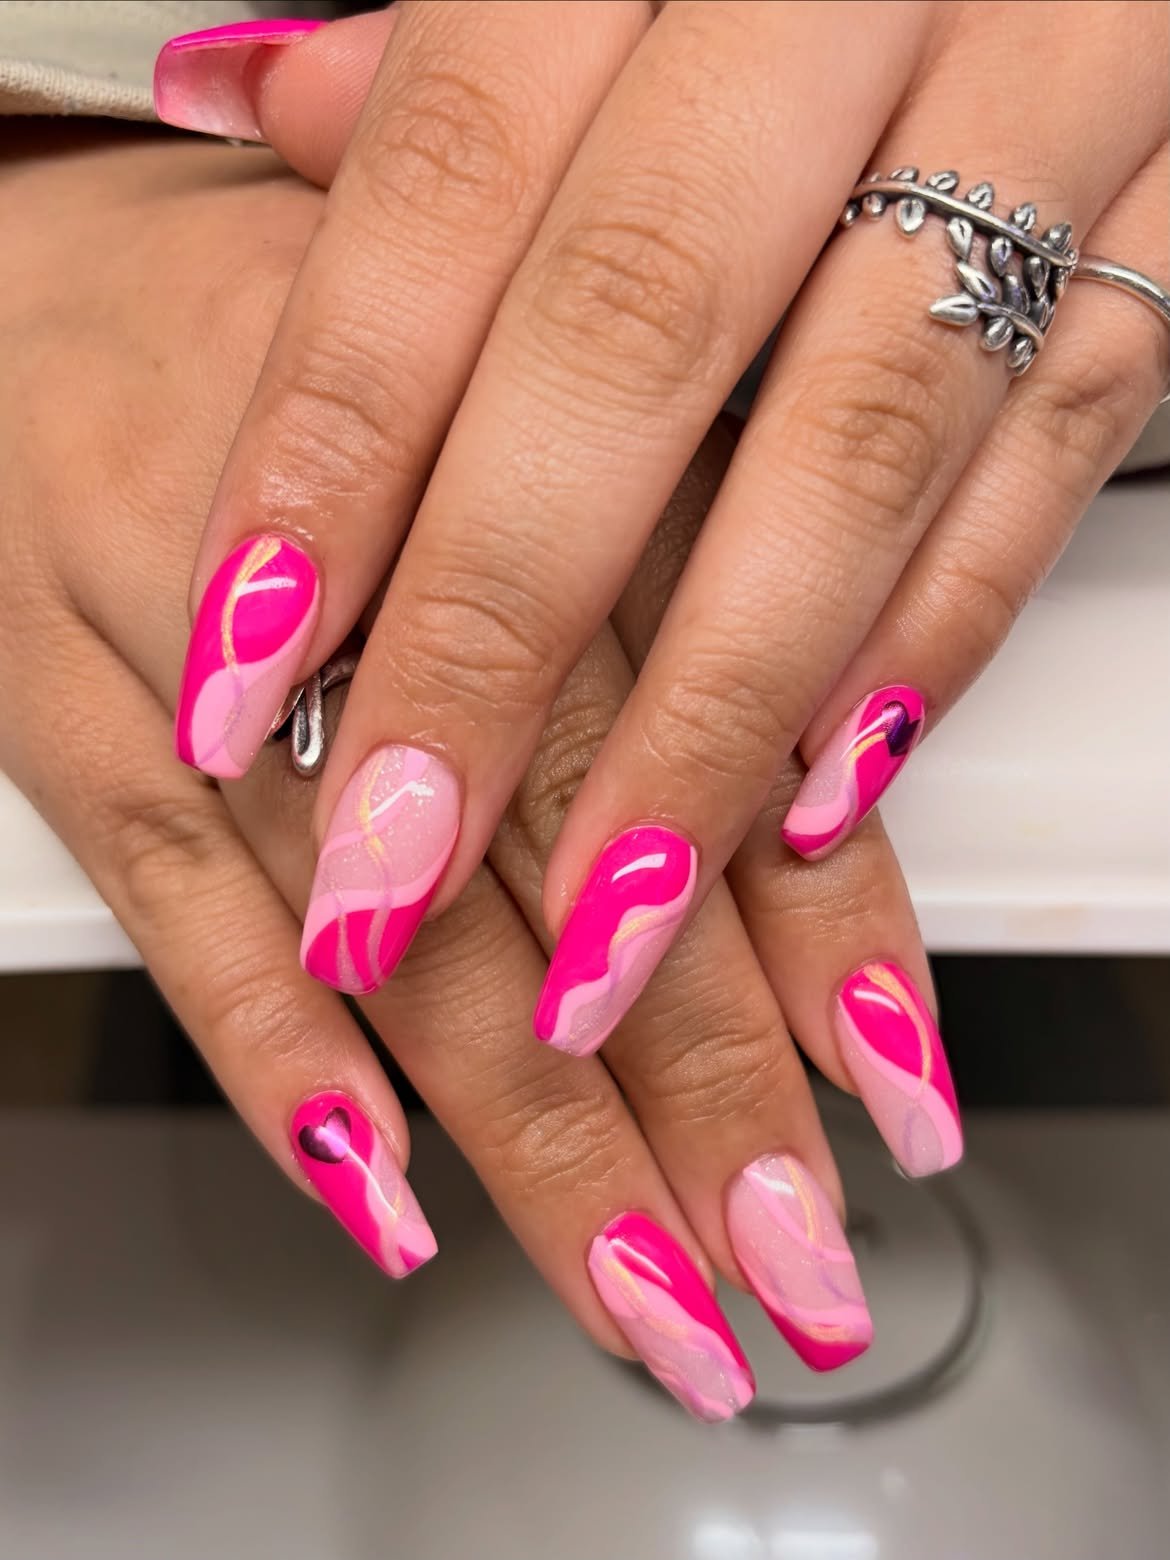
Ombre works best when hot pink melts into pale blush. The gradient creates depth dark at the tip, light at the base. White wavy lines tie it together,
giving movement without looking busy. Coffin nails hold this look perfectly because the width lets the gradient show. A glossy topcoat makes the blend look seamless.
Recreate this look
3. Hot Pink Florals on Blush Base
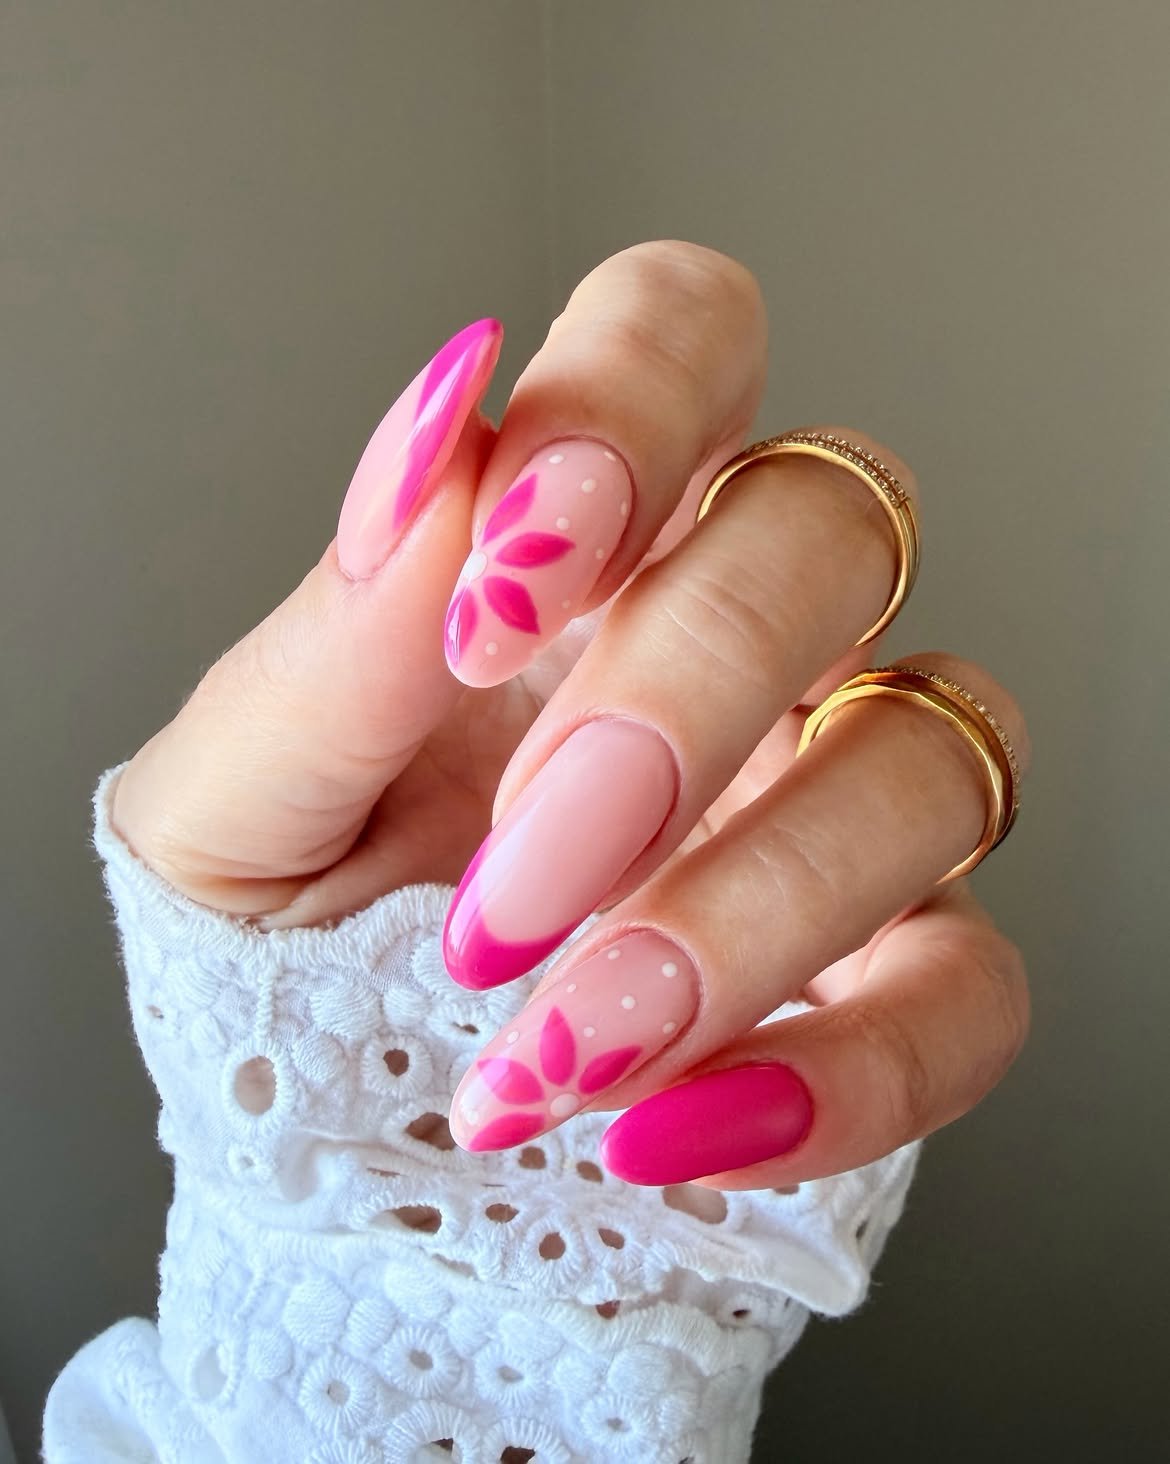
Pale pink is the perfect canvas for hot pink flowers. Paint simple daisy petals in bright pink, add tiny white dots for texture, and keep most nails solid.
This style works because the contrast makes the flowers pop without overwhelming the design. The florals land on just two or three nails,
leaving breathing room. Perfect for someone who wants nail art that feels delicate, not loud.
💡 Pro Move
Use a dotting tool for consistent flower petals. Five petals per flower keeps it simple and balanced.
4. Shell Design Accent Nails
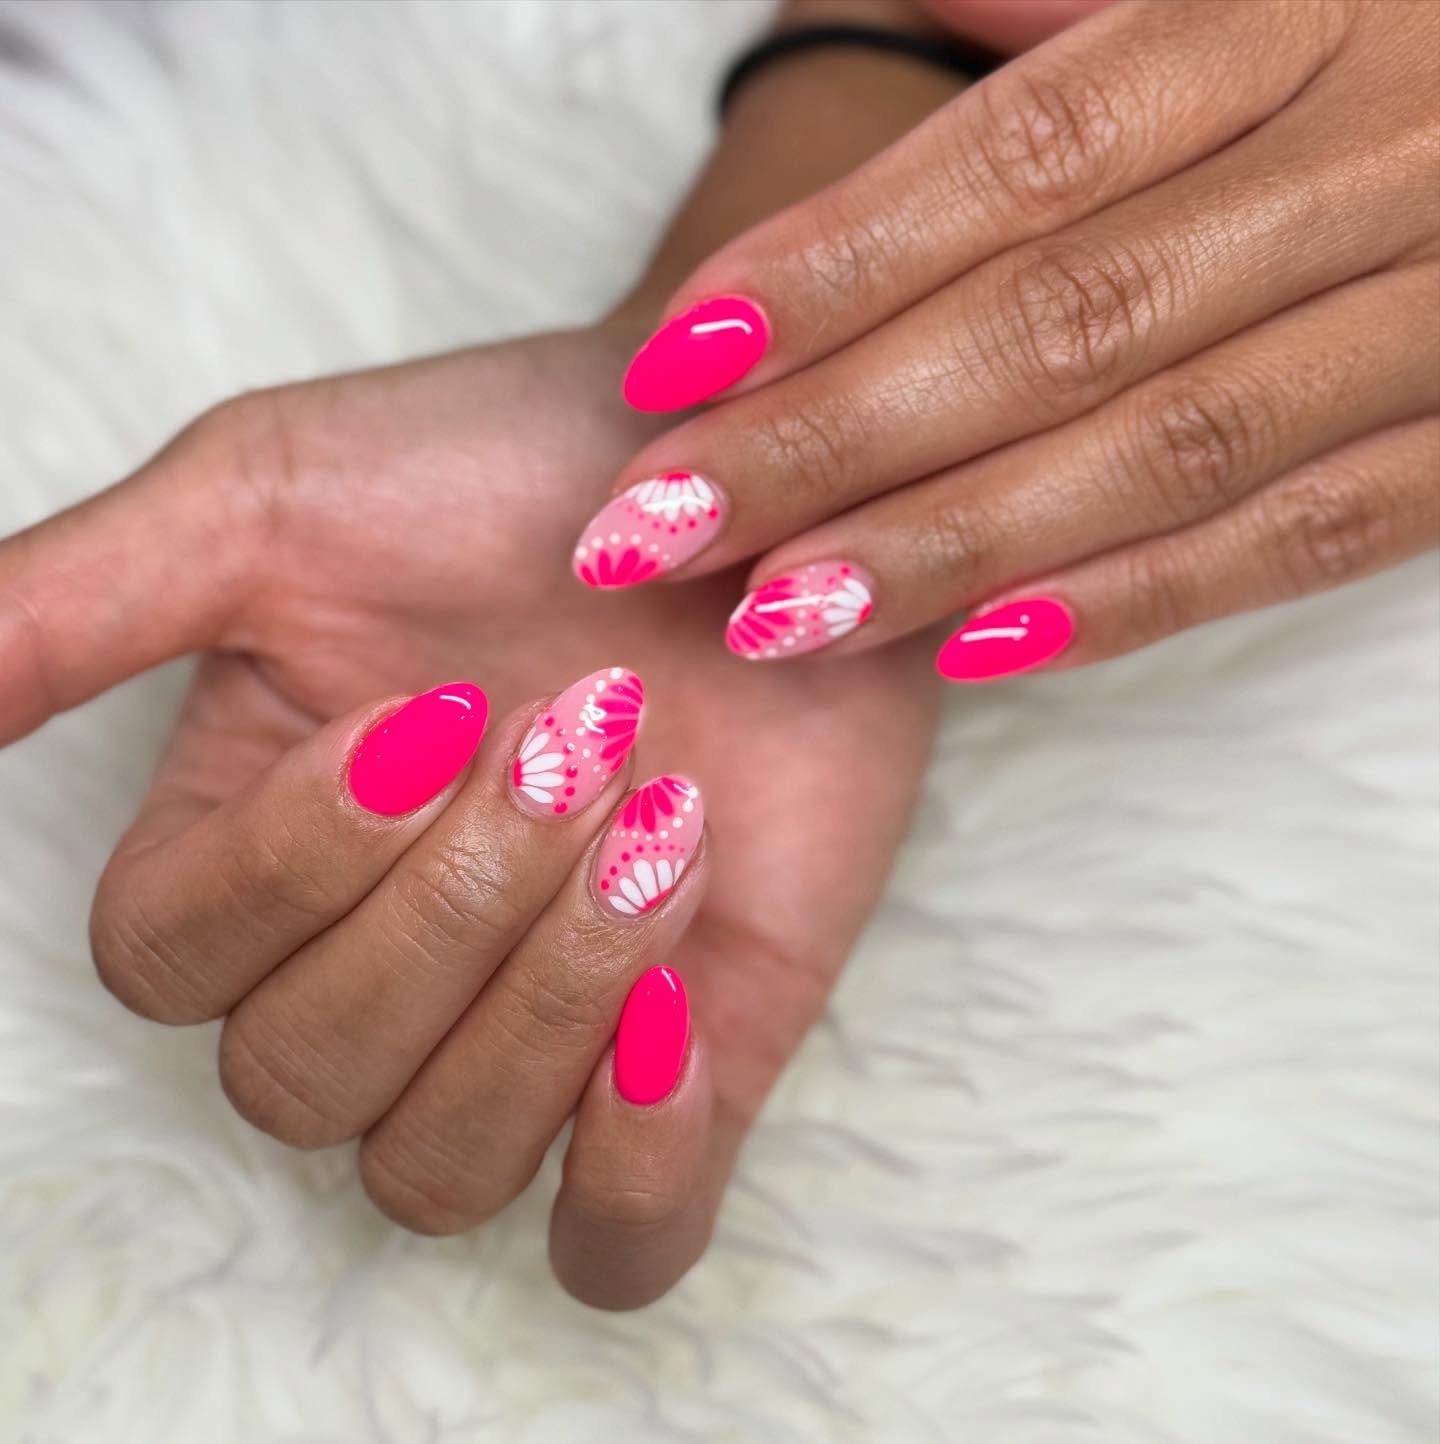
Shell designs in hot pink look fresh against a nude base. Paint fan or scallop shapes using a nail brush,
keeping them to alternating nails so solid and patterned nails balance each other out. The nude carries the look while hot pink gives it character.
This combo works for everyday wear and still feels polished enough for an event.
5. Candy Stripes Meet Floral Accents
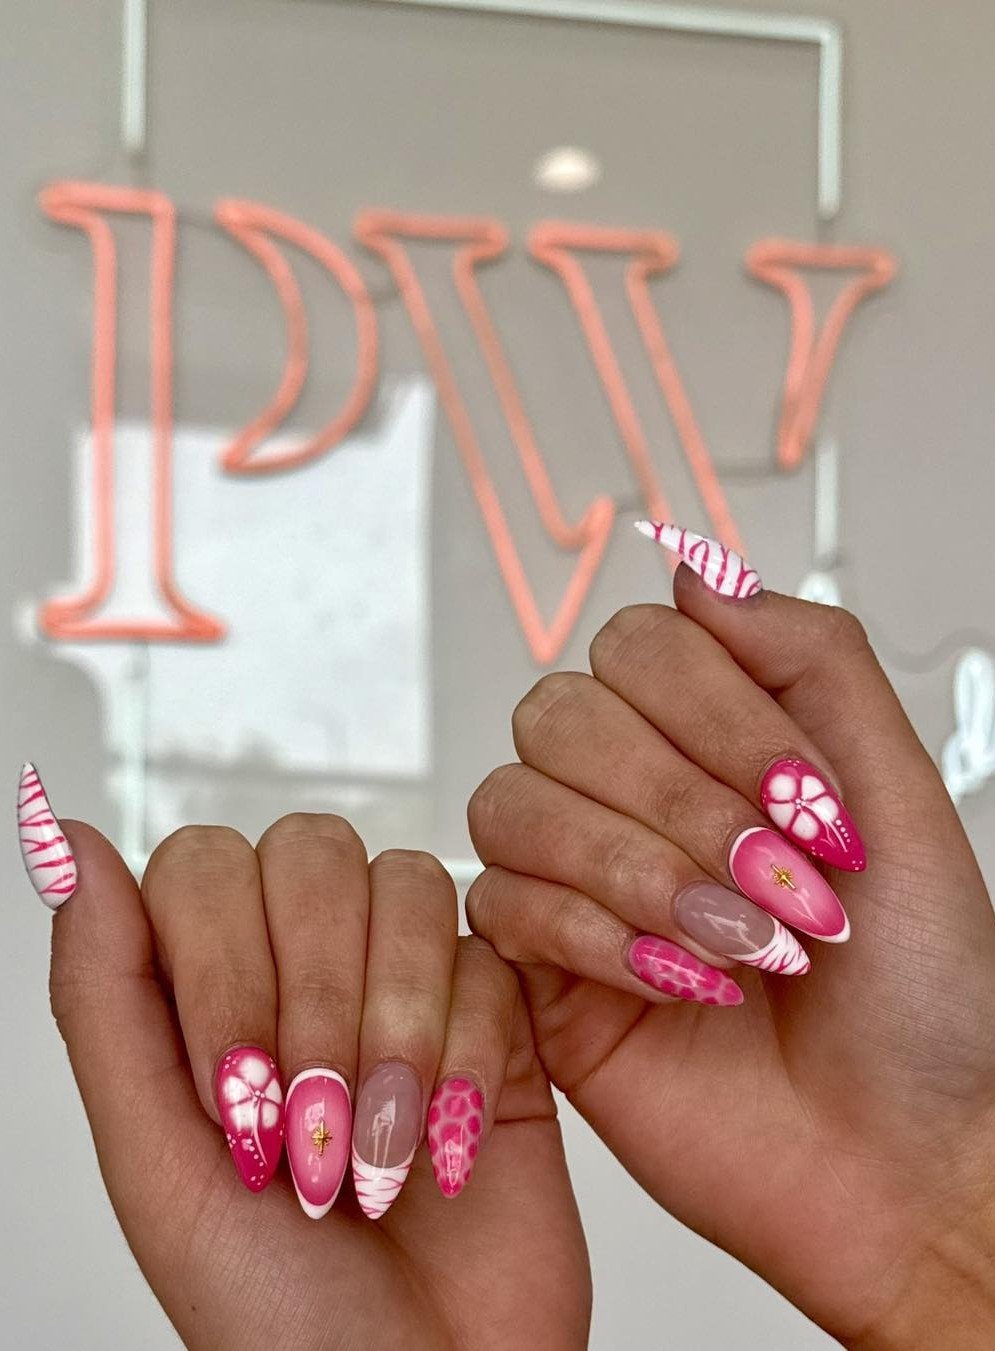
Mixing patterns sounds risky, but alternating solid, striped, and floral nails makes it work. White candy stripes on nude pop without competing with hot pink florals.
Gold crosses add a small spiritual or delicate touch. The key is spacing put patterns on every other nail, leave one nude solid.
This creates rhythm so nothing feels crowded or chaotic.
Start with nude or beige base on all nails.
Add white candy stripes on one nail, hot pink florals on another.
Use tiny gold cross details to tie designs together.
6. Gradient Tips with Minimalist Lines
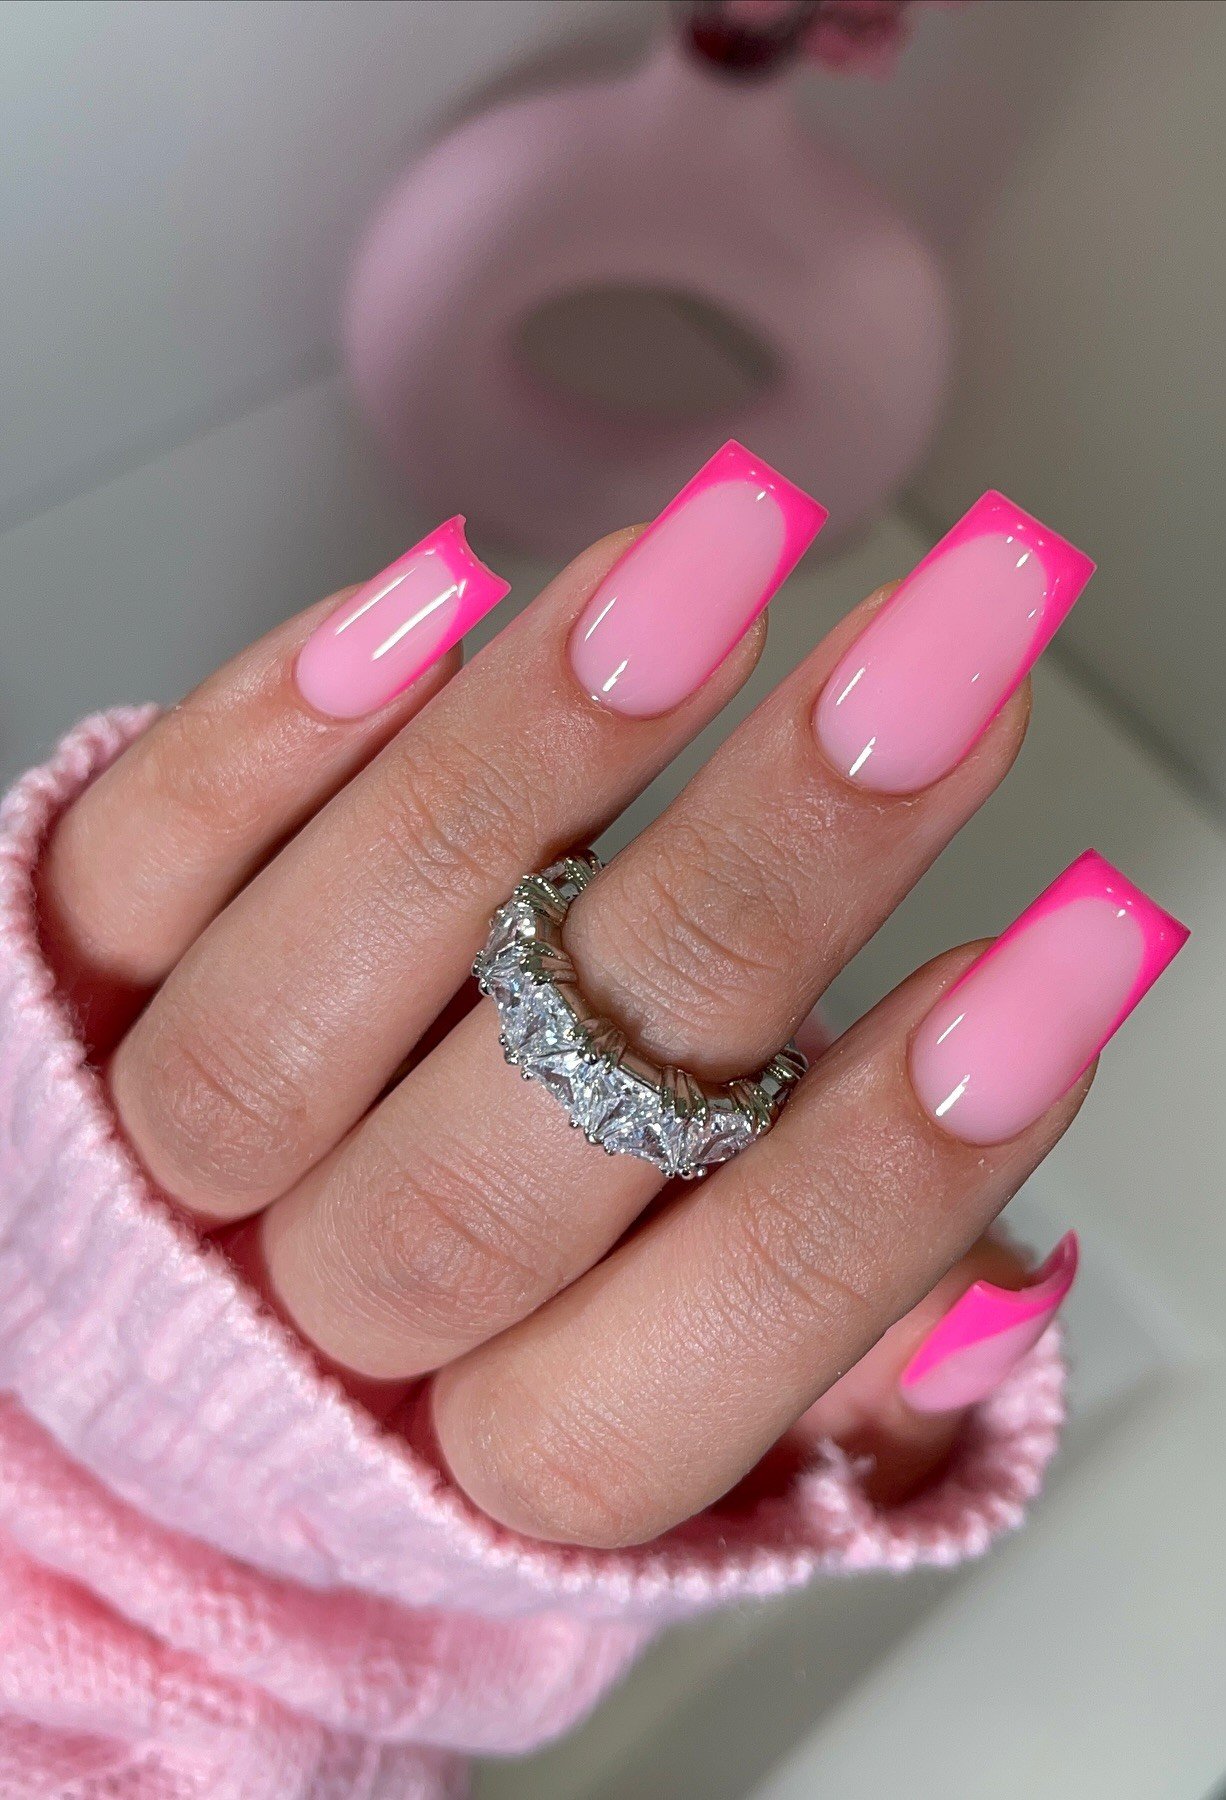
Gradient tips are forgiving because they hide the regrowth line. Pale pink fades gradually to hot pink,
creating depth without harsh lines. Add white lines sparingly one or two per nail for texture. Keep one nail solid hot pink as an anchor.
This look works for every skin tone and suits both casual and dressed-up moments.
📌 Timing
Gradients last longer than flat designs because the color transition camouflages chips and fading.
7. French Tips Meet Leopard Print
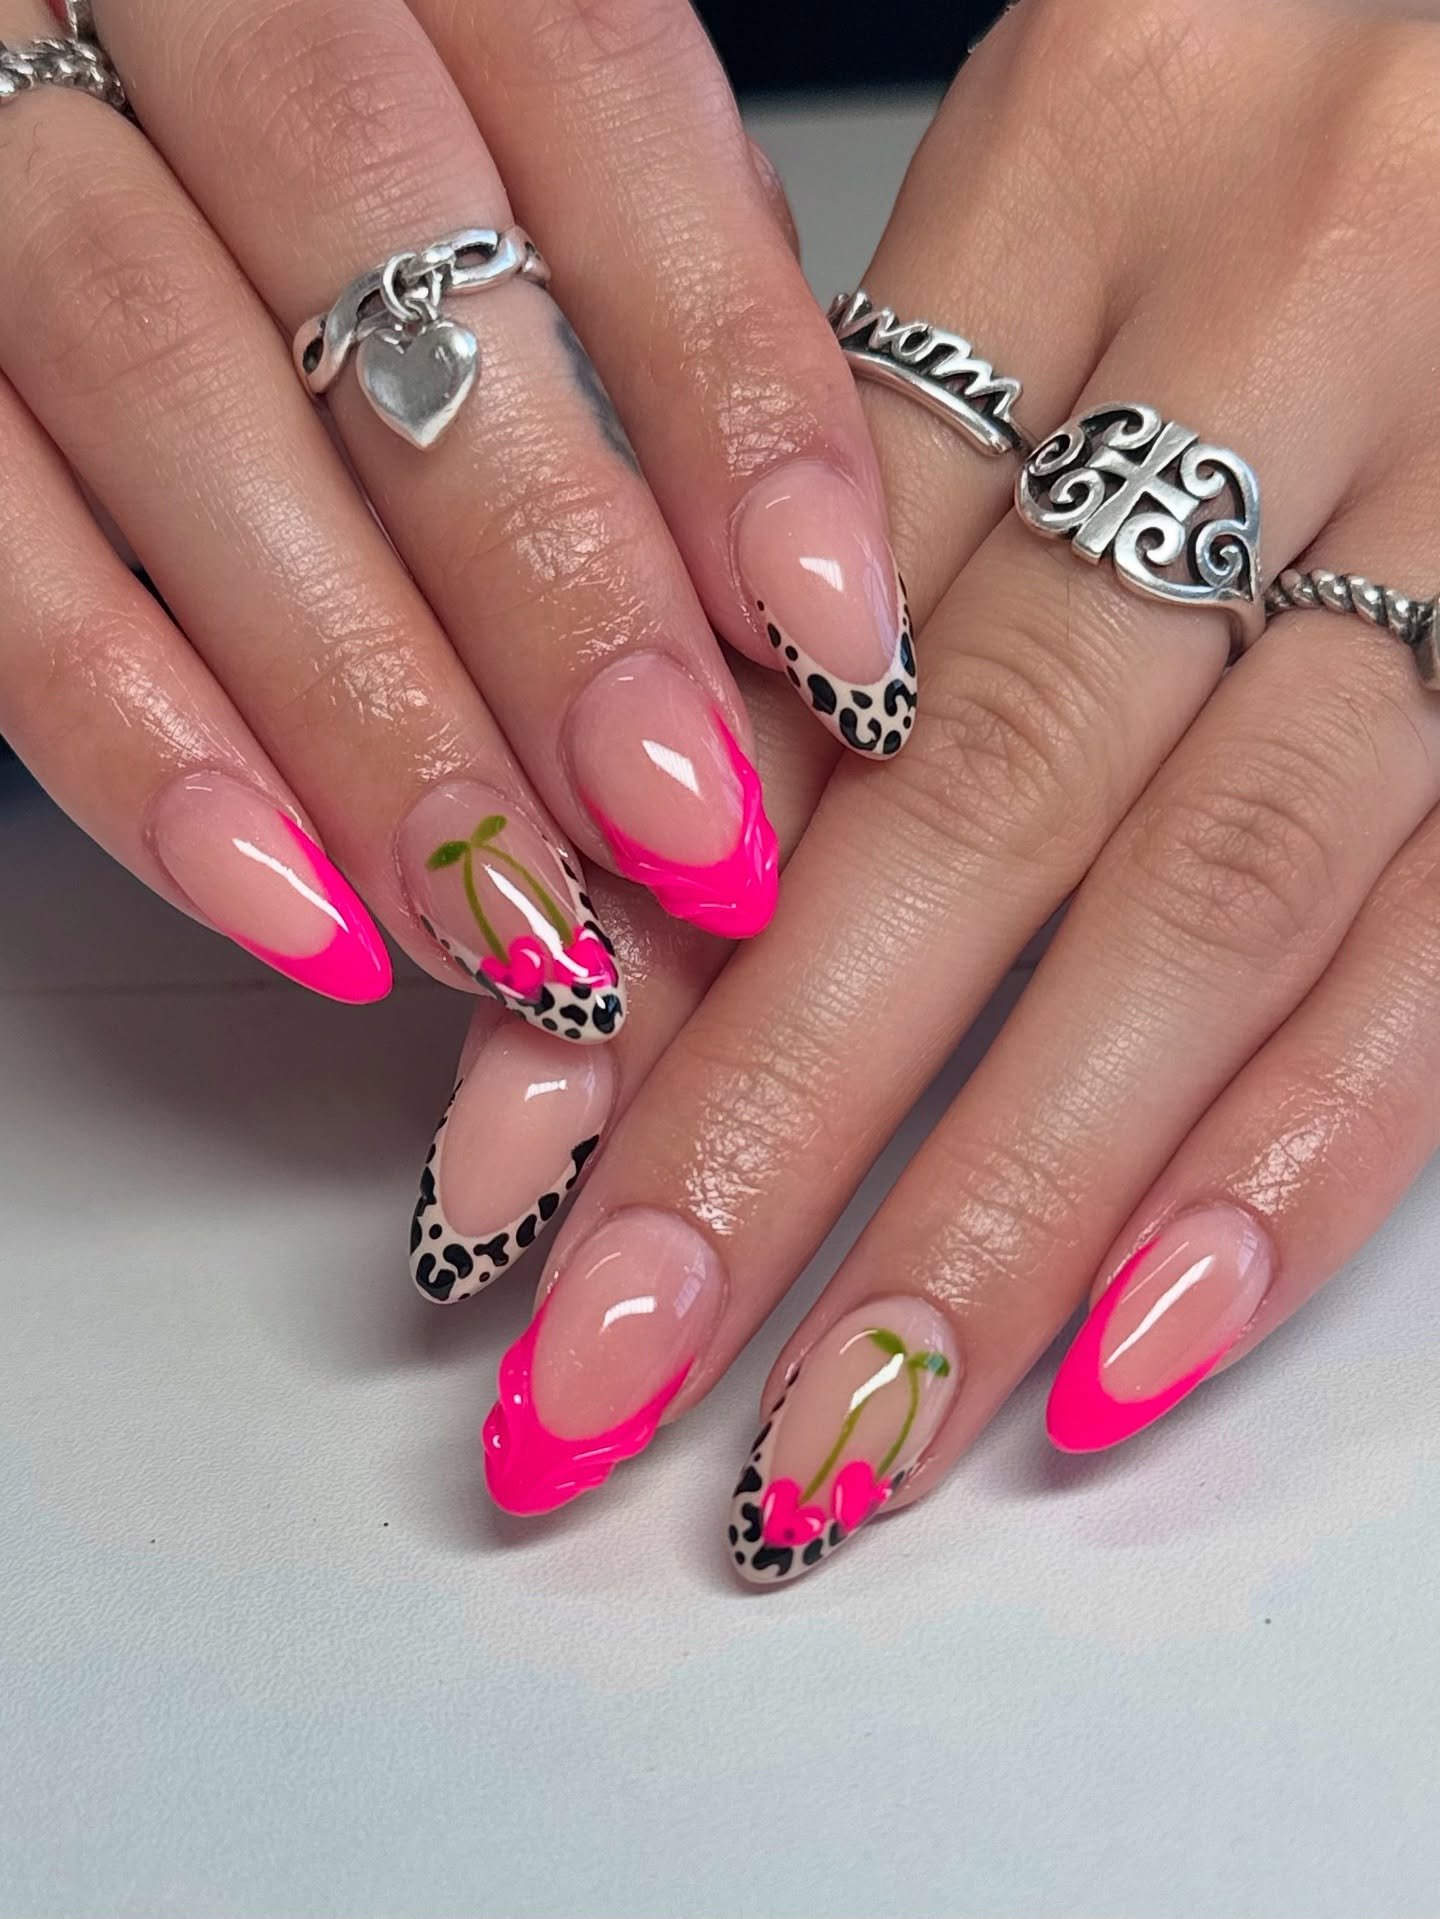
Hot pink French tips are classic, but leopard print makes them bold. Paint solid hot pink tips on most nails, then add black animal print on one or two.
Floral accents balance the print so nothing feels too edgy.
The nude base keeps it wearable for work or weekend. This mix proves you can layer patterns if you leave white space breathing room between them.
Leopard print + florals work together because each sits on its own nail, not competing on the same surface.
8. Dimensional Waves and Gem Accents
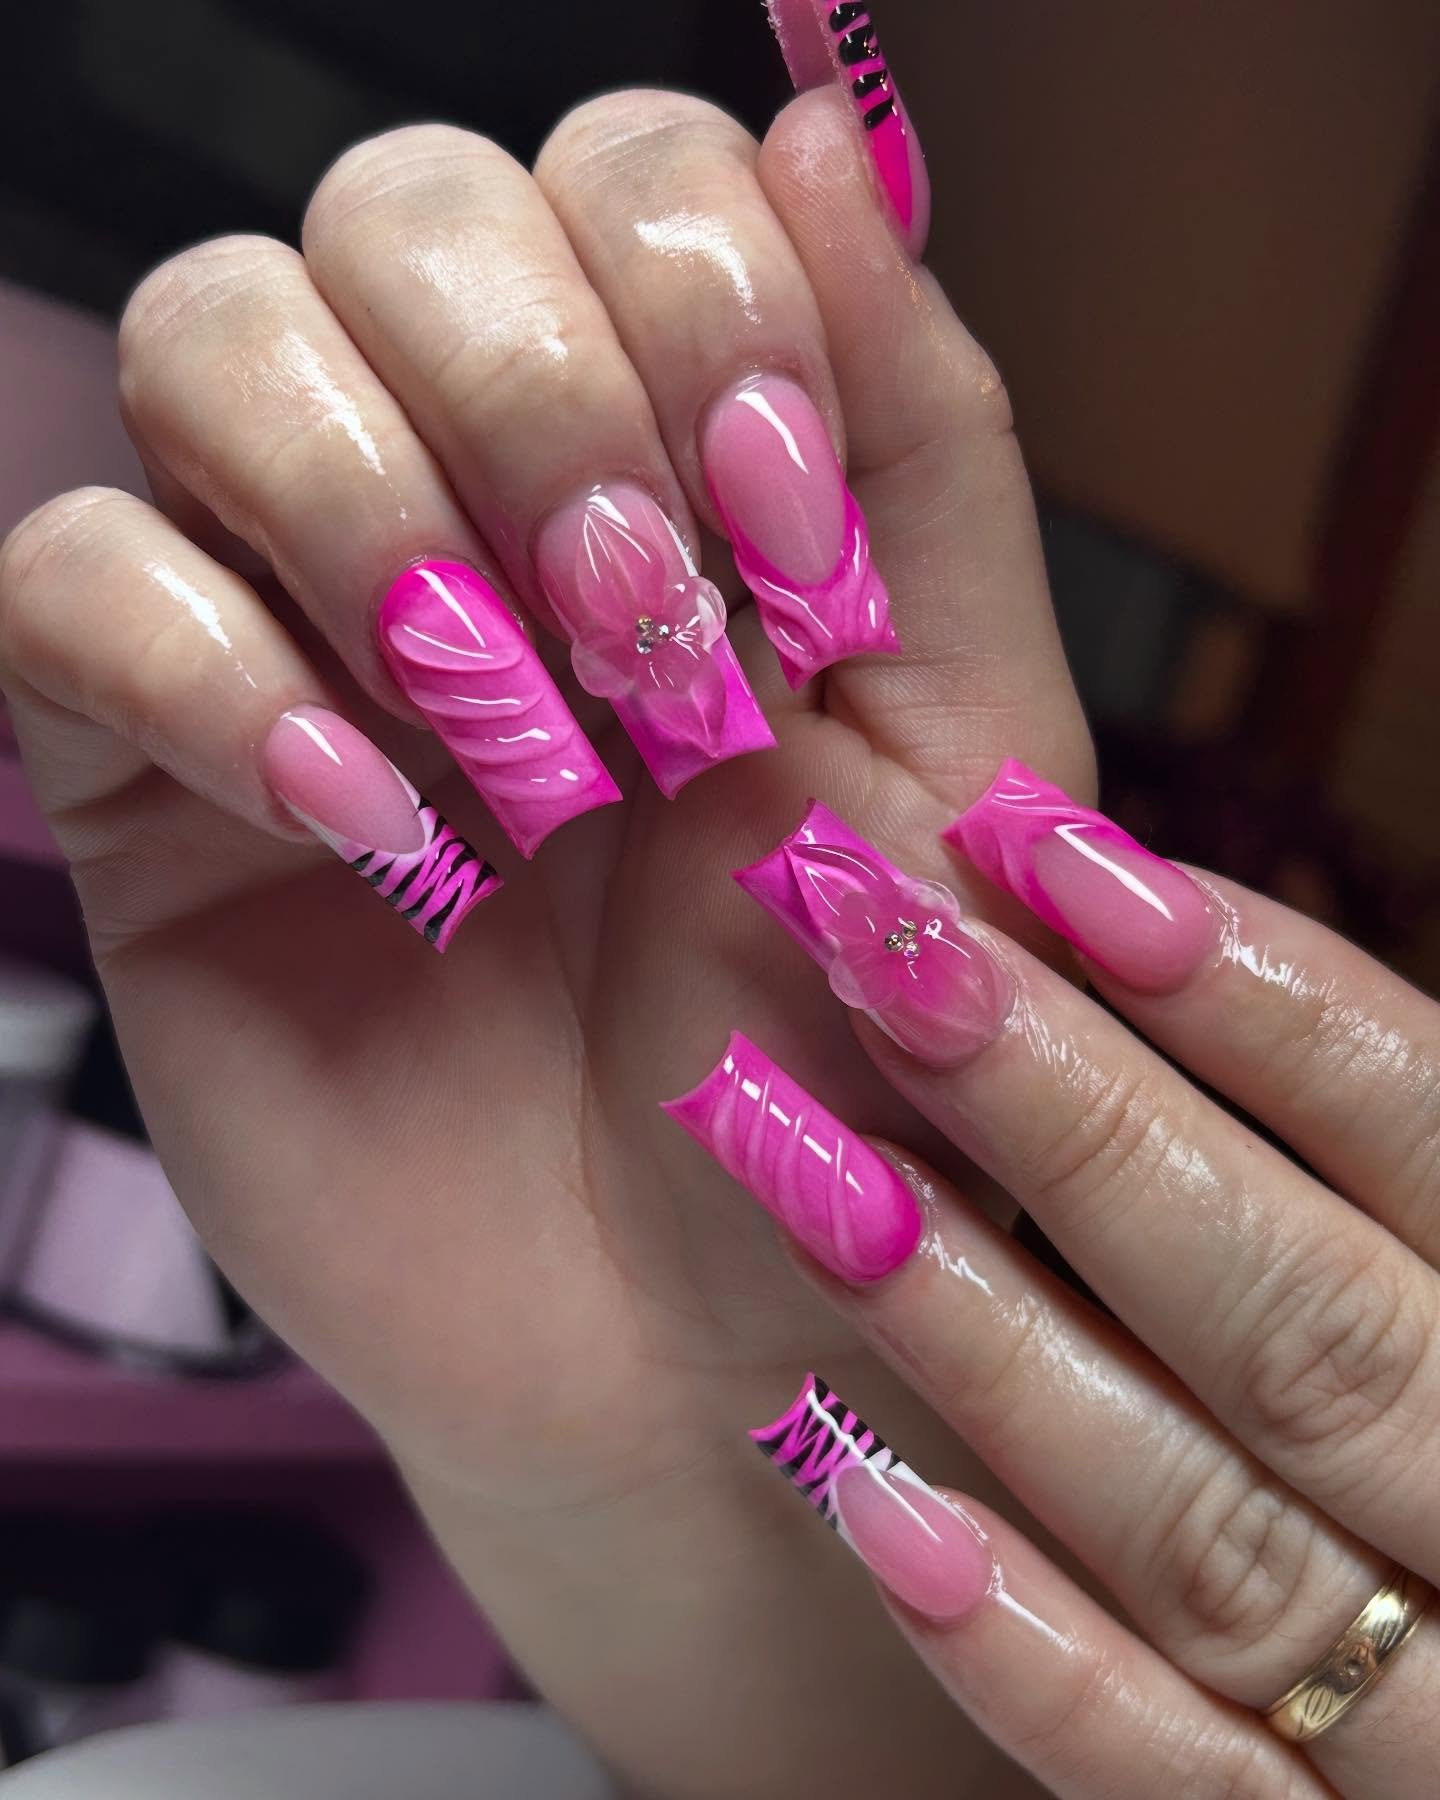
Texture transforms hot pink from simple to statement-making. White 3D lines create waves that catch light, while darker pink stripes underneath add depth.
Rhinestones land sparingly on one or two nails. Keep surrounding nails solid so the textured ones shine.
This approach works for special events or anyone who loves nails that photograph well from every angle.
Add 3D lines over solid color.
Use gems on textured nails only.
Don’t texture all five nails.
Too much visual noise everywhere.
9. Hot Pink Leopard Print
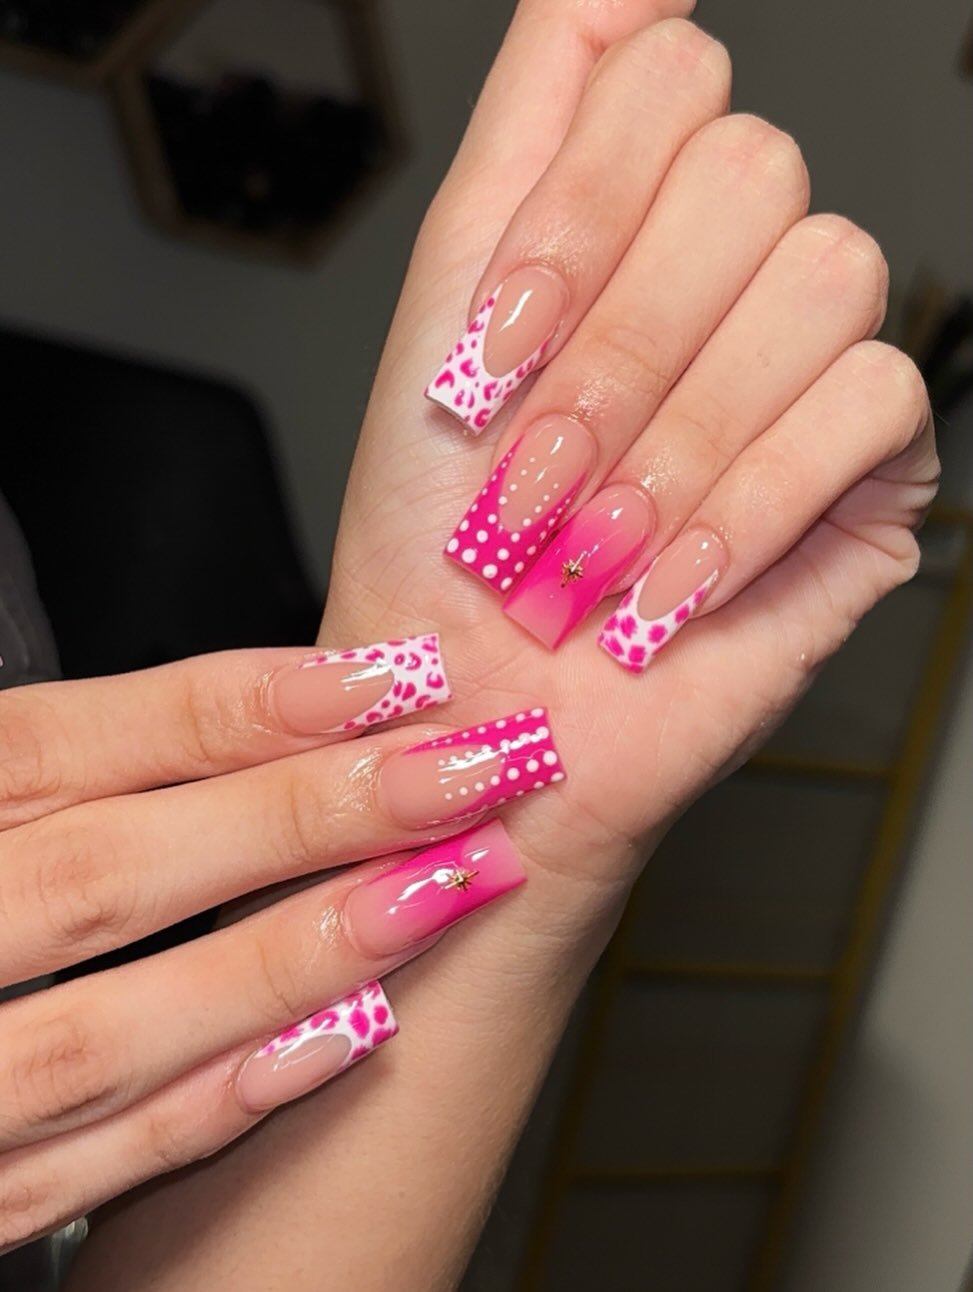
Leopard print feels bold when it’s the main character, not a side detail. Keep the base nude so hot pink leopard spots pop.
White pearl dots inside the leopard sections add texture without competing. Gold stars tie everything together with a subtle shimmer.
This look works because each design element has its own space the leopard owns some nails, pearls dot others, stars sit alone.
How to build it
10. Botanical Florals with Black Leaf
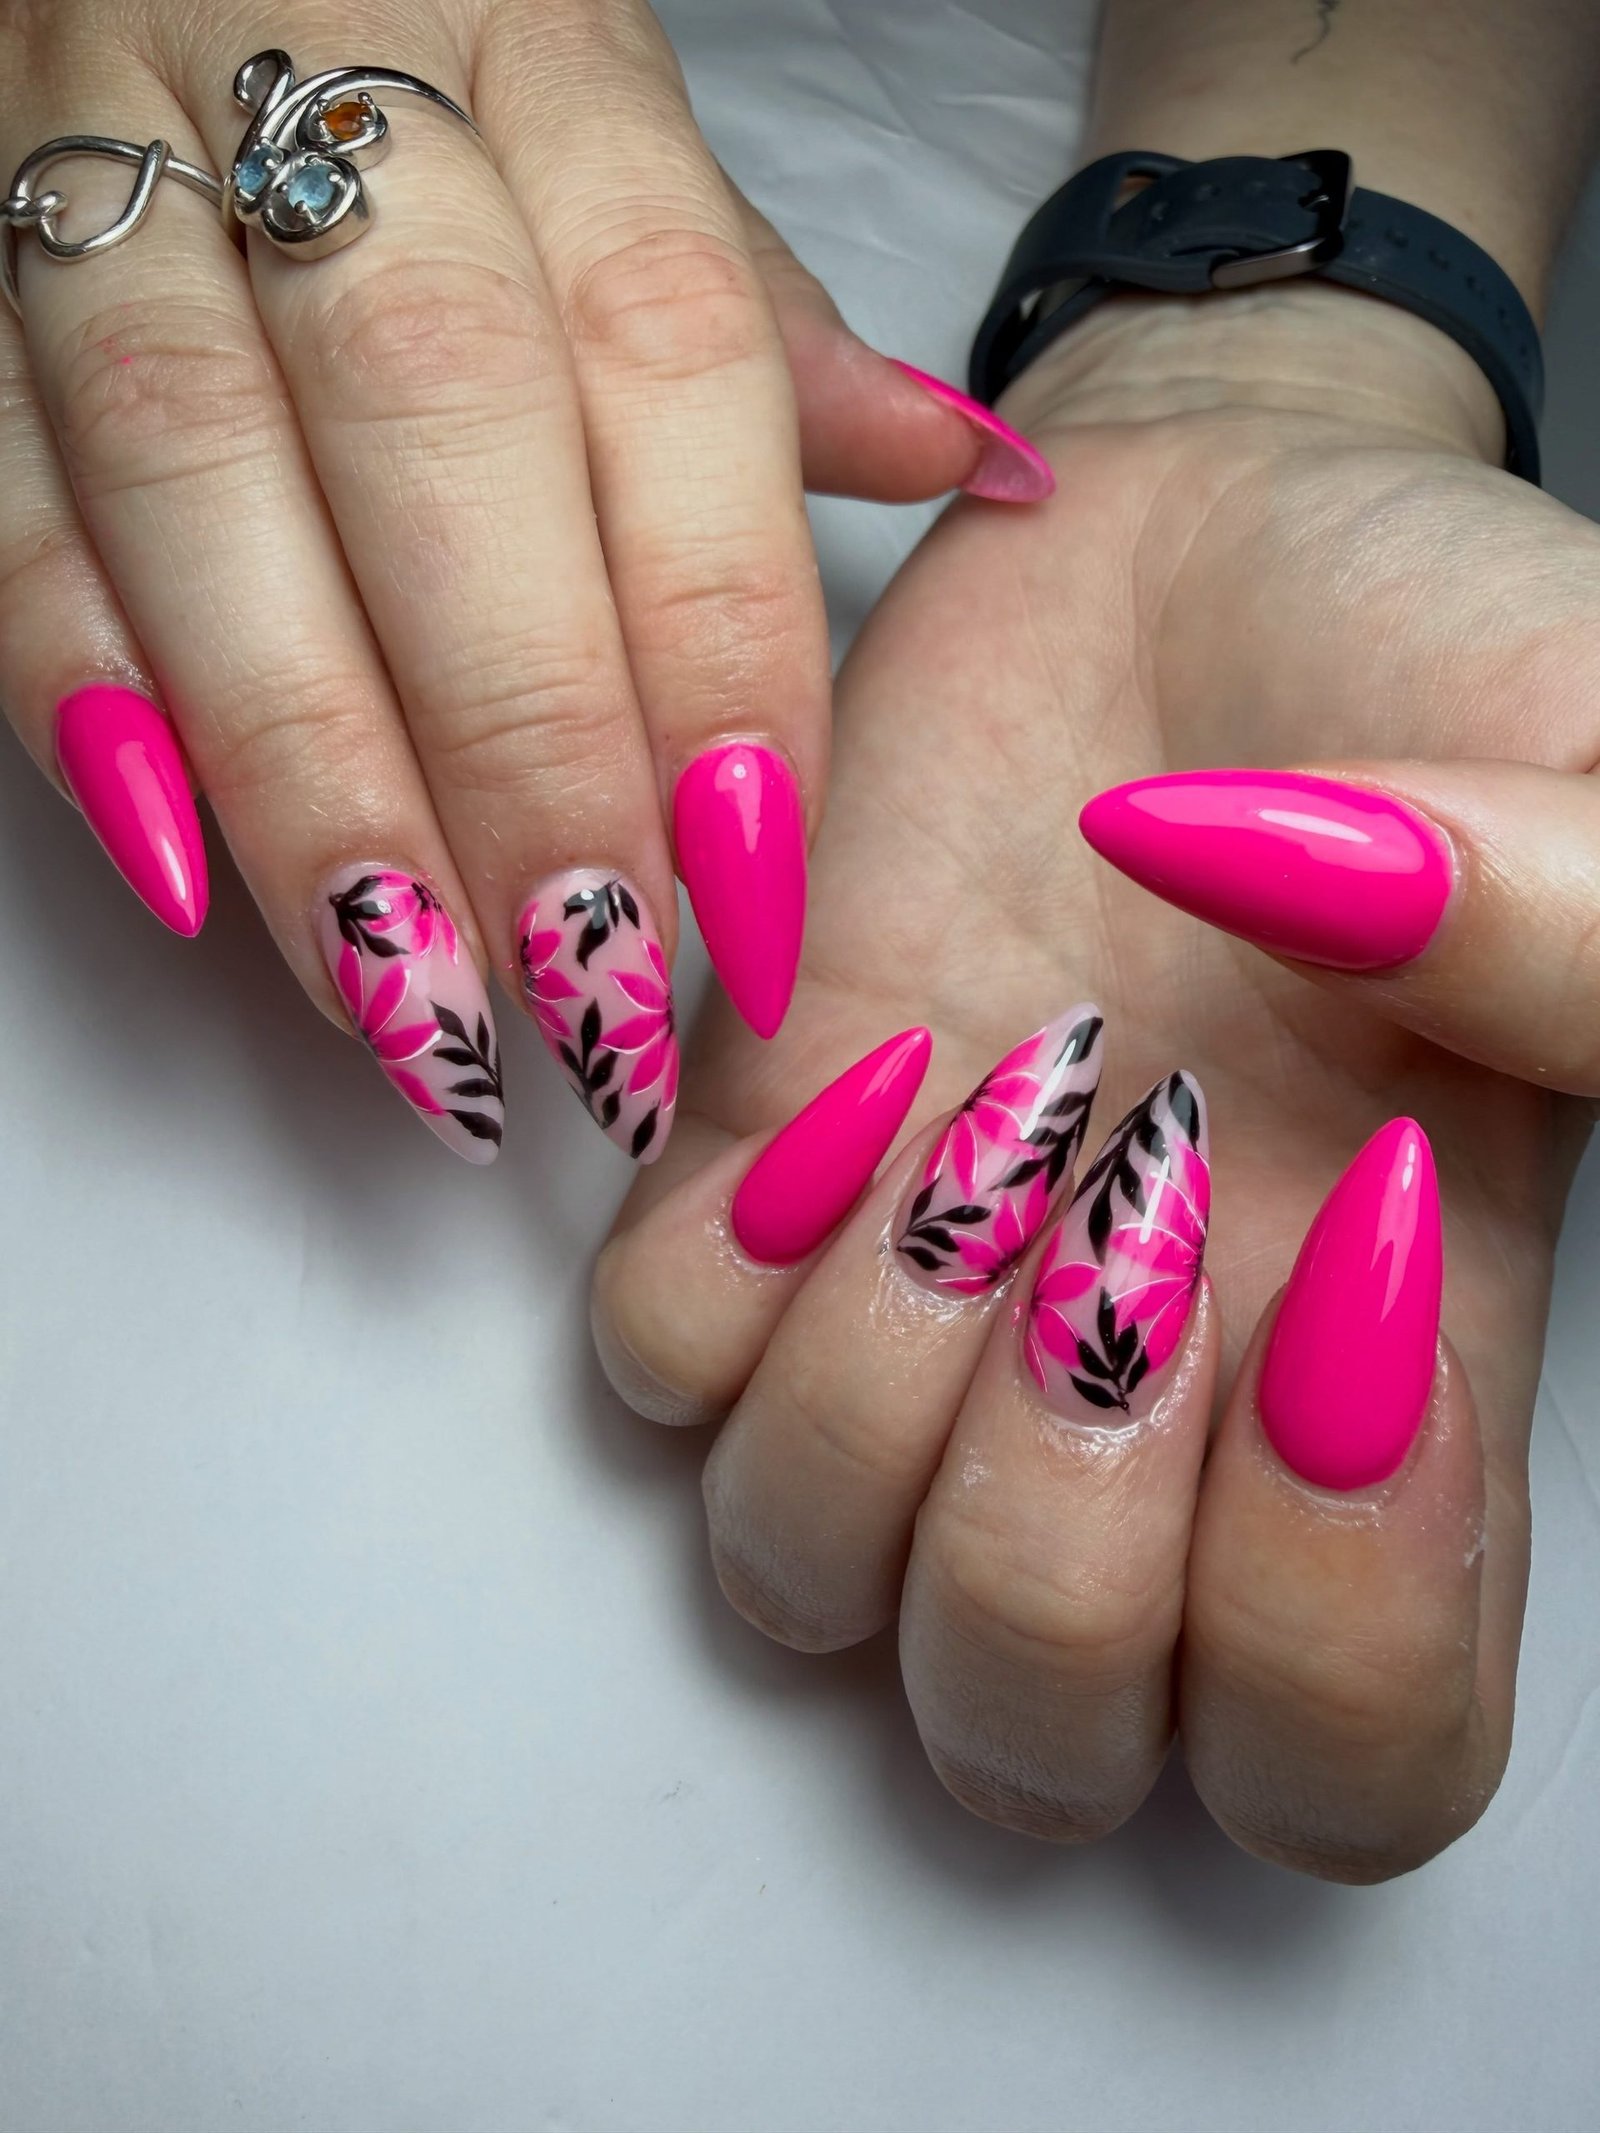
Botanical designs feel sophisticated when leaves matter as much as flowers. Paint hot pink petals on a nude base, then add thin black lines for stems and leaves.
The black lines frame the florals and prevent them from looking cartoonish. Keep some nails solid hot pink to balance the design-heavy ones.
This approach works for someone who loves nature-inspired nails but wants them polished and intentional, not playful.
Paint nude base on two nails.
Add hot pink flower petals using a thin brush.
Outline with black leaf strokes and stems for depth.
11. Matte Hot Pink and Glossy Details
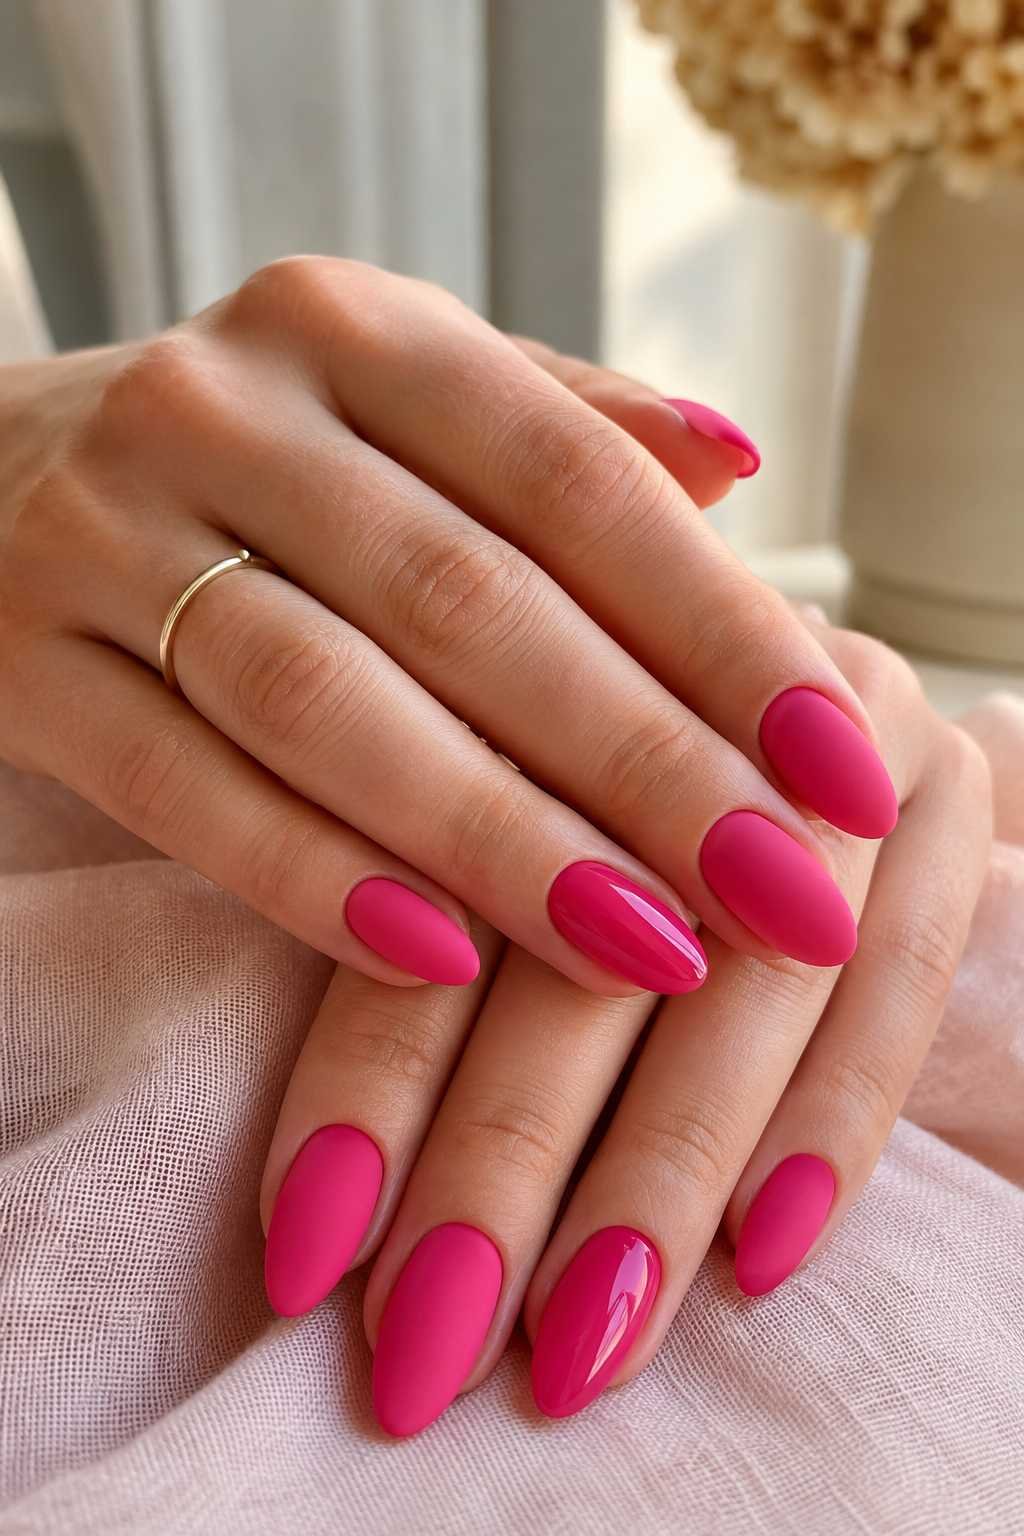
Matte and glossy together create contrast that feels intentional. Paint most nails in matte hot pink, then add glossy accents on one or two maybe a line, a corner, or a single nail.
The matte dulls the intensity while the glossy catches light.
This combo works for people who want hot pink to feel more sophisticated and less “neon.” The texture difference does the design work so you don’t need extra patterns.
💡 The Texture Trick
Matte finishes are forgiving—they hide dust, water marks, and small imperfections way better than glossy.
12. Glitter Fade from Hot Pink to Nude
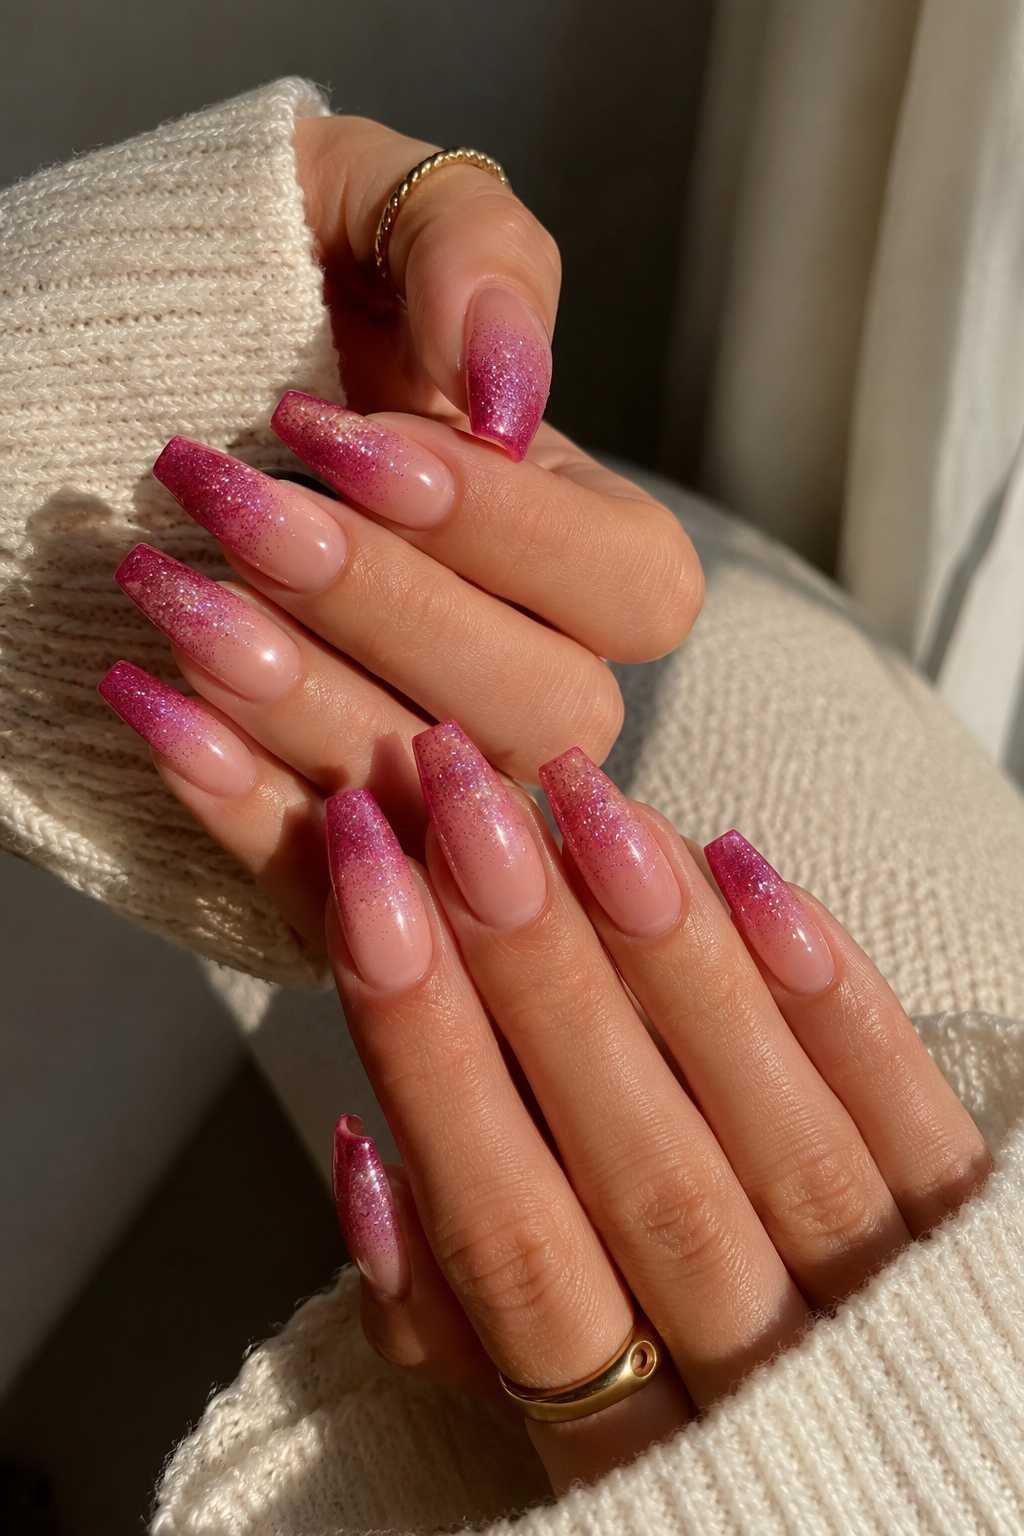
Glitter fades beautifully when it goes from dense at the tip to sparse near the cuticle. Start with hot pink glitter polish, then layer translucent or nude base on top and fade it up the nail.
The result feels festive but wearable. This technique works on any nail shape and photographs like a dream.
The gradient of glitter catches light differently at every angle, so your nails look different every time you move.
Recreate this look
13. Chrome Mirror Hot Pink Finish
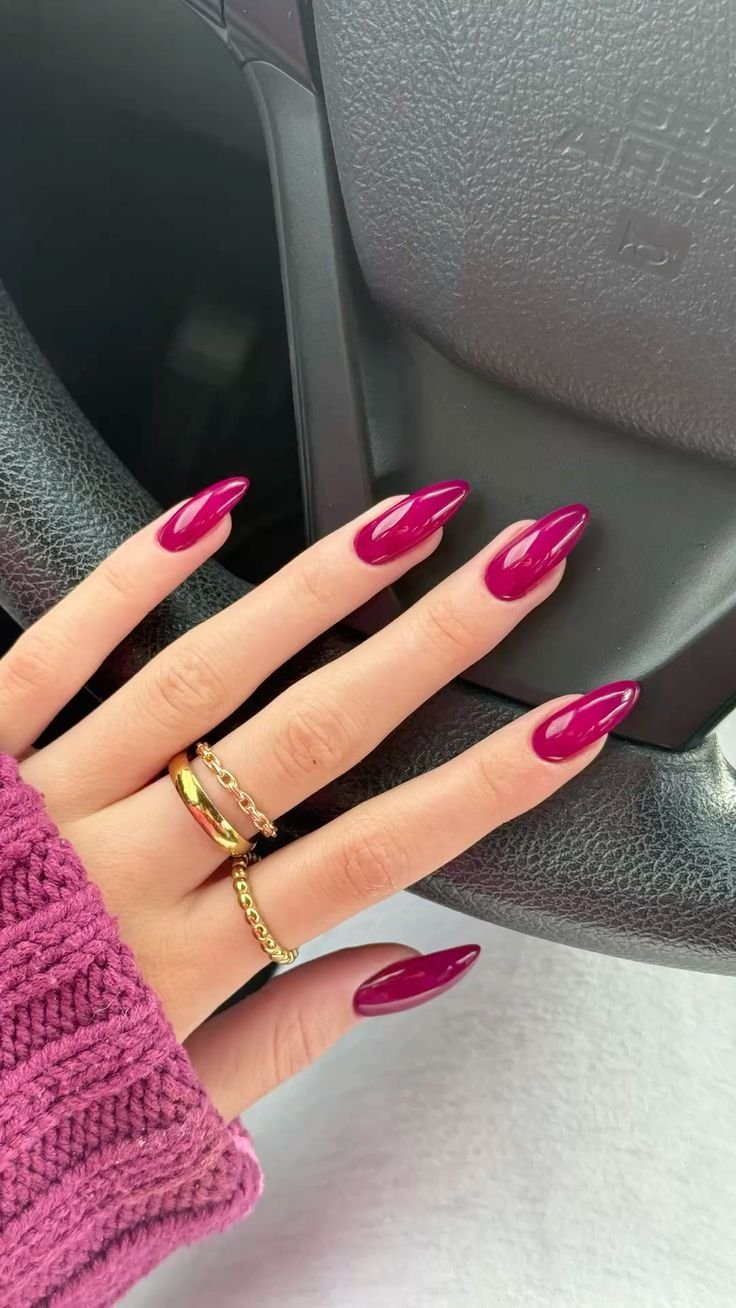
Chrome gives hot pink a futuristic edge. The mirror finish reflects everything around it, so your nails look different depending on the light.
Chrome is easier to apply than it looks just use a chrome powder over hot pink base and buff with a velvet pad.
Keep the shape simple because chrome shine does all the visual work. One or two nails in chrome, the rest glossy hot pink, creates balance without looking chaotic.
14. Hot Pink Splatter on Neutral Base
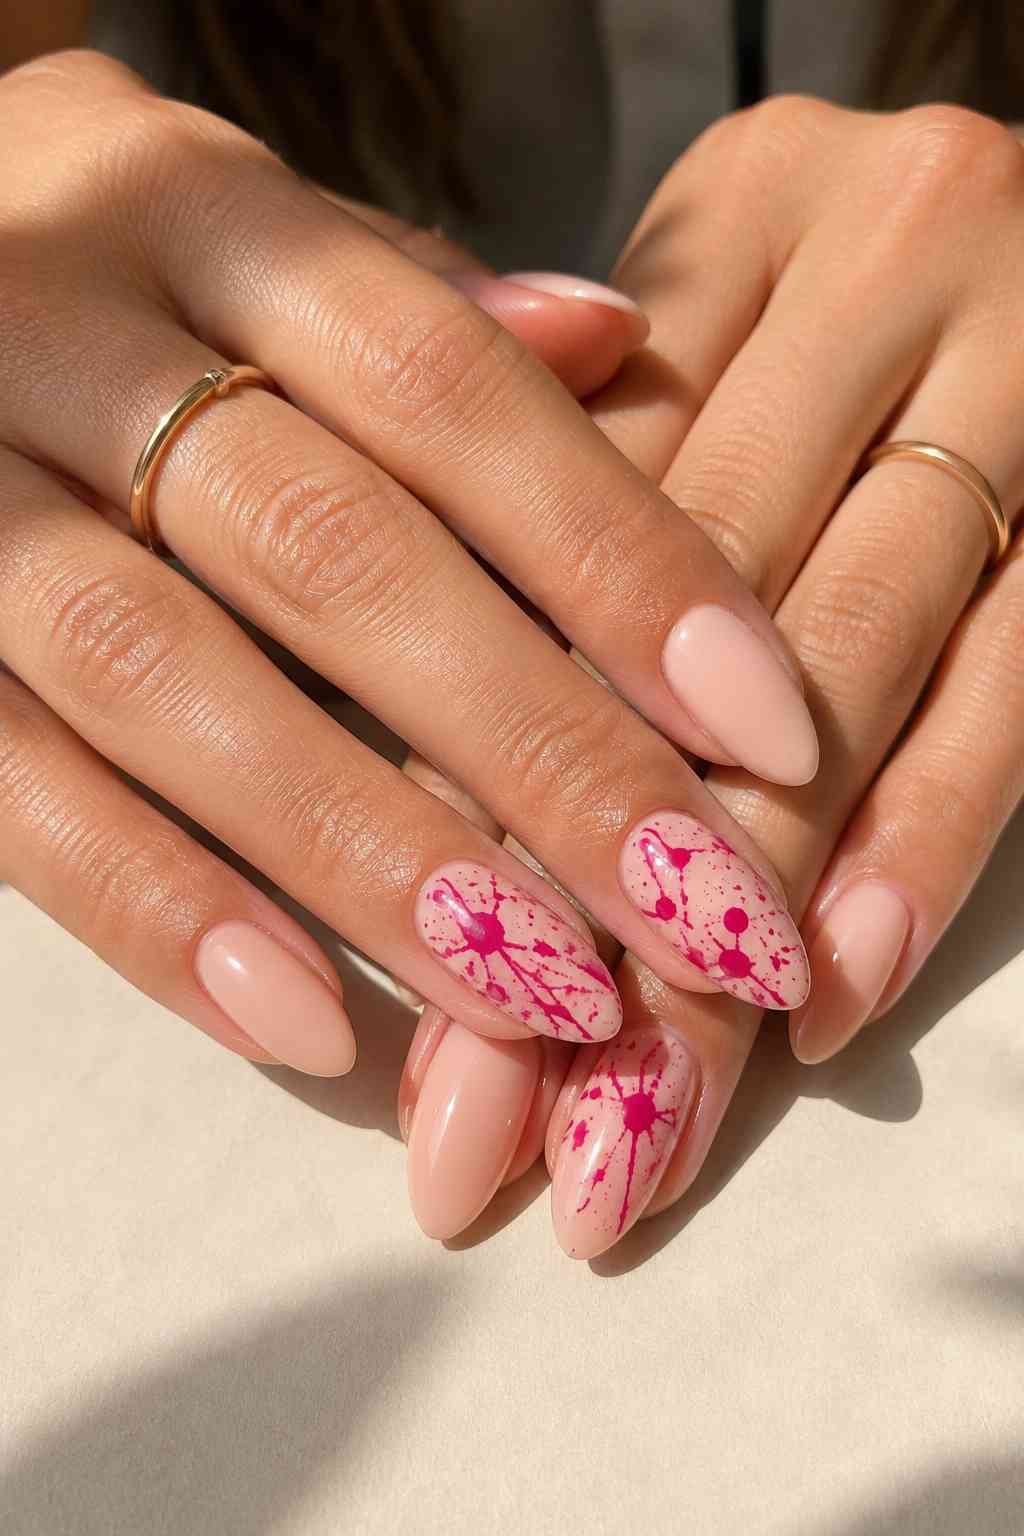
Splatter designs feel artistic without requiring real drawing skills. Start with nude base, then flick hot pink polish onto the nail with a toothpick or splatter brush.
The randomness is the point. Keep splatters contained to two or three nails so some stay solid nude. Splatter nails work best on people with steady hands or who embrace a little chaos.
They photograph amazingly because the texture creates depth the camera catches.
⚠️ Splatter Smart
Practice on a paper towel first. Dip a toothpick in hot pink polish and flick quickly away from your hand for the best splatter effect.
15. Minimalist Black Lines on Hot Pink
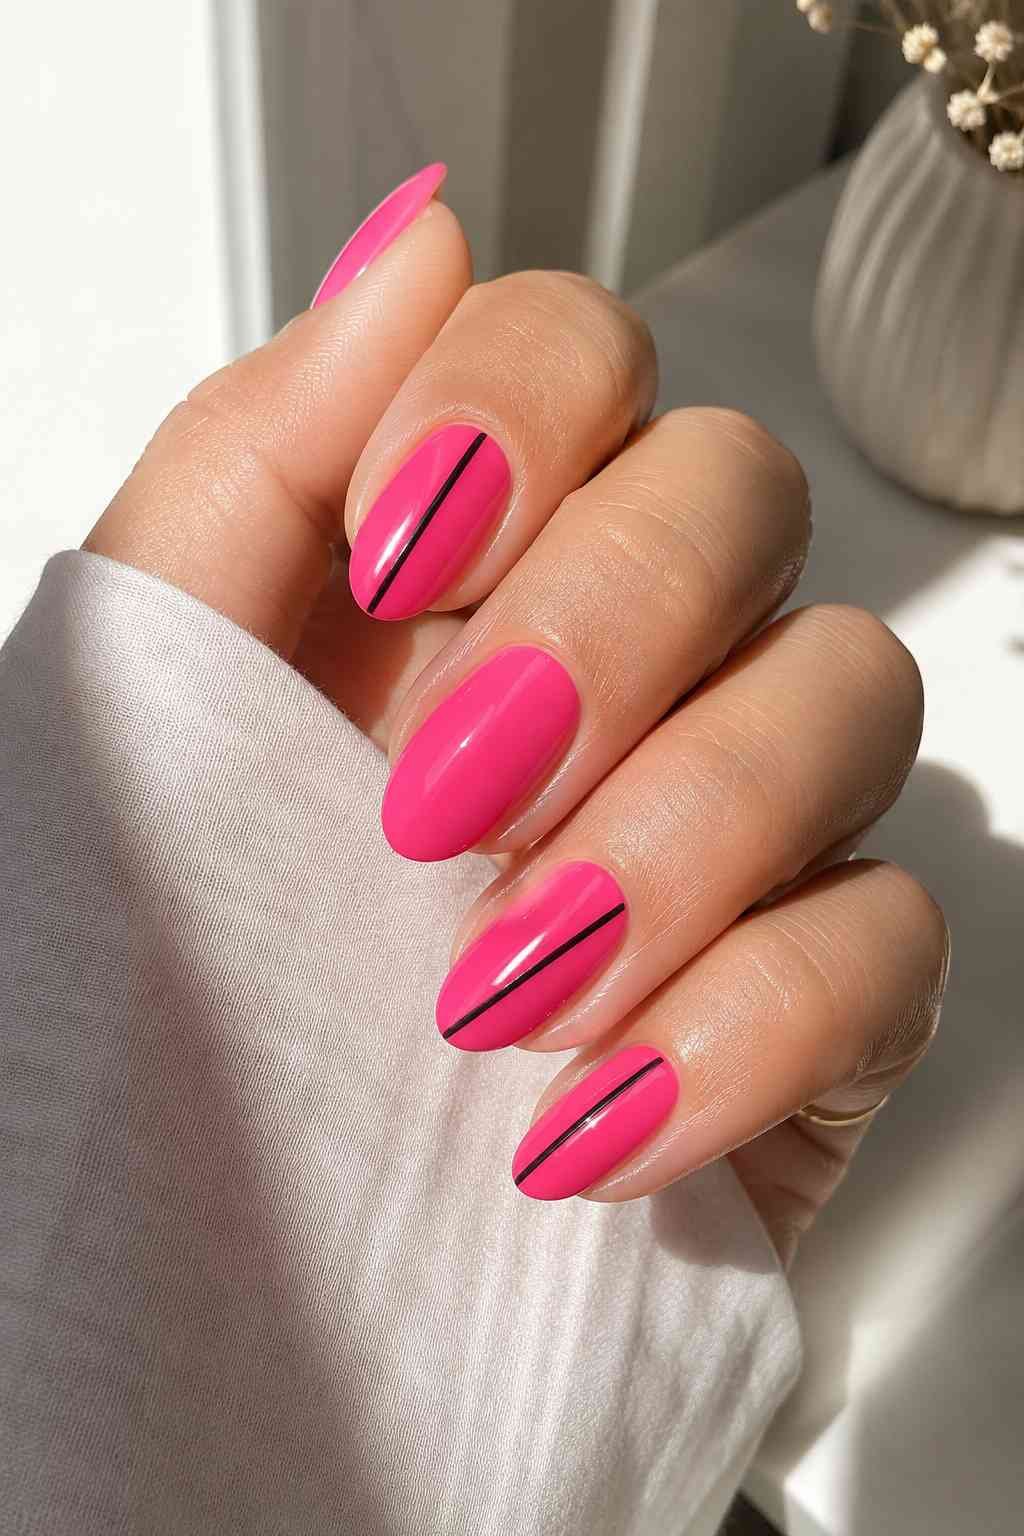
Sometimes less is everything. Solid hot pink nails with one or two thin black lines create an art deco feel without being loud.
The lines can be straight, curved, or geometric. What matters is restraint one line per nail, not a full design.
This approach appeals to people who want personality but hate busy nails. The simplicity reads expensive and intentional.
Paint all nails solid glossy hot pink.
Use thin black brush to add one line per nail.
Keep lines straight or gently curved for elegance.
16. Reverse Ombre from Hot Pink Base
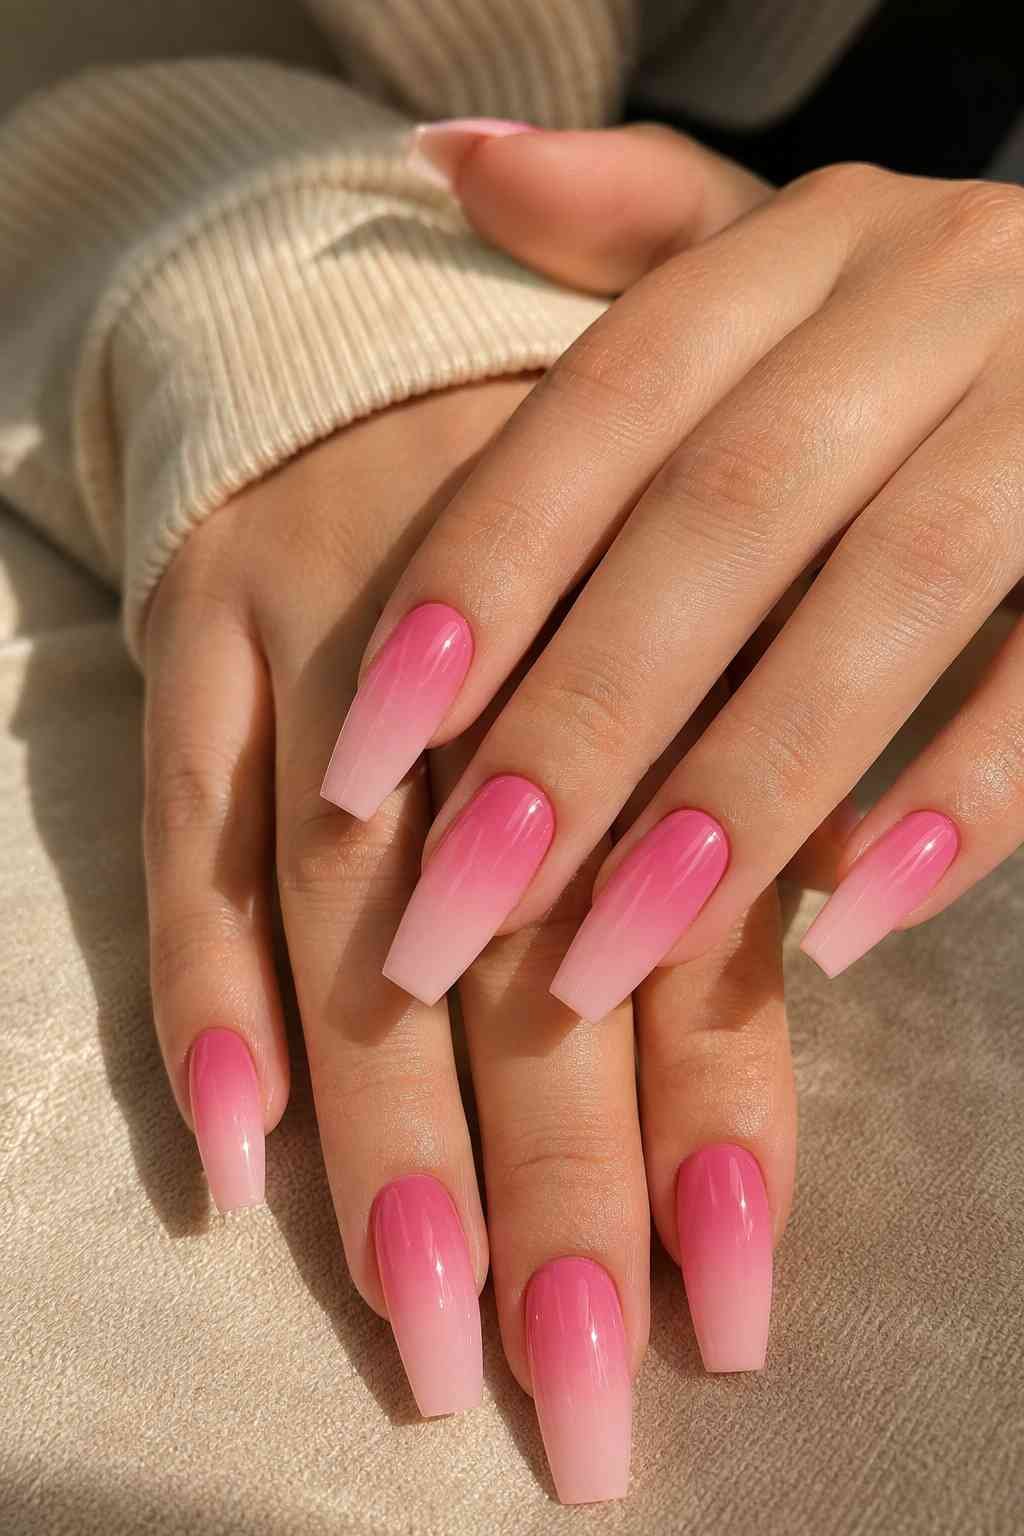
Most ombres go light to dark, but reversing it feels fresh. Start hot pink at the base and fade to pale blush toward the tips. This gradual lightening elongates the nail visually and feels sophisticated.
The reverse direction surprises people and photographs beautifully because light hits the gradient differently.
Works on any shape but looks especially polished on coffin or square nails where the gradient has room to breathe.
📌 Direction Matters
Reverse ombres draw the eye upward, making nails appear longer than traditional light-to-dark gradients.
17. Jelly Translucent Hot Pink Nails
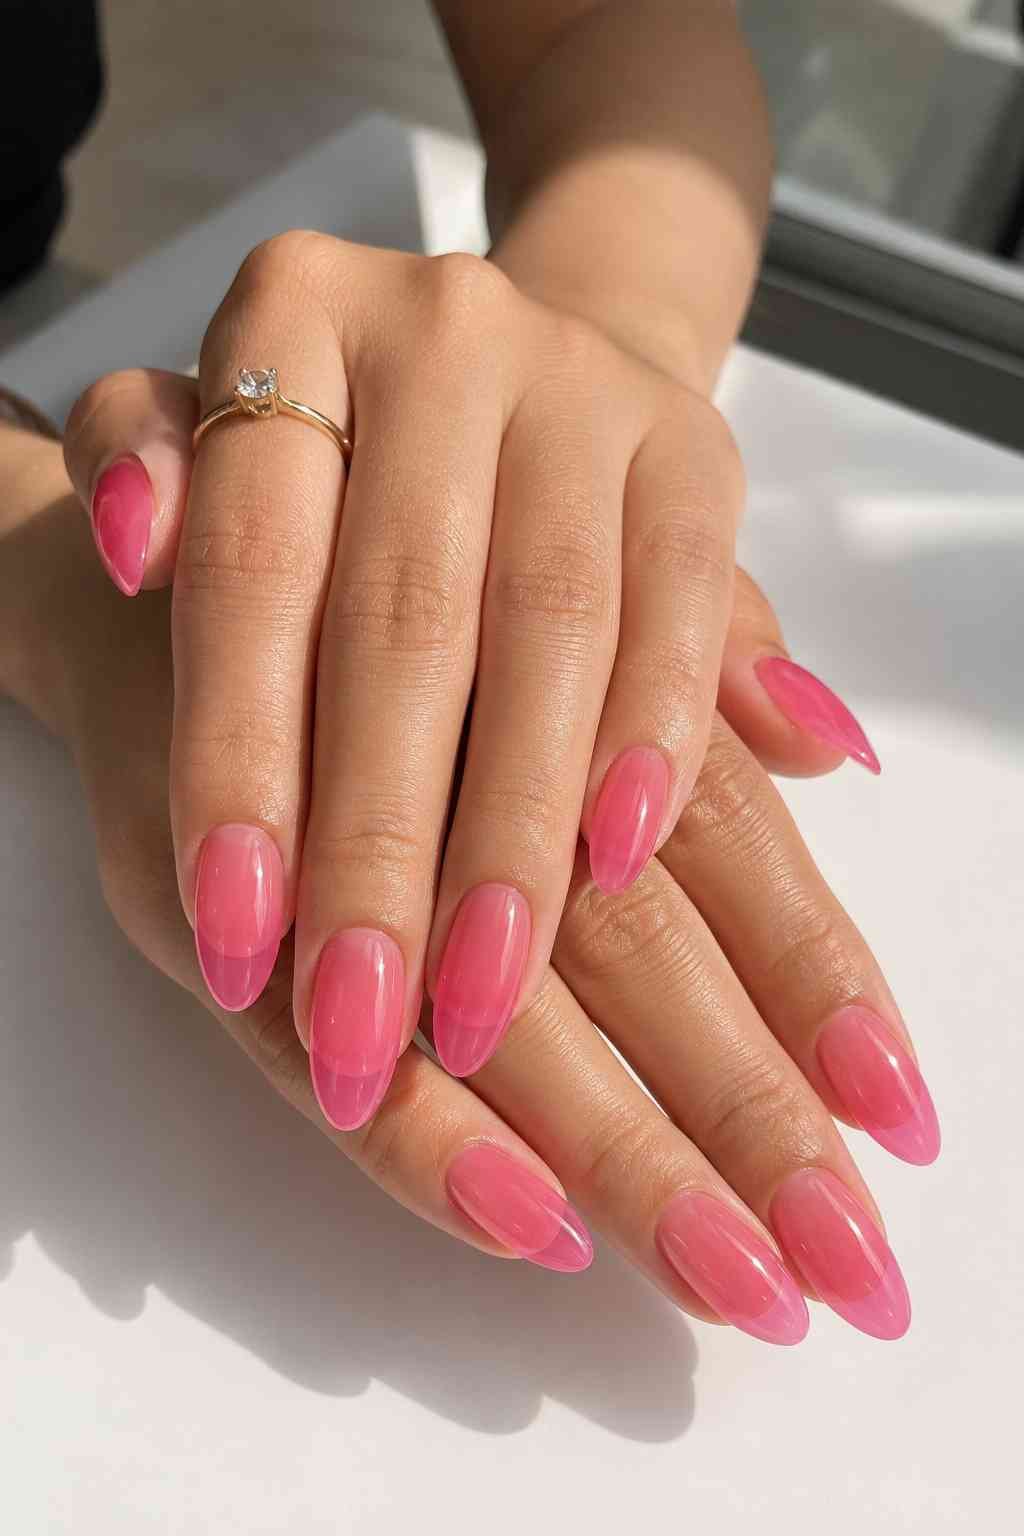
Jelly nails are sheer enough to show skin through them, creating a “candy” effect. Hot pink jelly feels playful but refined because you can still see the nail bed.
Apply two to three coats of jelly hot pink polish to build color while keeping transparency.
This finish works on any shape and feels especially chic on longer nails. Jelly also feels lighter than regular polish, which some people prefer on their natural nails.
How to apply
18. Color-Blocked Geometric Shapes
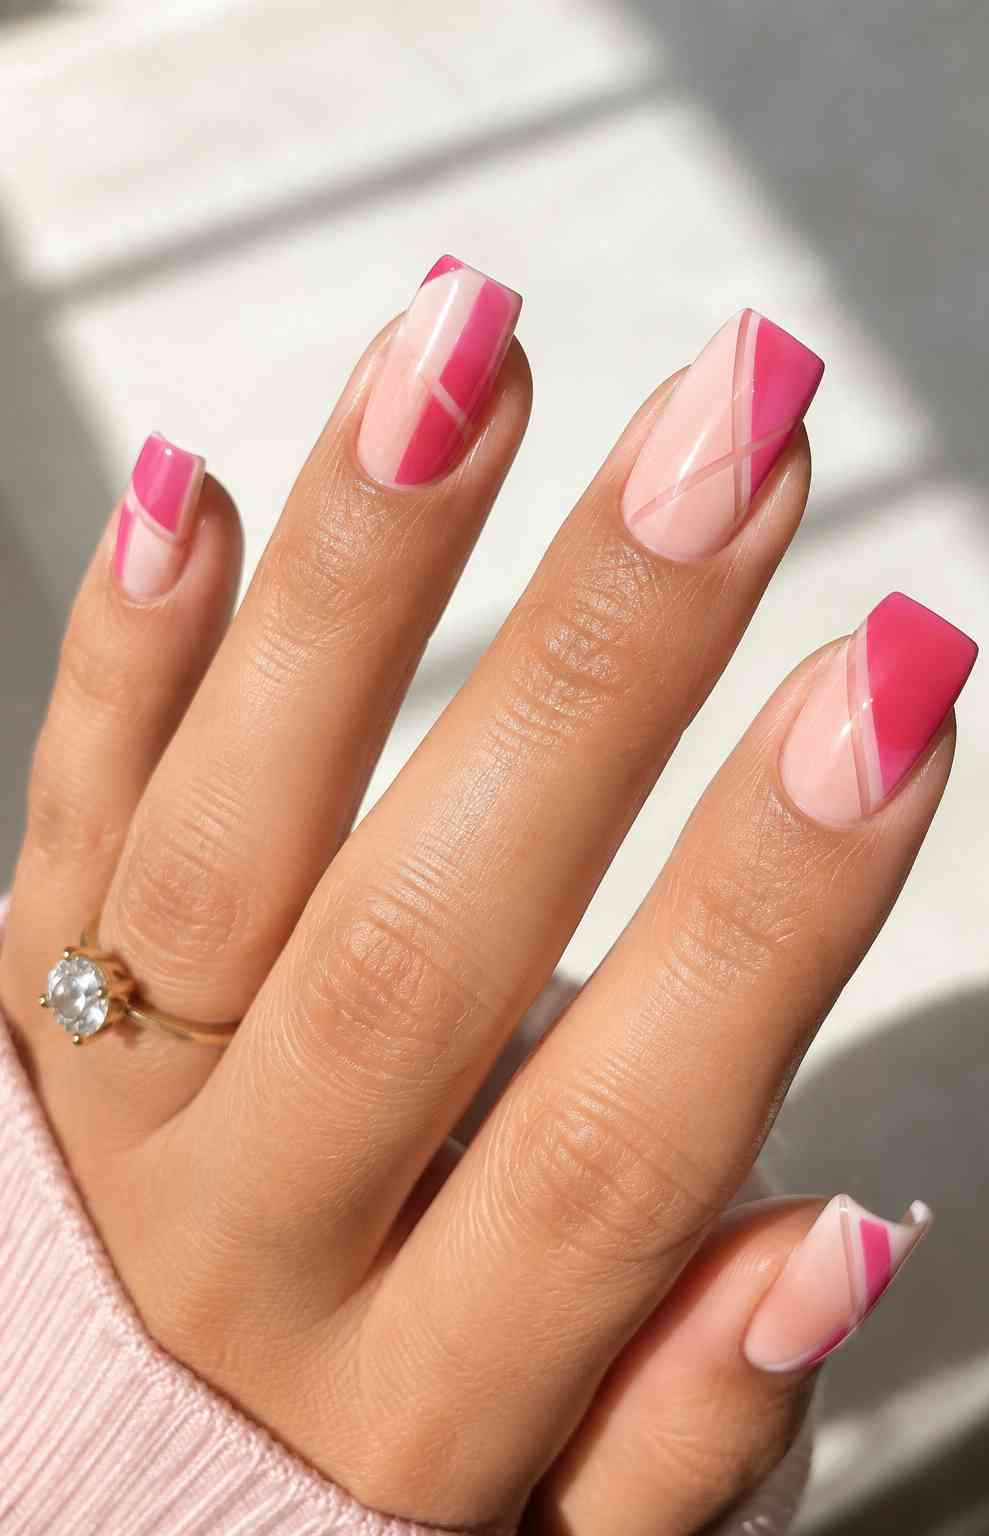
Color-blocking with geometric shapes feels modern without needing artistic skills. Paint one side of each nail hot pink and the other side nude, or create triangles and rectangles in contrasting colors.
Use painter’s tape to keep edges clean. The shapes don’t need to be perfect slight imperfections feel intentional.
This technique works on any shape and looks especially striking on square or coffin nails where the geometry has space to shine.
Painter’s tape creates clean lines.
Apply to clean base, paint over, remove while wet.
Slightly uneven lines feel modern, not sloppy.
Embrace the imperfection.
19. Confetti Glitter Embedded Hot Pink
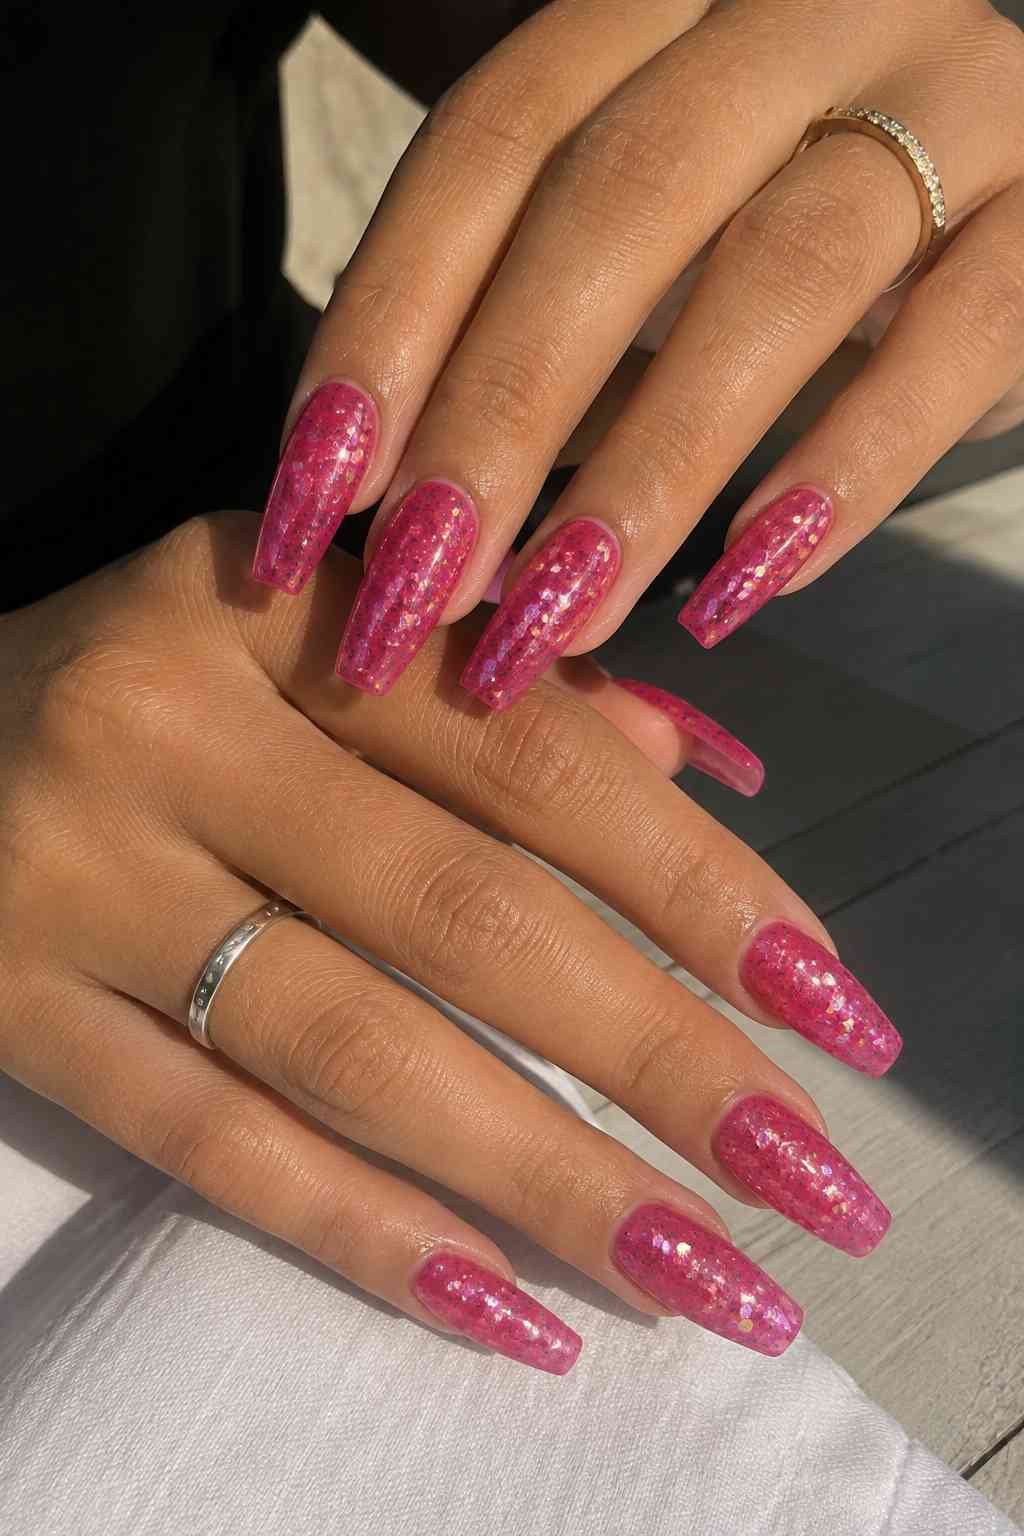
Confetti glitter mixed into hot pink polish adds texture without looking overdone. Use a hot pink base and sprinkle confetti glitter while wet, or use pre-mixed confetti hot pink polish.
The scattered pieces catch light in different places, so your nails sparkle unpredictably.
This works on any shape and feels celebratory without being costume-y. The randomness of confetti means no two nails look exactly the same, which reads expensive and intentional.
Confetti glitter catches light in unpredictable ways, making your nails look different every time you move.
20. Matte Gradient Hot Pink to Pale
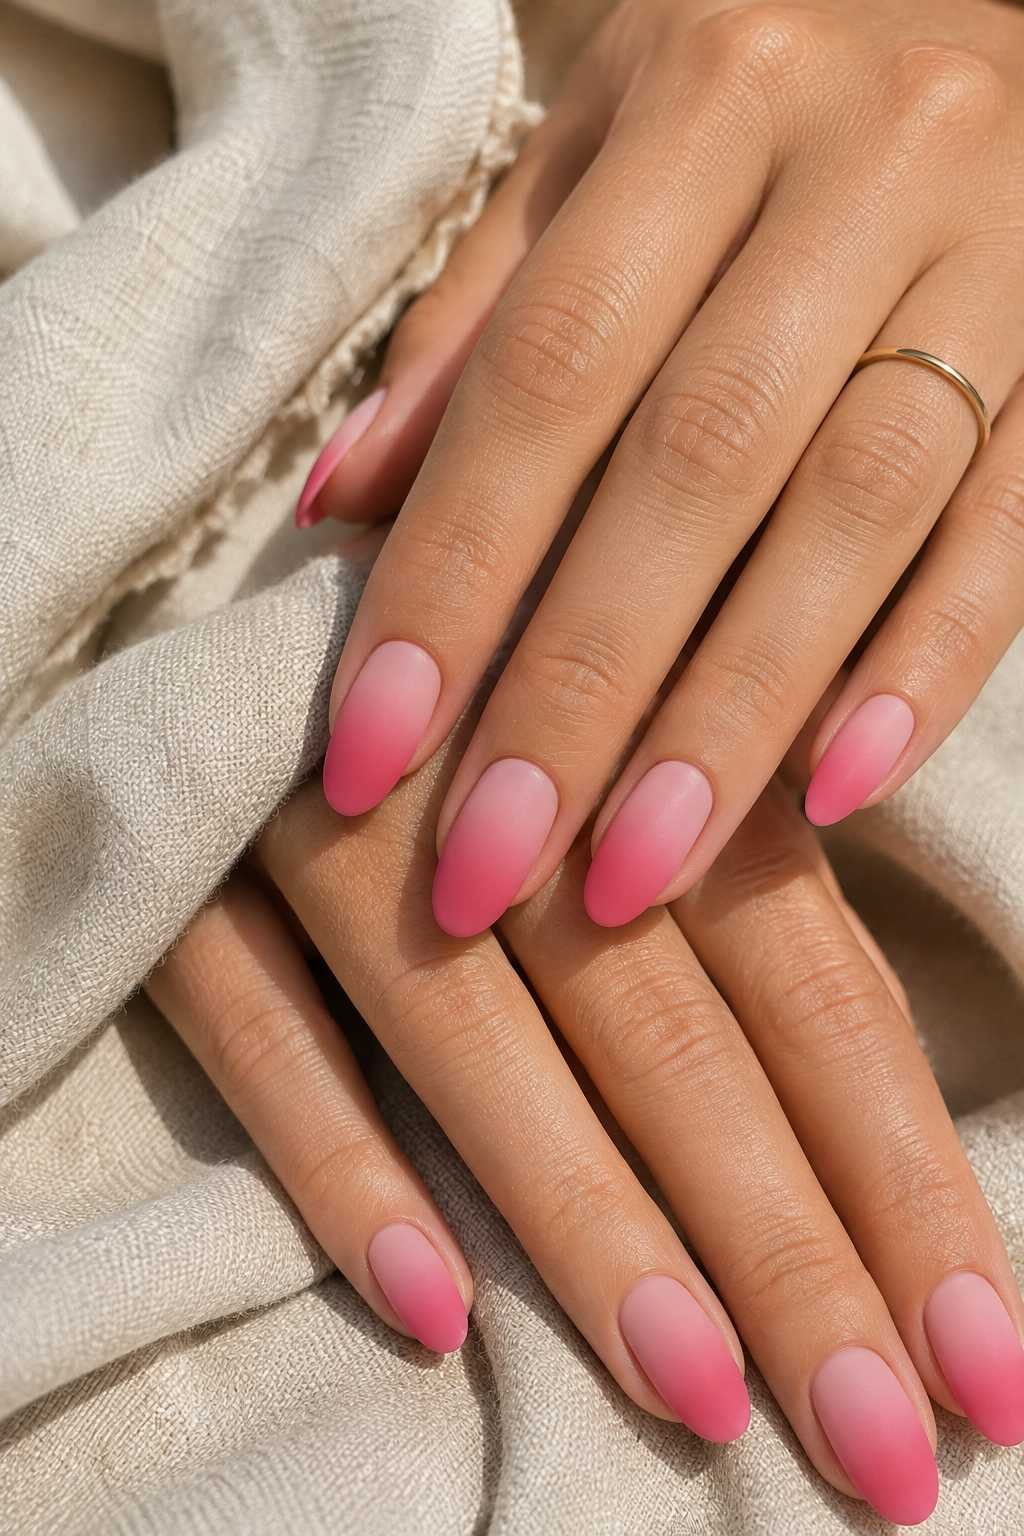
Matte ombre feels velvety and sophisticated. Start with matte hot pink at the tip and fade to matte pale pink at the base.
The soft finish dulls the intensity while the gradient adds dimension. Matte hides imperfections better than glossy, so this is forgiving for DIY painters.
Works on any shape but looks especially polished on almond or oval nails.
The matte finish makes this feel more luxury resort than nightclub perfect for someone who wants hot pink that whispers instead of shouts.
Apply matte hot pink polish to all nails.
Sponge matte pale pink from the base upward halfway.
Blend the colors with a clean makeup sponge.
21. Marble Swirl with Hot Pink and White
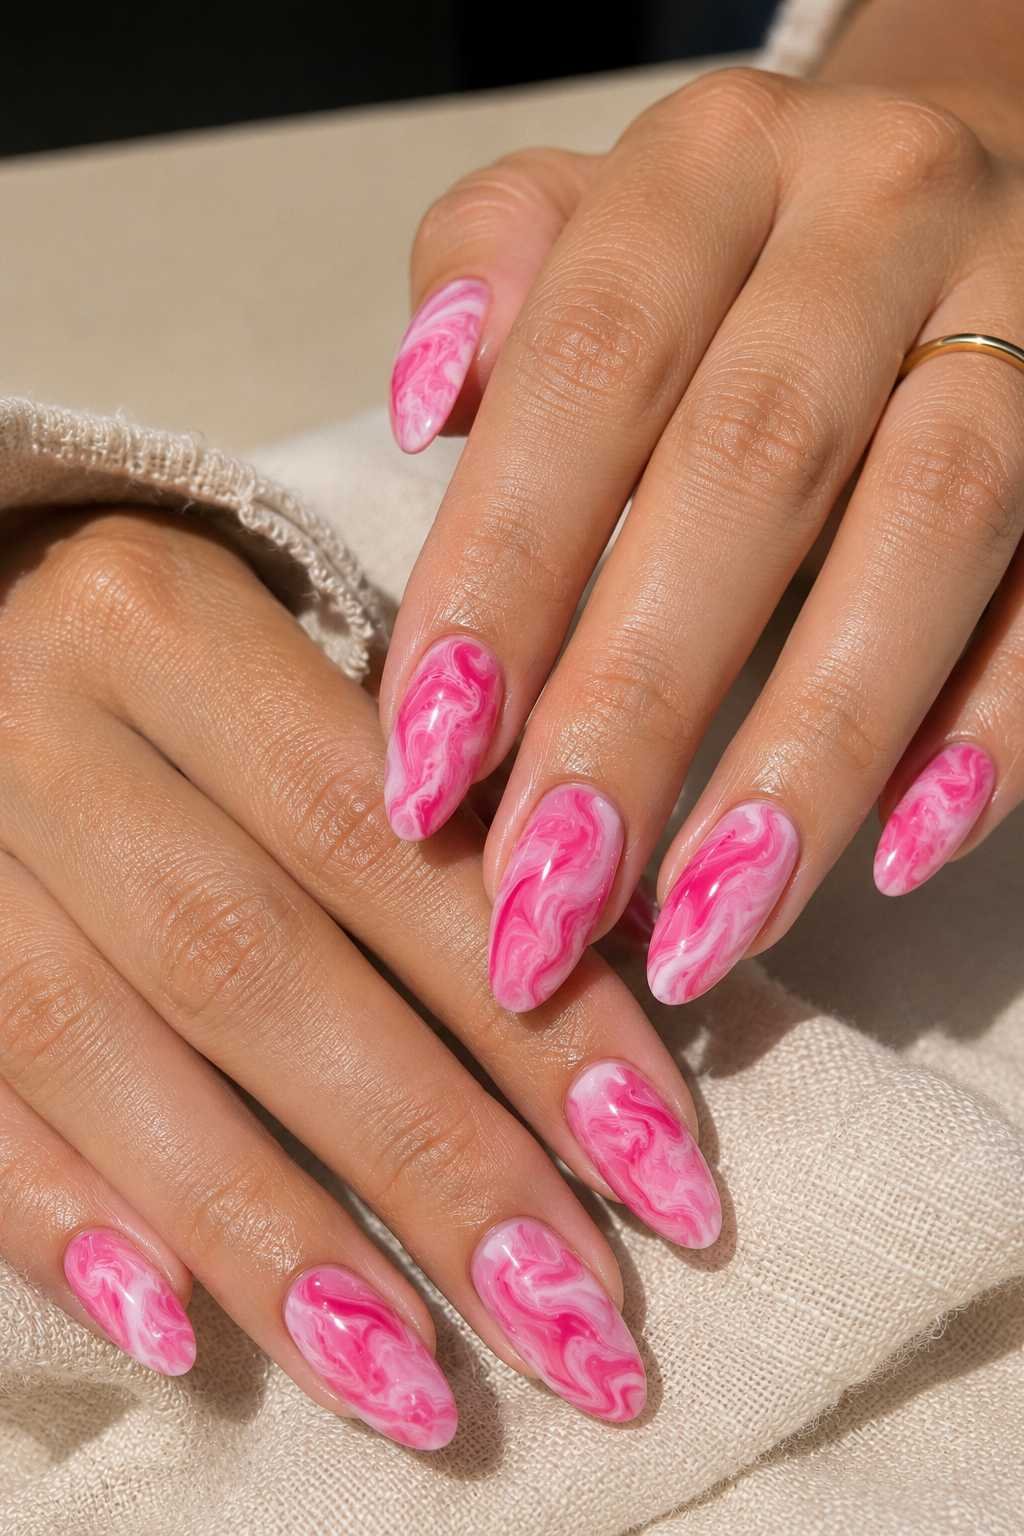
Marble nails look complicated but use a simple water-drop technique. Drop hot pink and white polish onto water, swirl with a toothpick, then dip your nail into the design.
Each nail comes out unique because you can’t replicate the swirl twice. The result feels artistic and expensive.
Some nails will be mostly white with hot pink veins, others mostly hot pink with white marbling.
📌 Marble Magic
Use room-temperature water, not hot. Quickly dip before the polish dries on the water surface.
22. Hot Pink Ombre with Nude Tip
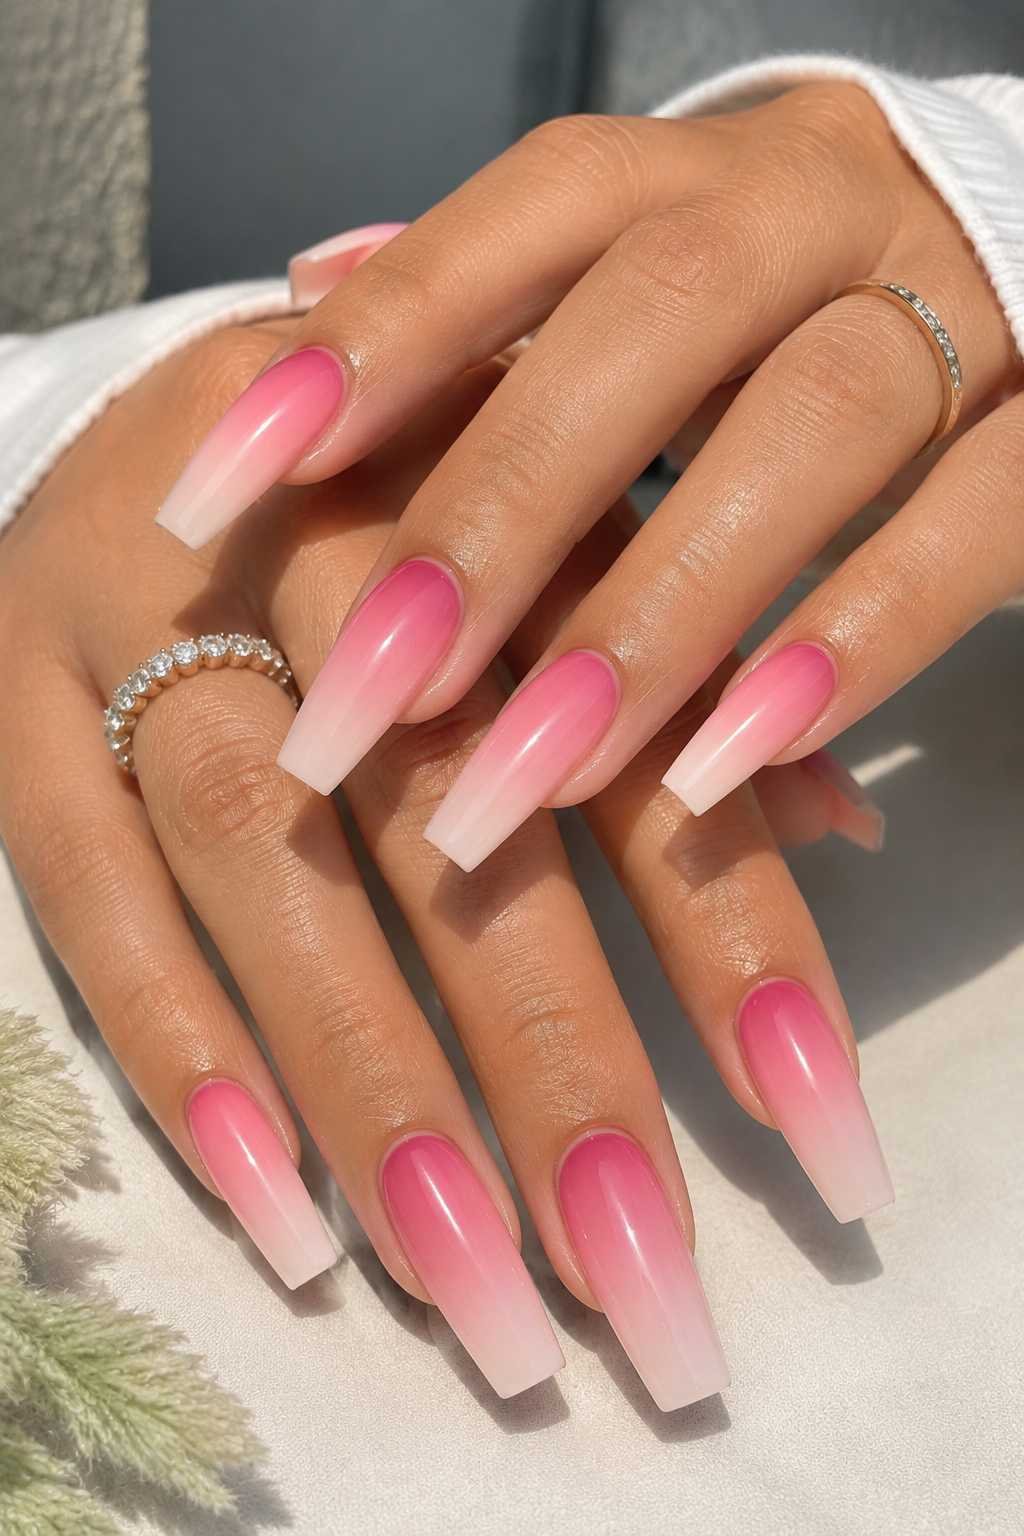
This hybrid combines two trends. Ombre hot pink at the base, then shift to nude or white tips.
The gradient flows upward while the tips stay neutral. It’s like a reverse French but with an ombre inside.
Works on coffin or square nails where you have enough surface for the gradient to show. The neutrality of the tips makes this wearable for work while the hot pink base keeps it bold. Best of both worlds.
Step by step
23. Classic Solid Hot Pink Perfection
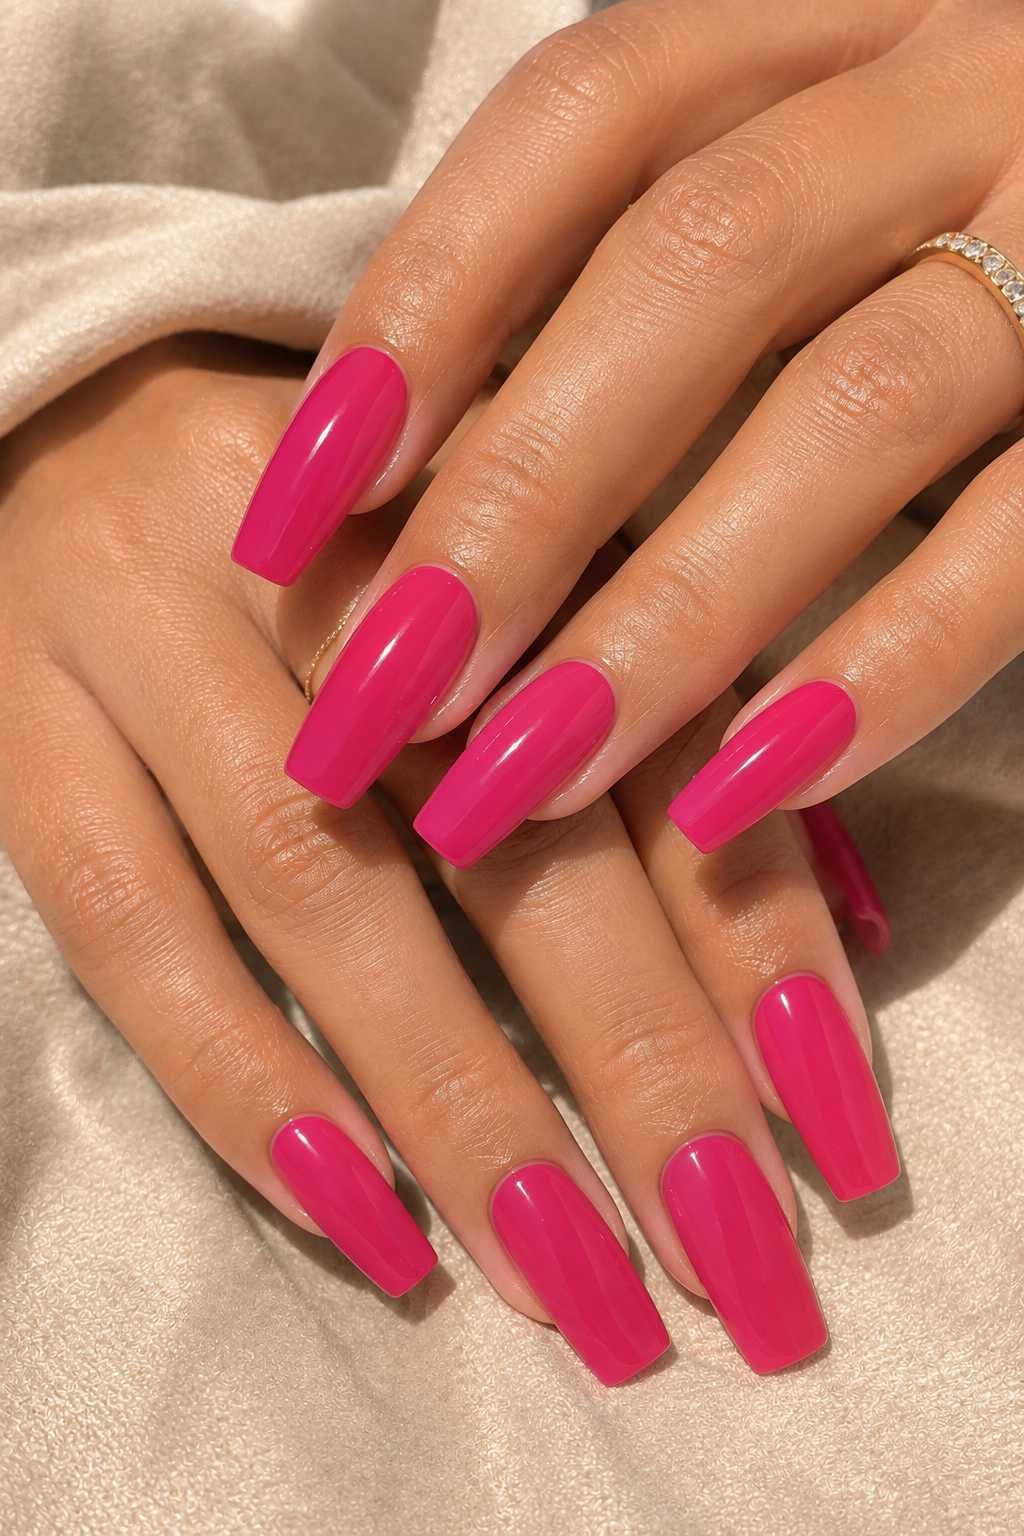
Sometimes no design beats a perfect solid. Hot pink glossy nails on any shape feel polished and complete.
The color does all the work. This is the “little black dress” of nail design appropriate everywhere, always works, never gets old. All you need is clean lines, good application, and a quality topcoat.
This proves you don’t need patterns or accents to look expensive. The simplicity reads confidence. Perfect for someone who wants nails that work for every moment of their day.
A flawless solid nail is more luxe than a busy design. Simplicity signals refinement.
24. Glitter Gradient Fading Tips
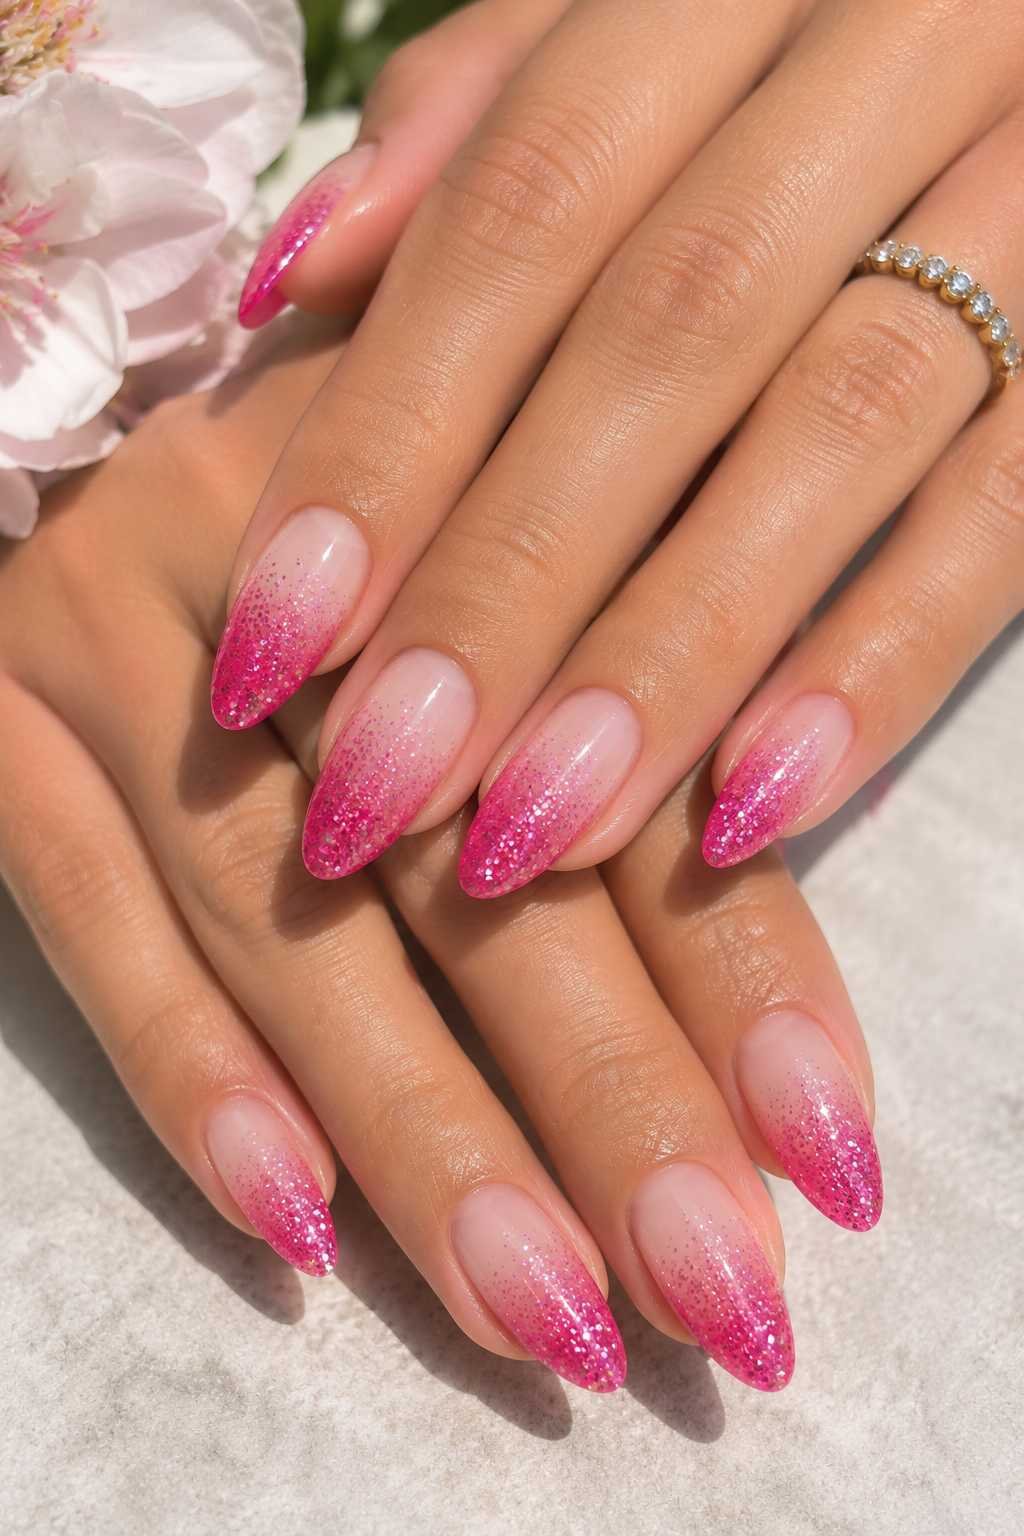
Glitter tips are fun when the shimmer fades gradually instead of stopping abruptly.
Start with heavy hot pink glitter at the very tip, then layer translucent or nude polish on top and blend it upward so the glitter fades into invisibility by the middle of the nail.
The result looks dimensional and catches light at the tips. Works on any shape but looks especially good on longer almond or coffin nails where the gradient has room. Casual enough for everyday but sparkly enough to feel special.
Paint hot pink glitter polish on tips of all nails.
Apply translucent or nude base over the glitter.
Blend upward with a sponge for gradient effect.
25. Watercolor Wash Hot Pink Abstract
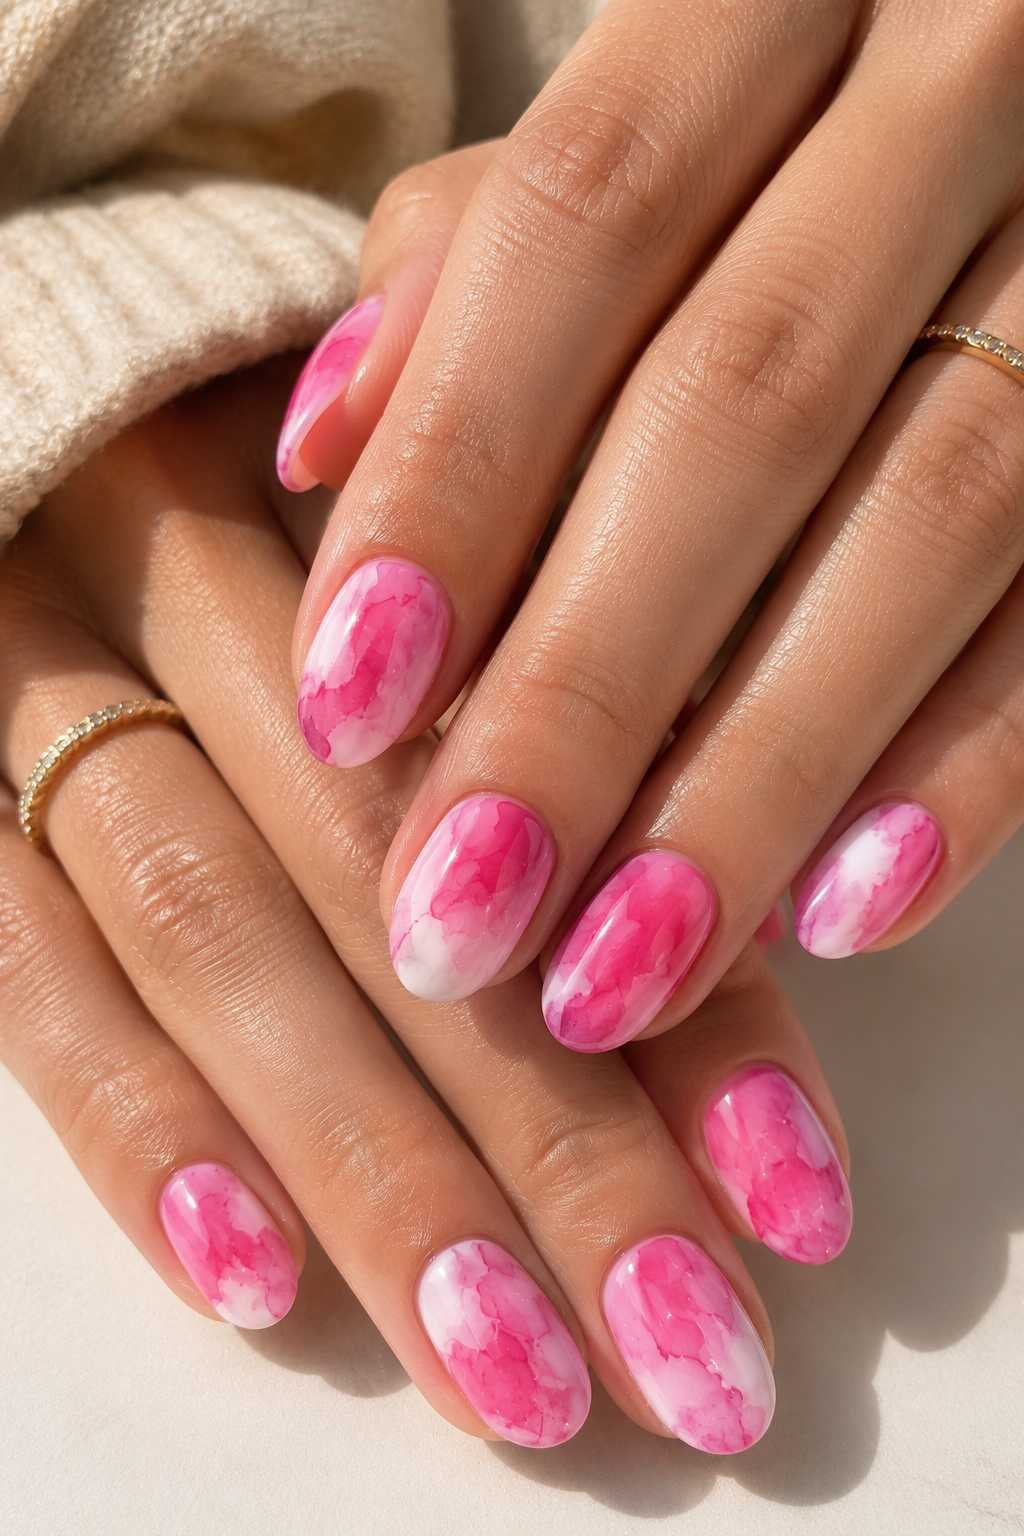
Watercolor technique creates organic, artistic vibes. Use hot pink and white
(or pale pink) polish diluted slightly with polish thinner, apply with a damp brush to create soft color washes and bleeds.
The colors blend into each other without being contained that’s the whole aesthetic. Each nail comes out different because watercolor is unpredictable.
💡 Thin Your Polish
Add a few drops of polish thinner to make the polish flow like watercolor. Use a damp brush for soft edges.