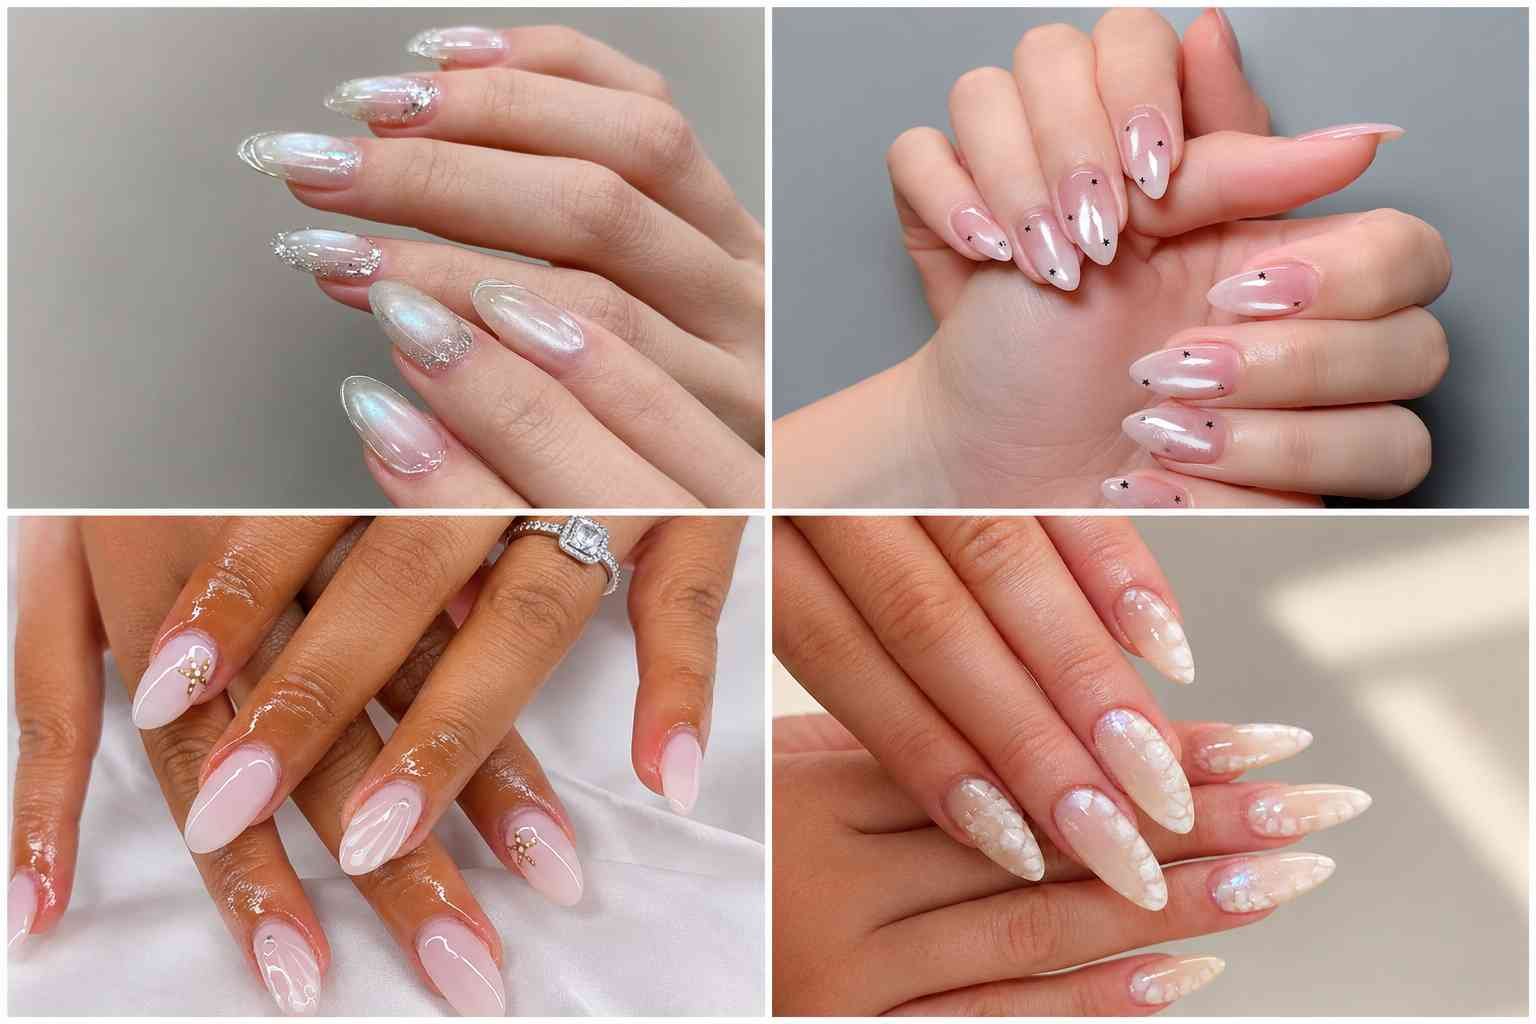


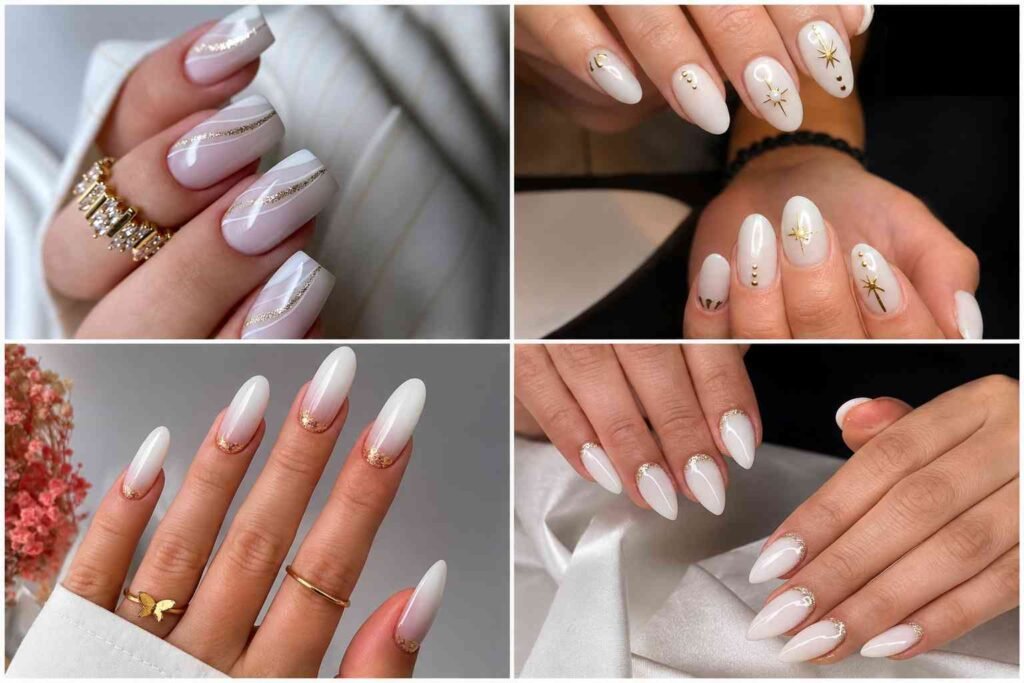
Milky white nails have a way of looking expensive without trying too hard. The soft, sheer finish reads clean on short nails and striking on long ones. Plenty of people reach for it because it goes with almost everything, from a work blazer to a holiday dress.
A plain milky coat can feel a little bare, though, and freehand details often scare beginners who worry about wobbly lines. The good news is that most of these looks rely on small, simple moves.
A thin gold line, a dot, a gem, or a soft fade can change the whole mood.
In this list you will find 13 ideas that work on real nails, at home and in the salon.
Each one has a clear shape, a clear effort level, and a quick note on who it suits. Save the ones that catch your eye, then pick the one you can recreate this weekend.
1. Polka Crystals
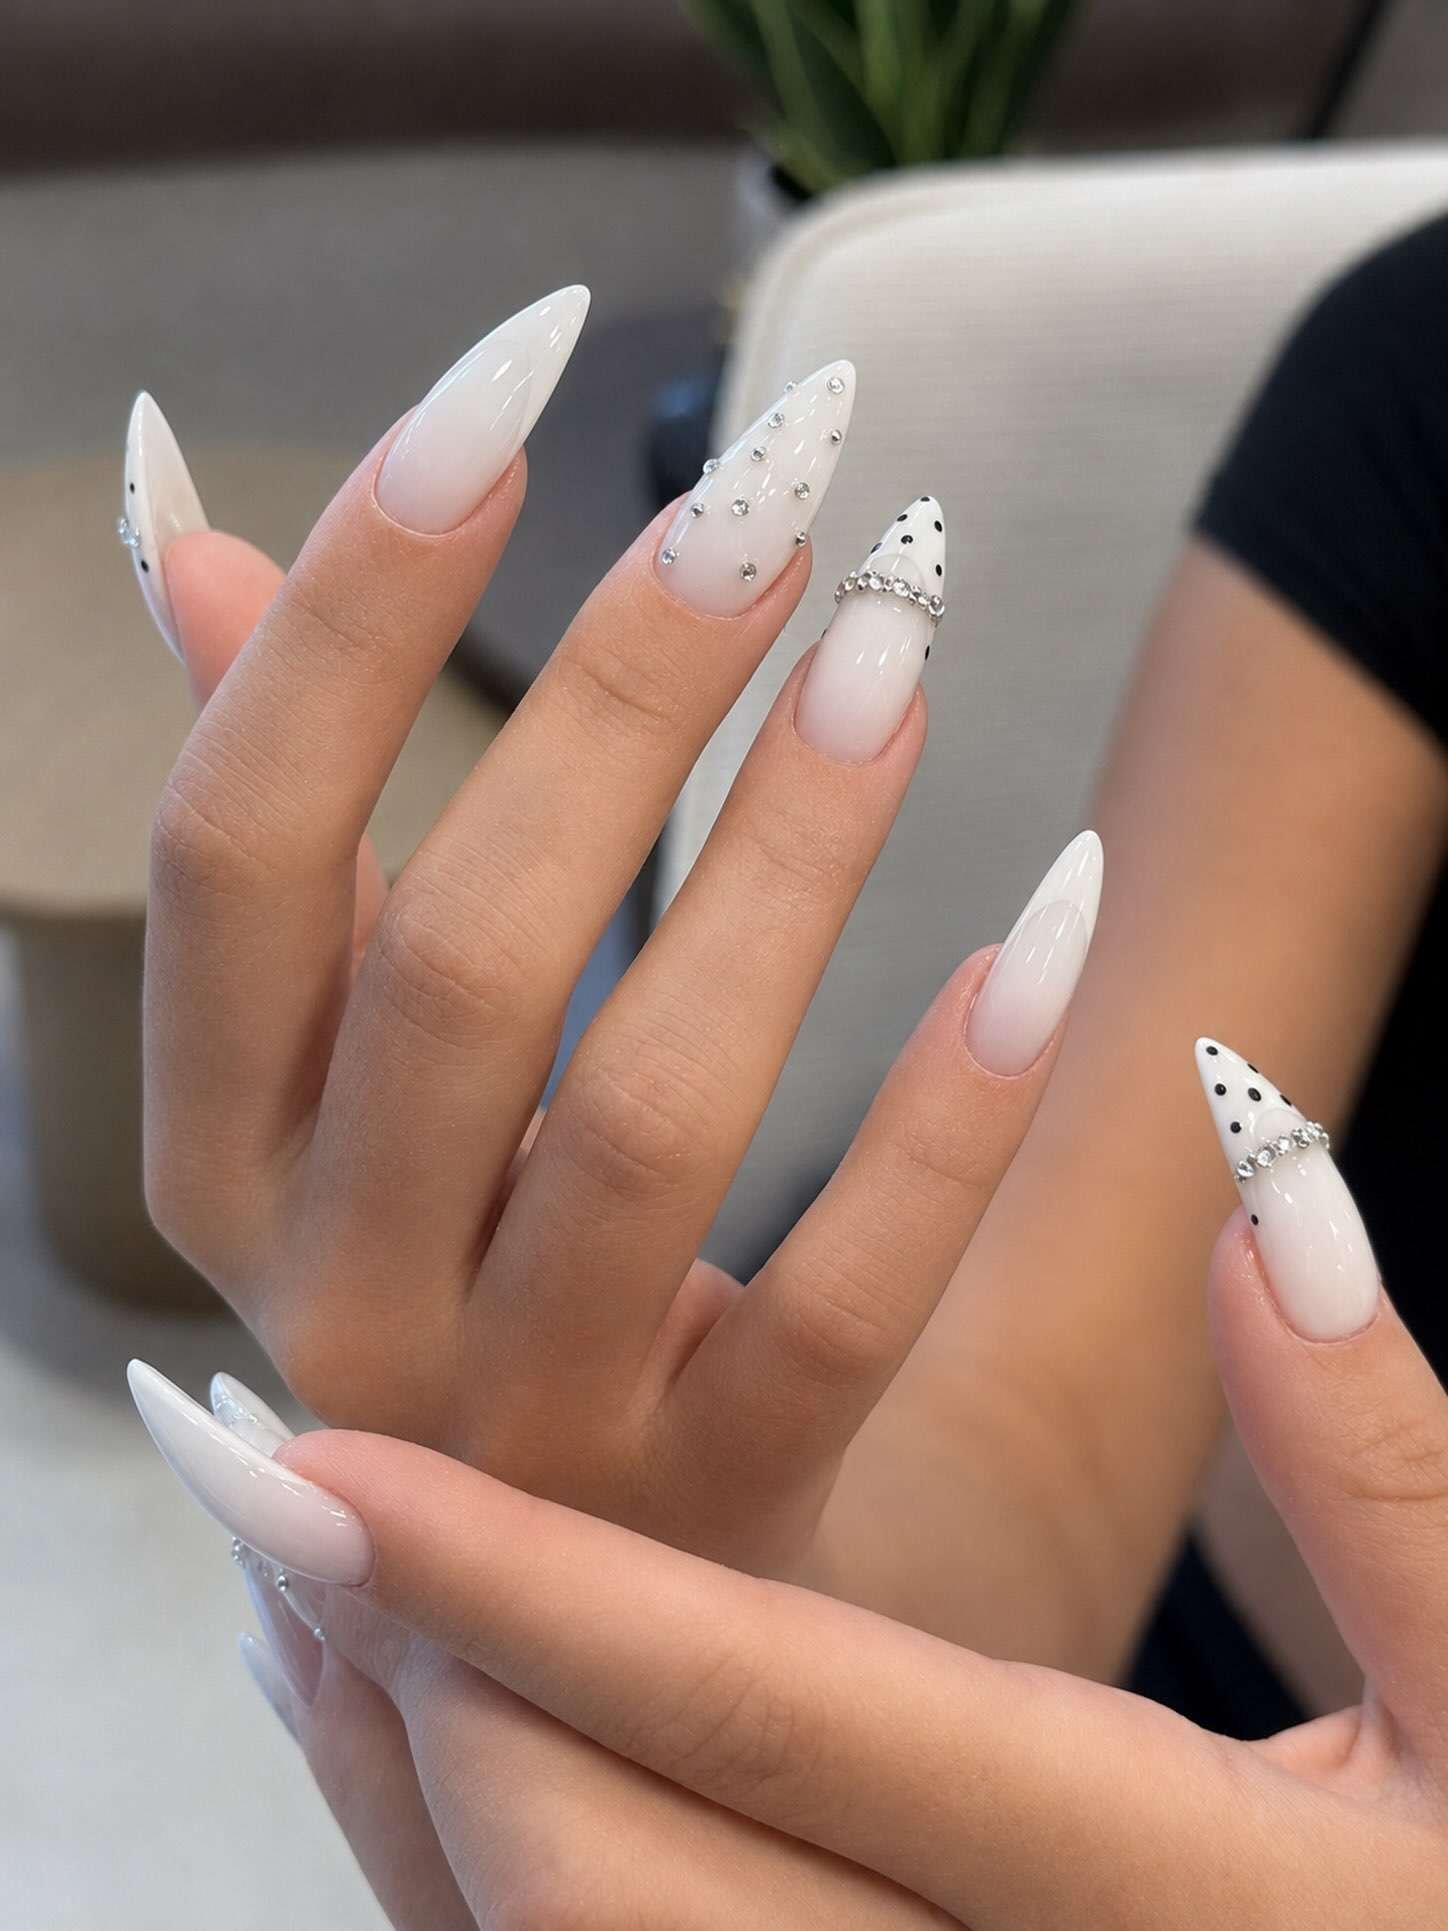
Image credit: @manicure_academy
Start with the almond shape here, since it makes the white base look soft and long. The milky tone sits smooth and sheer, with no harsh edges. On one nail, tiny black dots cover the tip like a light sprinkle.
On the nail beside it, a thin row of crystals sits neatly across the tip. Keep the dots small and even.
A dotting tool works better than a brush for this, and a fine brush helps with the crystals. If the dots feel too busy, use them on one nail only. Two accent nails are plenty for a clean, grown-up look.
2. Jewel Stars
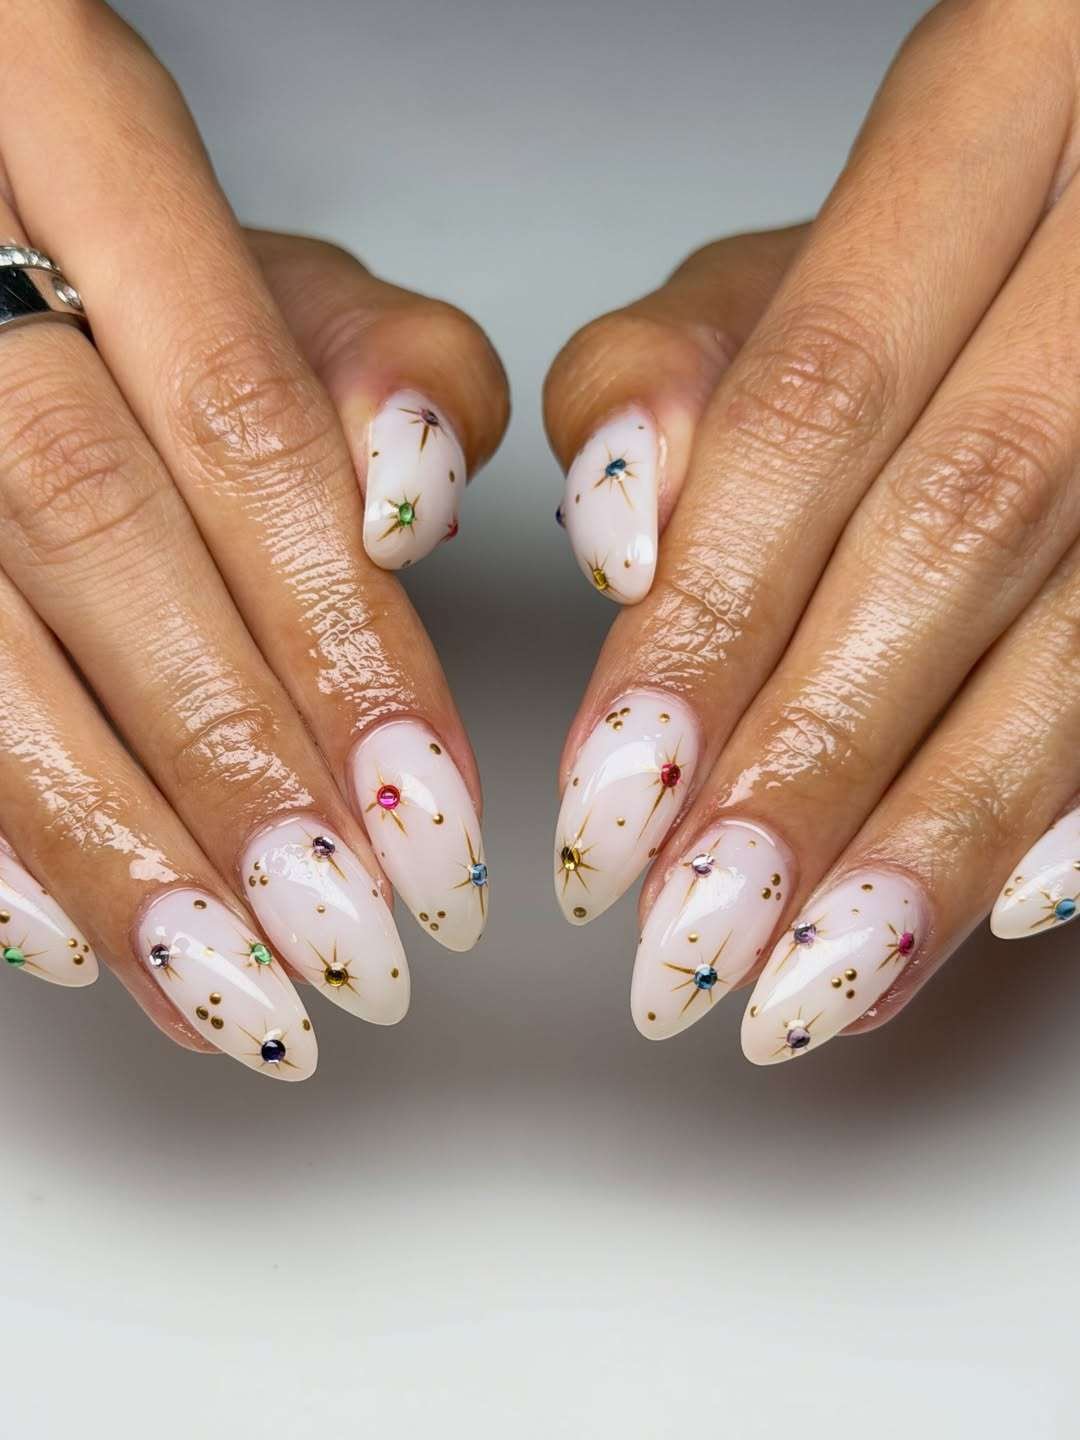
Image credit: @nailz_bybrooke
A sheer milky base with a soft pink glow lets the tiny starbursts shine. Each star has a gold line and a single colored gem at the center. Gold dots sit around the stars for balance.
The trick is to keep the spacing loose, so the design feels airy. Put the stars on the tip and near the side, not all over. Gel polish keeps the gems in place.
Plan about one star per accent nail, then add a dot or two to the rest. The effect looks bright without being loud. If you love a little sparkle, save this one for your next set.
3. Gold Swirls
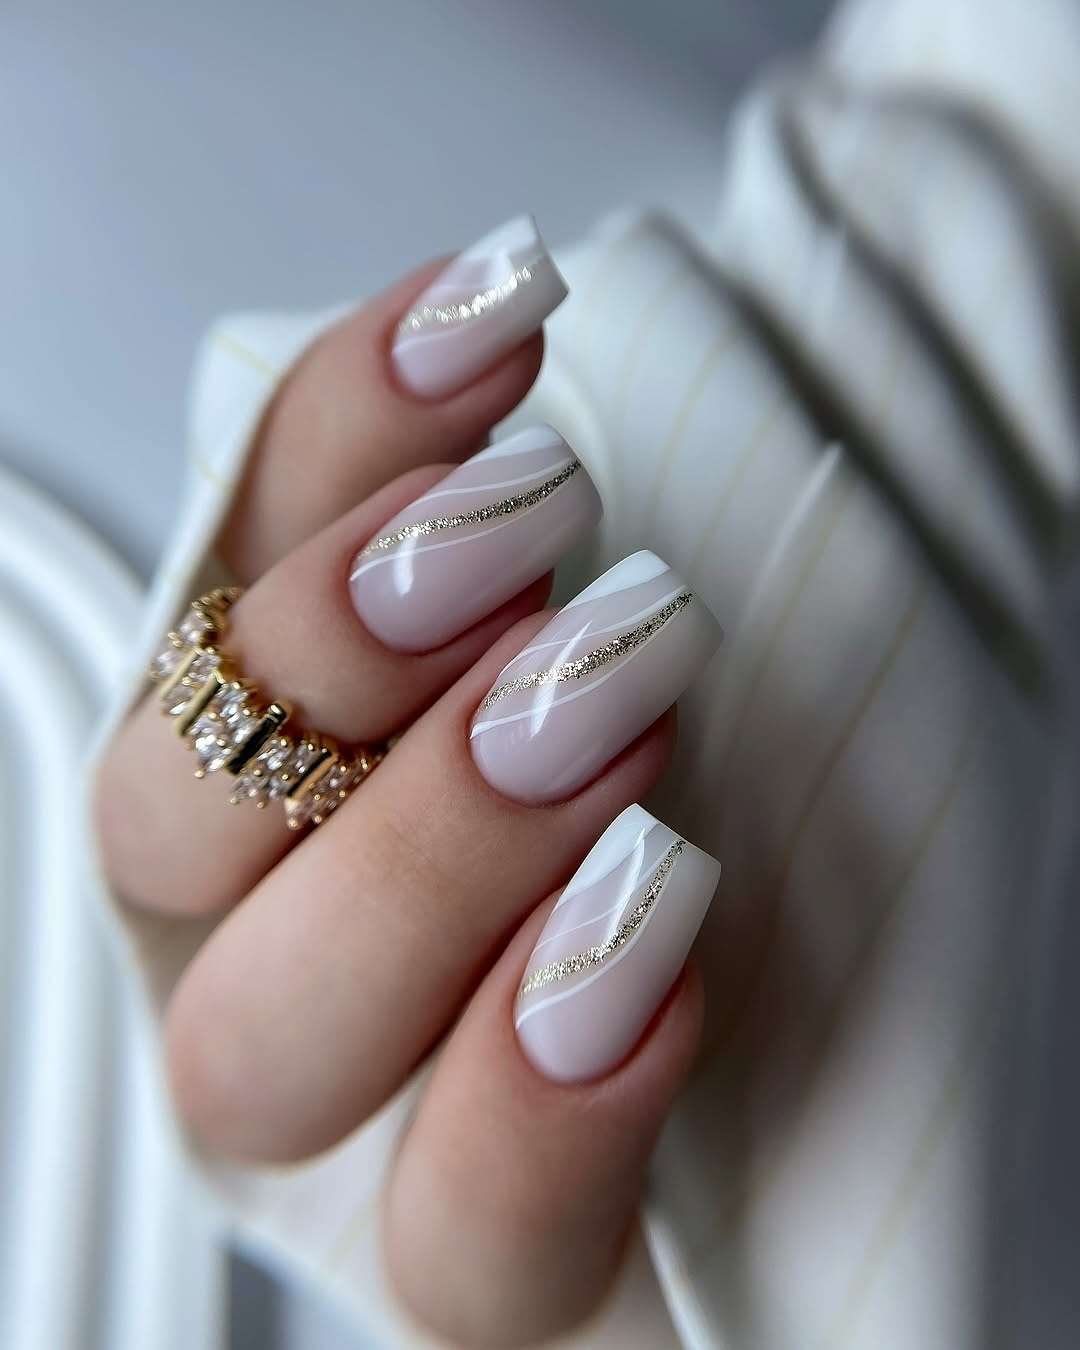
Image credit: @ideas_for_nailart
The square-ish shape gives these nails a modern edge.
The base is a soft nude with a white hint, and two lines run across: a bright gold glitter line and a thin white stripe. Most people think swirls need a steady hand, but these lines are gentle curves that follow the nail.
Draw the white line first, then add the glitter line over it. Wipe your brush on a paper towel often so the strokes stay crisp. If your hand shakes, use a nail art pen or tape a guideline.
This look proves that simple lines often look the most high end.
4. Foil Tips

Image credit: @fabifanails
Almond nails with a glossy milky finish set the stage for this gold tip. A thin layer of gold flake sits right along the cuticle end of each nail, while the rest stays pale white.
The foil covers only a small area, so it reads as luxe, not loud. Apply the base, then press flakes into a wet top coat along the edge. Brush off the loose bits and seal it.
Many people choose this design for weddings and holiday events, since it looks dressy with almost any outfit. Keep the foil on a few nails if you want it subtle.
5. Pearl Blossom
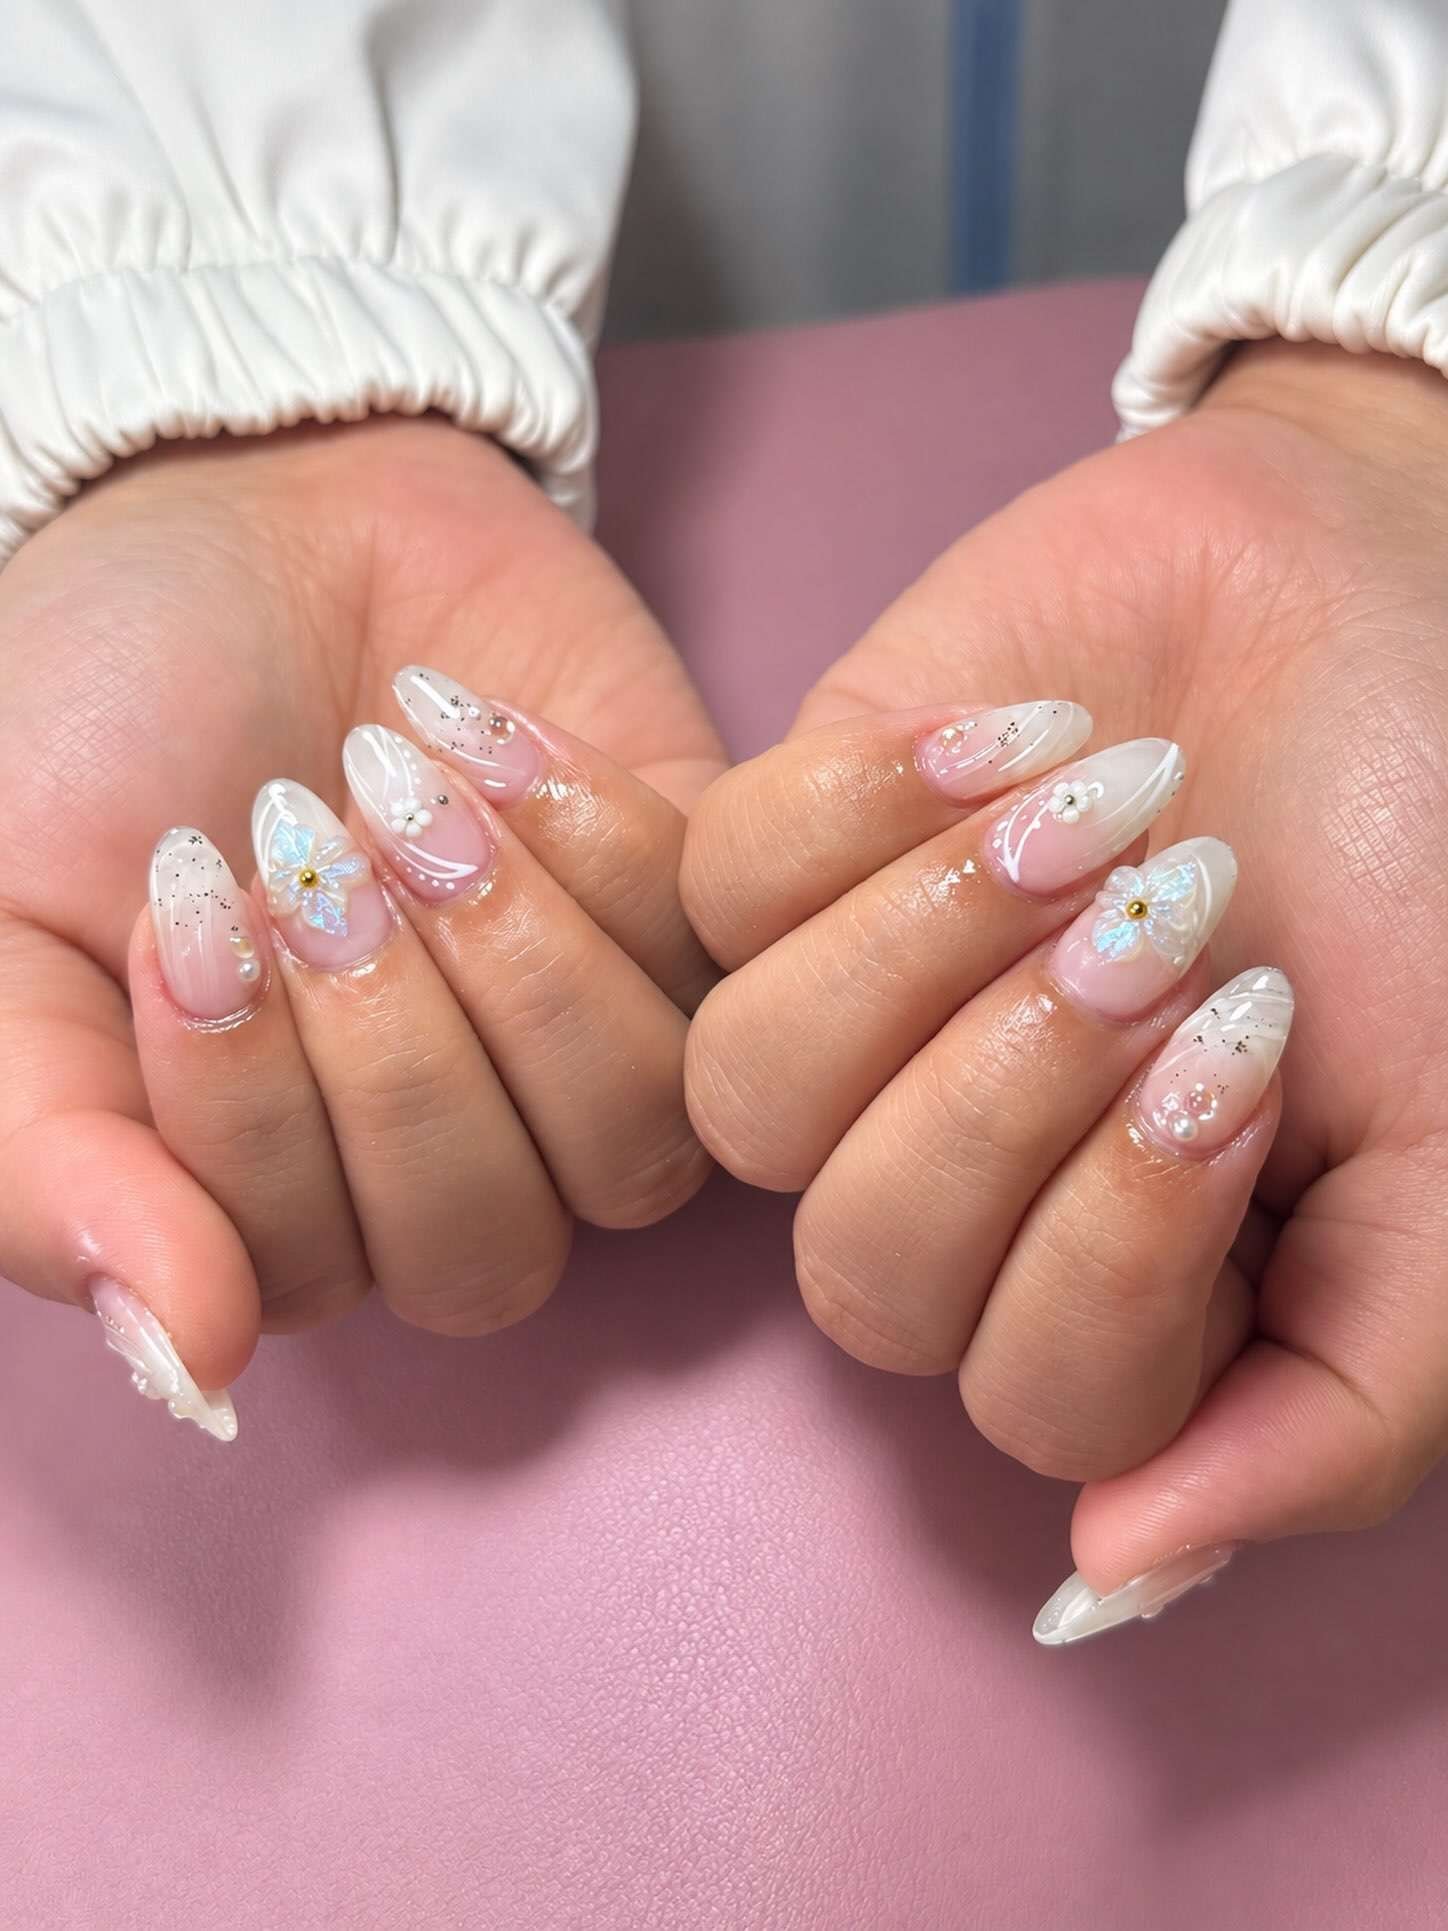
Image credit: @cozy_nailsdesign
This set leans soft and dreamy. The pink-white gradient fades from base to tip, and the pearl flower sits on the center nail.
Tiny pearls and silver glitter keep the look light. 3D flowers look hard at first, but you can start with one petal cluster and build from there. Use a gel with a little thickness, then add pearls while the gel is still tacky.
A tiny gold dot in the middle makes the flower look finished.
Keep the rest of the nails sheer, so the flower takes the spotlight.
6. Leaf Lines
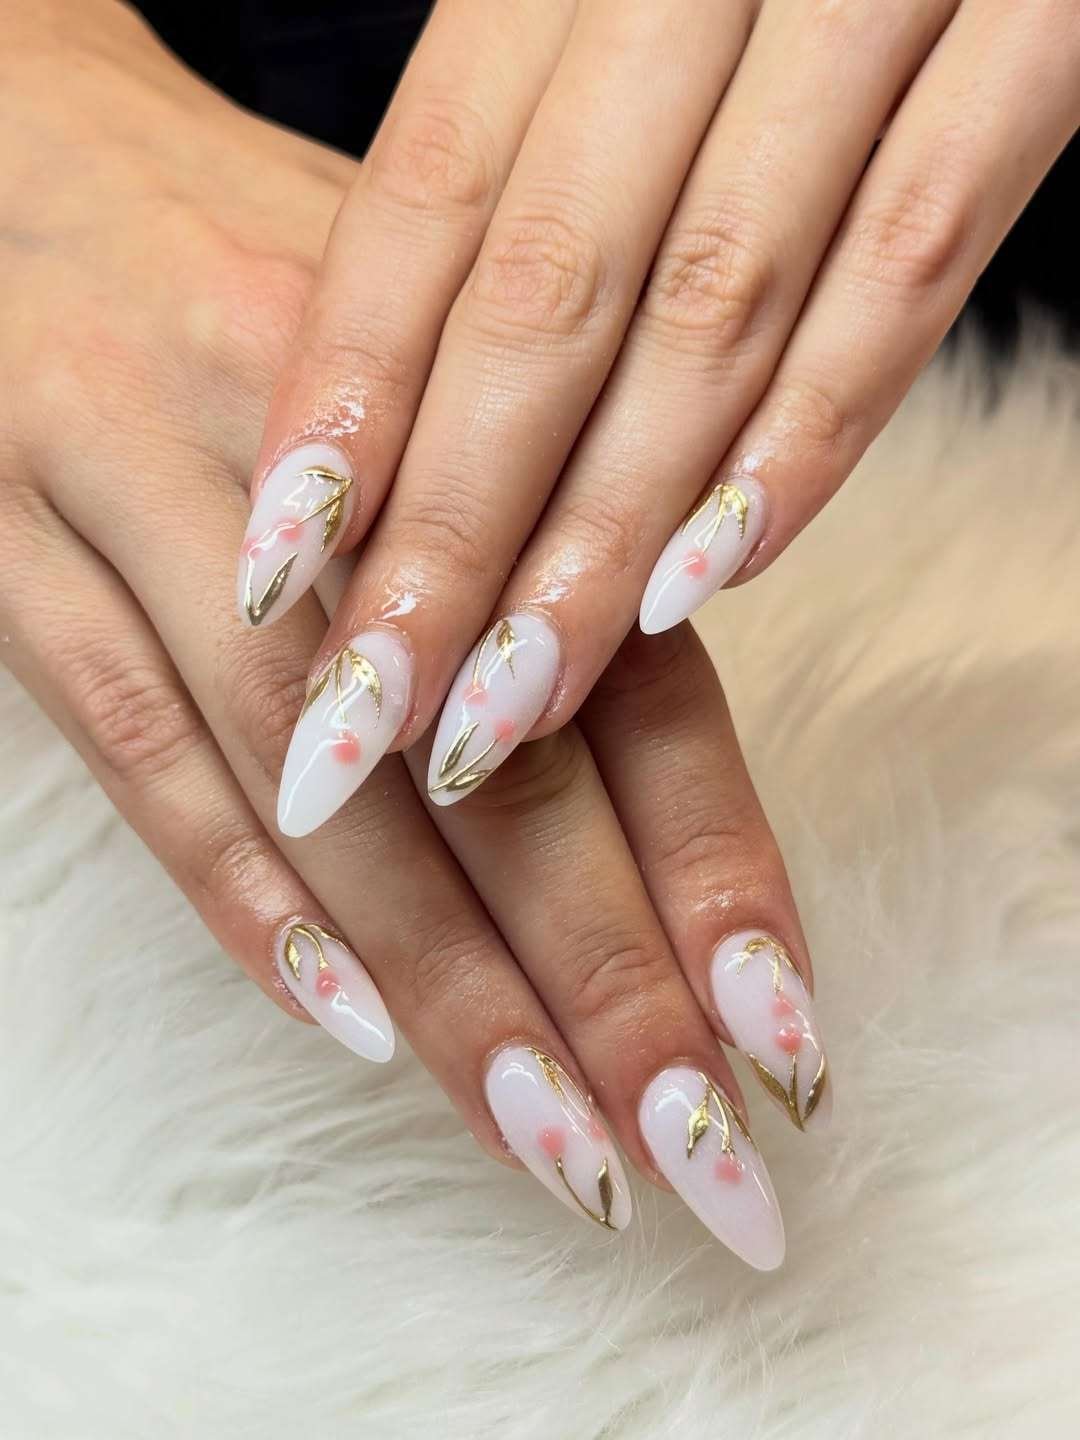
Image credit: @annanails_spa_yqr
Milky white reads almost like porcelain here. Thin gold vines curve across each nail, and small coral dots add a touch of warmth. The vines follow the shape of the nail, so they feel natural rather than stiff.
Use a liner brush with gold gel or striping tape to get the thin lines. Start at the cuticle and pull the line toward the tip in one smooth move. Then place two or three coral dots near the stem.
This look works on short or long almond nails, and the coral keeps the palette from feeling cold.
7. Pink Bloom
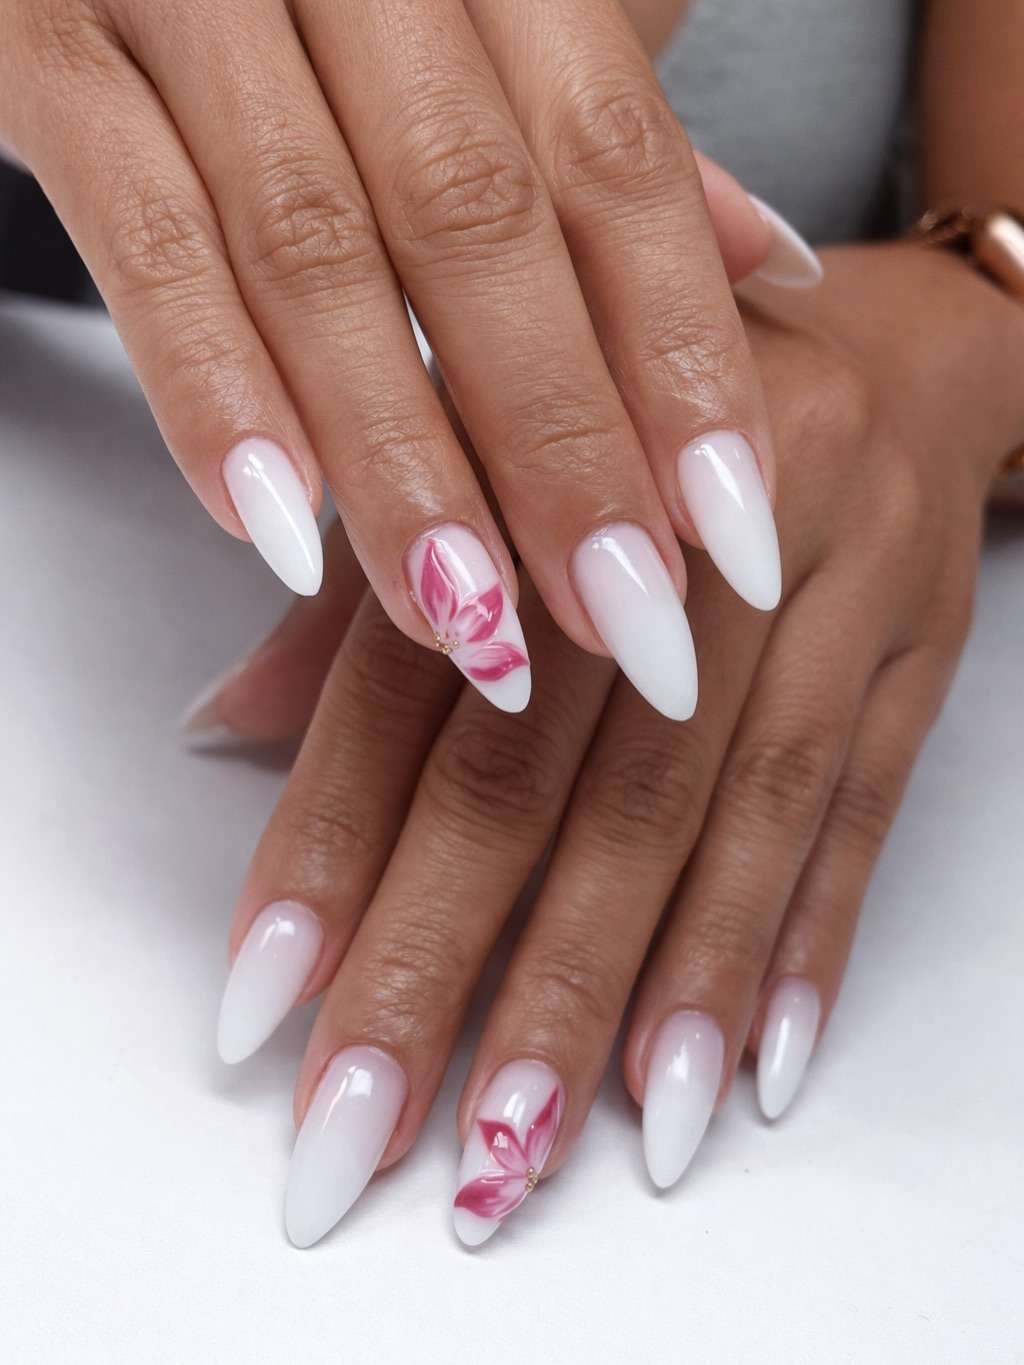
Image credit: @beauty_concept_lounge
A single flower can carry a whole set, and this one proves it.
The nails are smooth white with a faint blush, and the accent nails hold a bold pink bloom made with a few petal strokes. The rest stay plain, so your eye goes straight to the flower.
Paint the petals with a fine brush and two shades of pink, darker at the base and lighter at the edges. Let each layer cure before the next one, or the colors blend into mud. This look suits anyone who wants a little color without losing the clean milky feel.
8. Blush Flakes

Image credit: szépkörmök.hu
Almond shape, creamy white, and a soft peach fade near the base. The gold flakes sit only along the tip, so the look feels warm, not glittery. Think of it as a sunset that stayed on the nail.
To try this at home, apply a sheer peach gradient near the cuticle, then tap gold foil flakes onto the edge while the gel is wet. Seal with a glossy top coat.
Flakes stay where you place them, which makes them easier to control. This is a nice pick for fall weddings or cozy dinners.
9. Speckled Petals
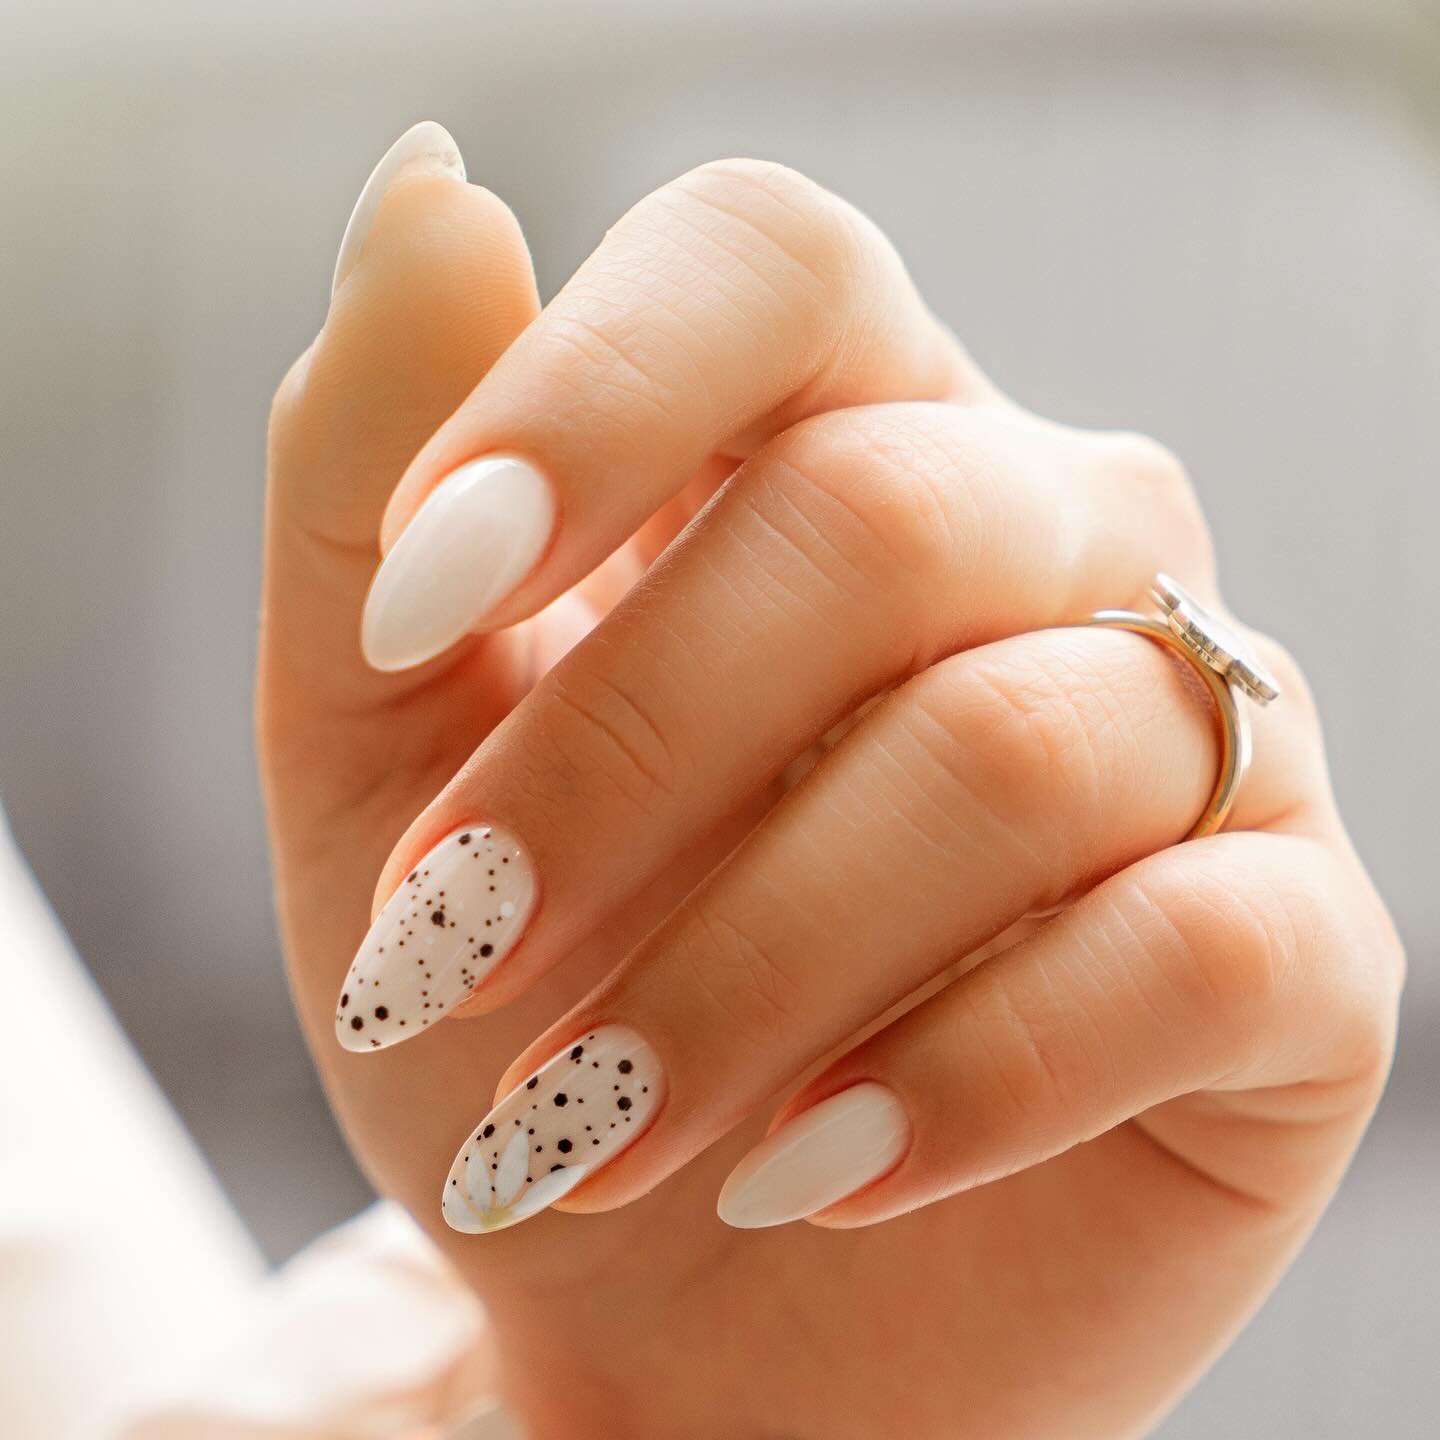
Image credit: @she__nails
Soft milky nails with brown speckles look like a small sky full of stars, or like fine stone. On one nail, a faint white flower sits near the side. The speckles are the easy part: flick a thin brush with dark gel, or dot with a toothpick.
Keep the dots random, with some clusters and some gaps.
The flower is a light line drawing, so you can skip it if you want something quicker. Pick one accent nail and leave the rest plain. This is a good choice if you like a natural, earthy look.
10. Pearl Stars
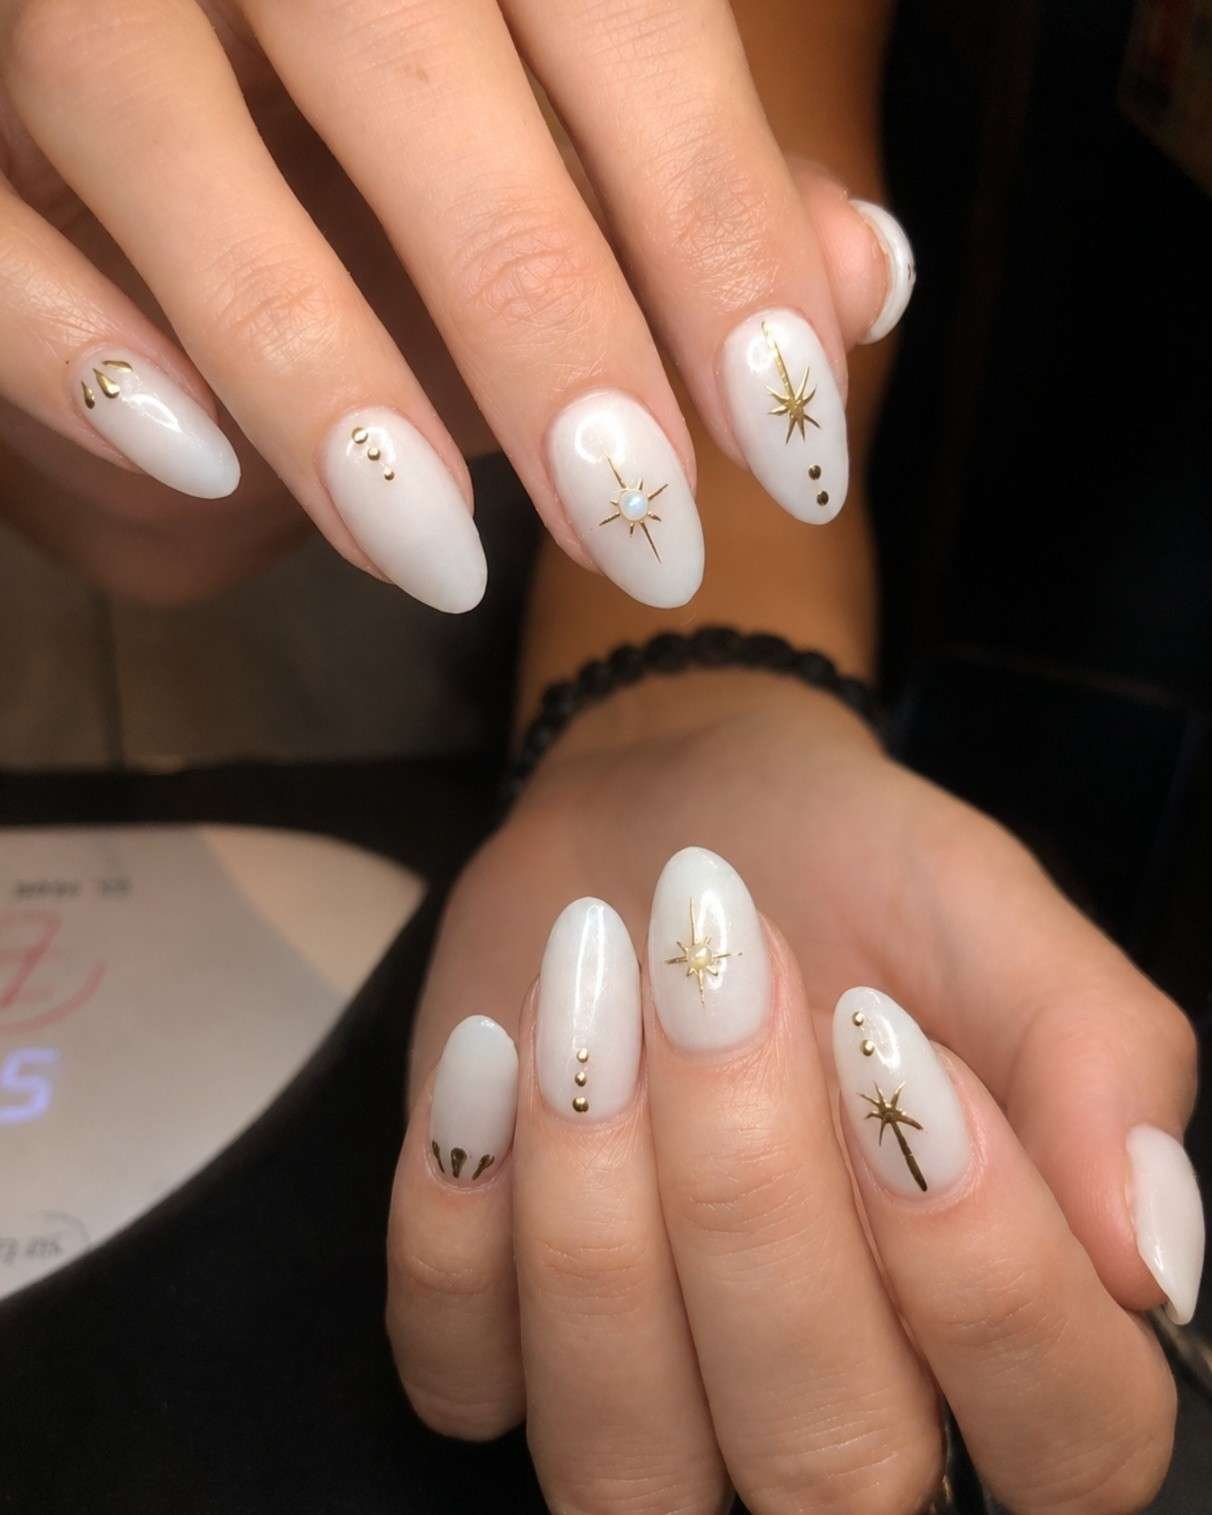
Pearl white nails with a glossy, almost mirror shine give this set a gentle glow. The gold star lines are thin and crisp, and a small pearl sits at the center of one. Gold dots add a little rhythm.
Here is a simple way to build the star: draw four short lines from one point, then add two more to make a sparkle. Don’t worry about perfect symmetry. Small differences look like hand-drawn charm.
Try this on short almond nails for a sweet, polished finish.
11. Wildflower Vines
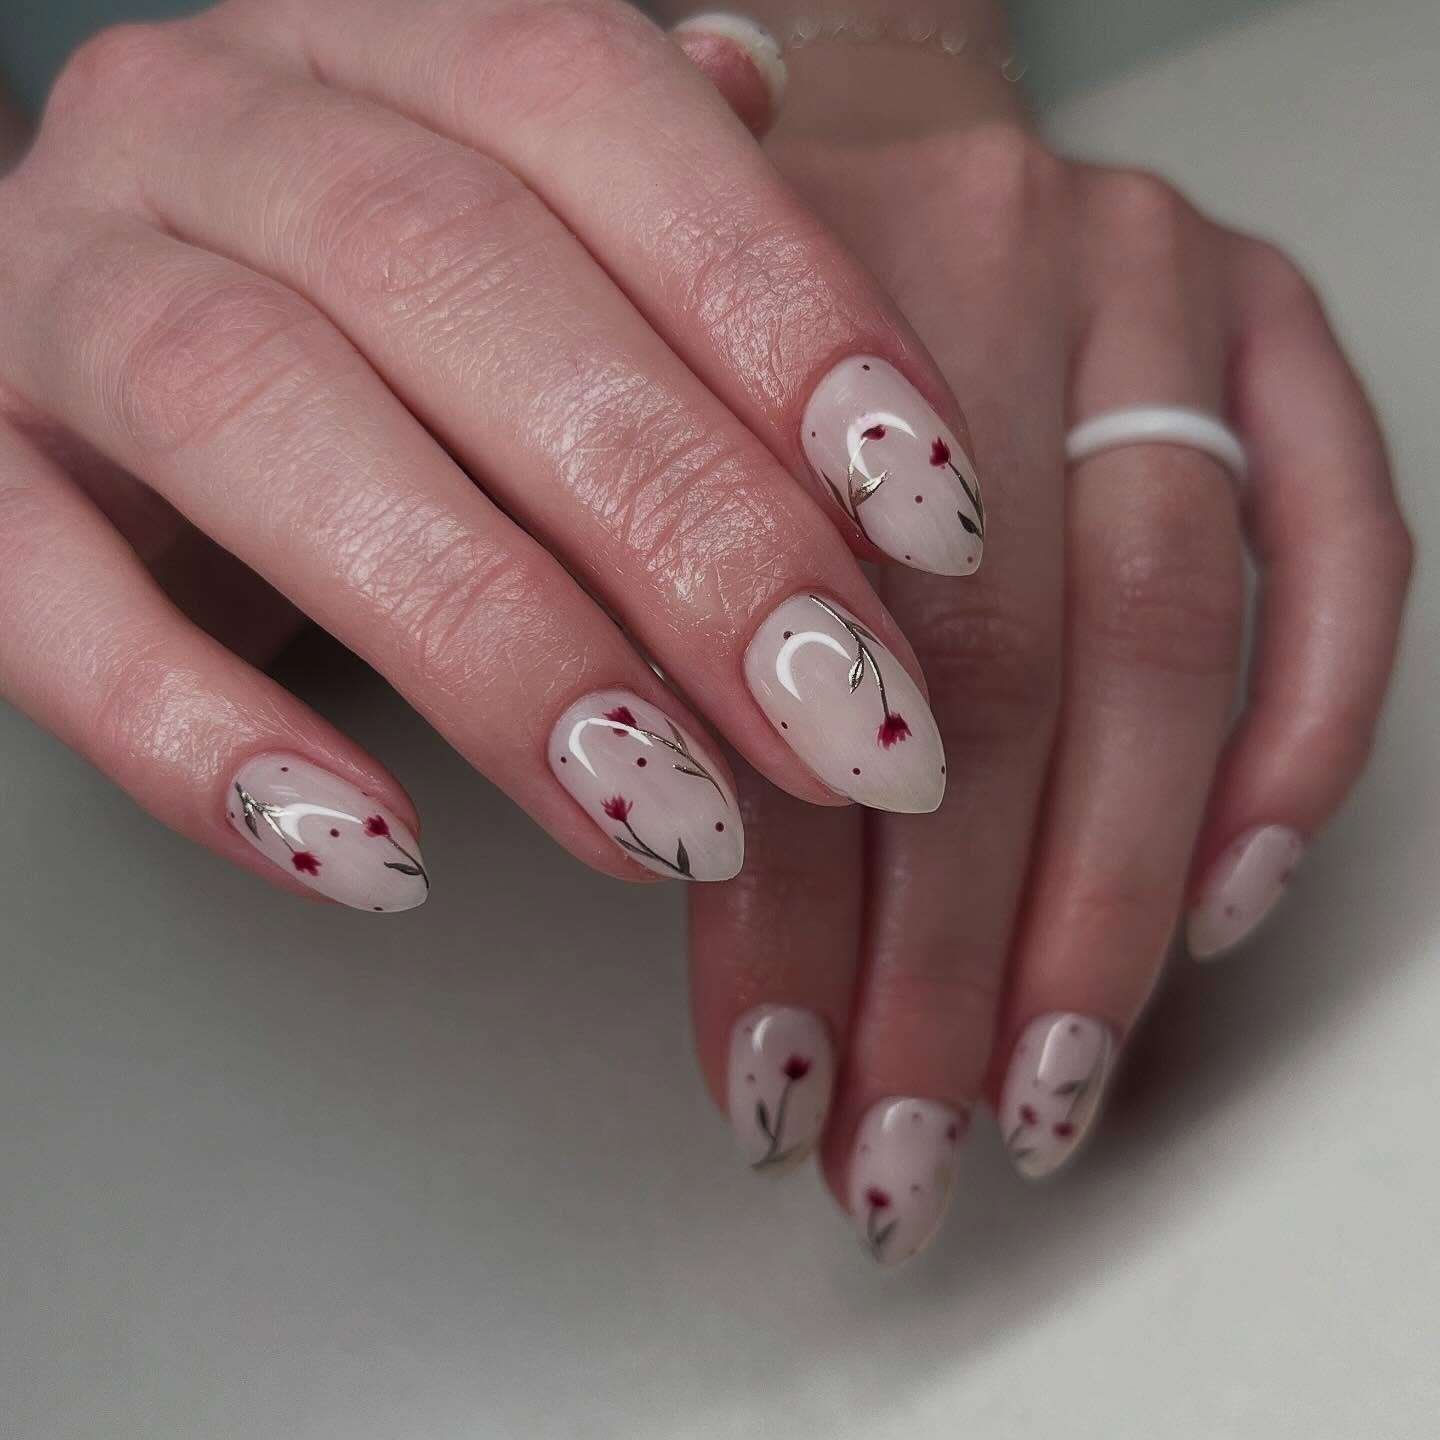
Image credit: @stylezby_janzi_nailz
A field of tiny flowers sits on this sheer nude base. Each nail has a thin silver vine, a small deep red bloom, and a few dots. The red is the star here, so keep the flowers small.
Use a fine liner brush for the stems. Start with the stem, add two small leaves, then place the flower on top with a dotting tool. Dark red dots complete the scatter.
Because the marks are light, you can wear this as an everyday design. It suits early autumn especially well.
12. Starfish Charm
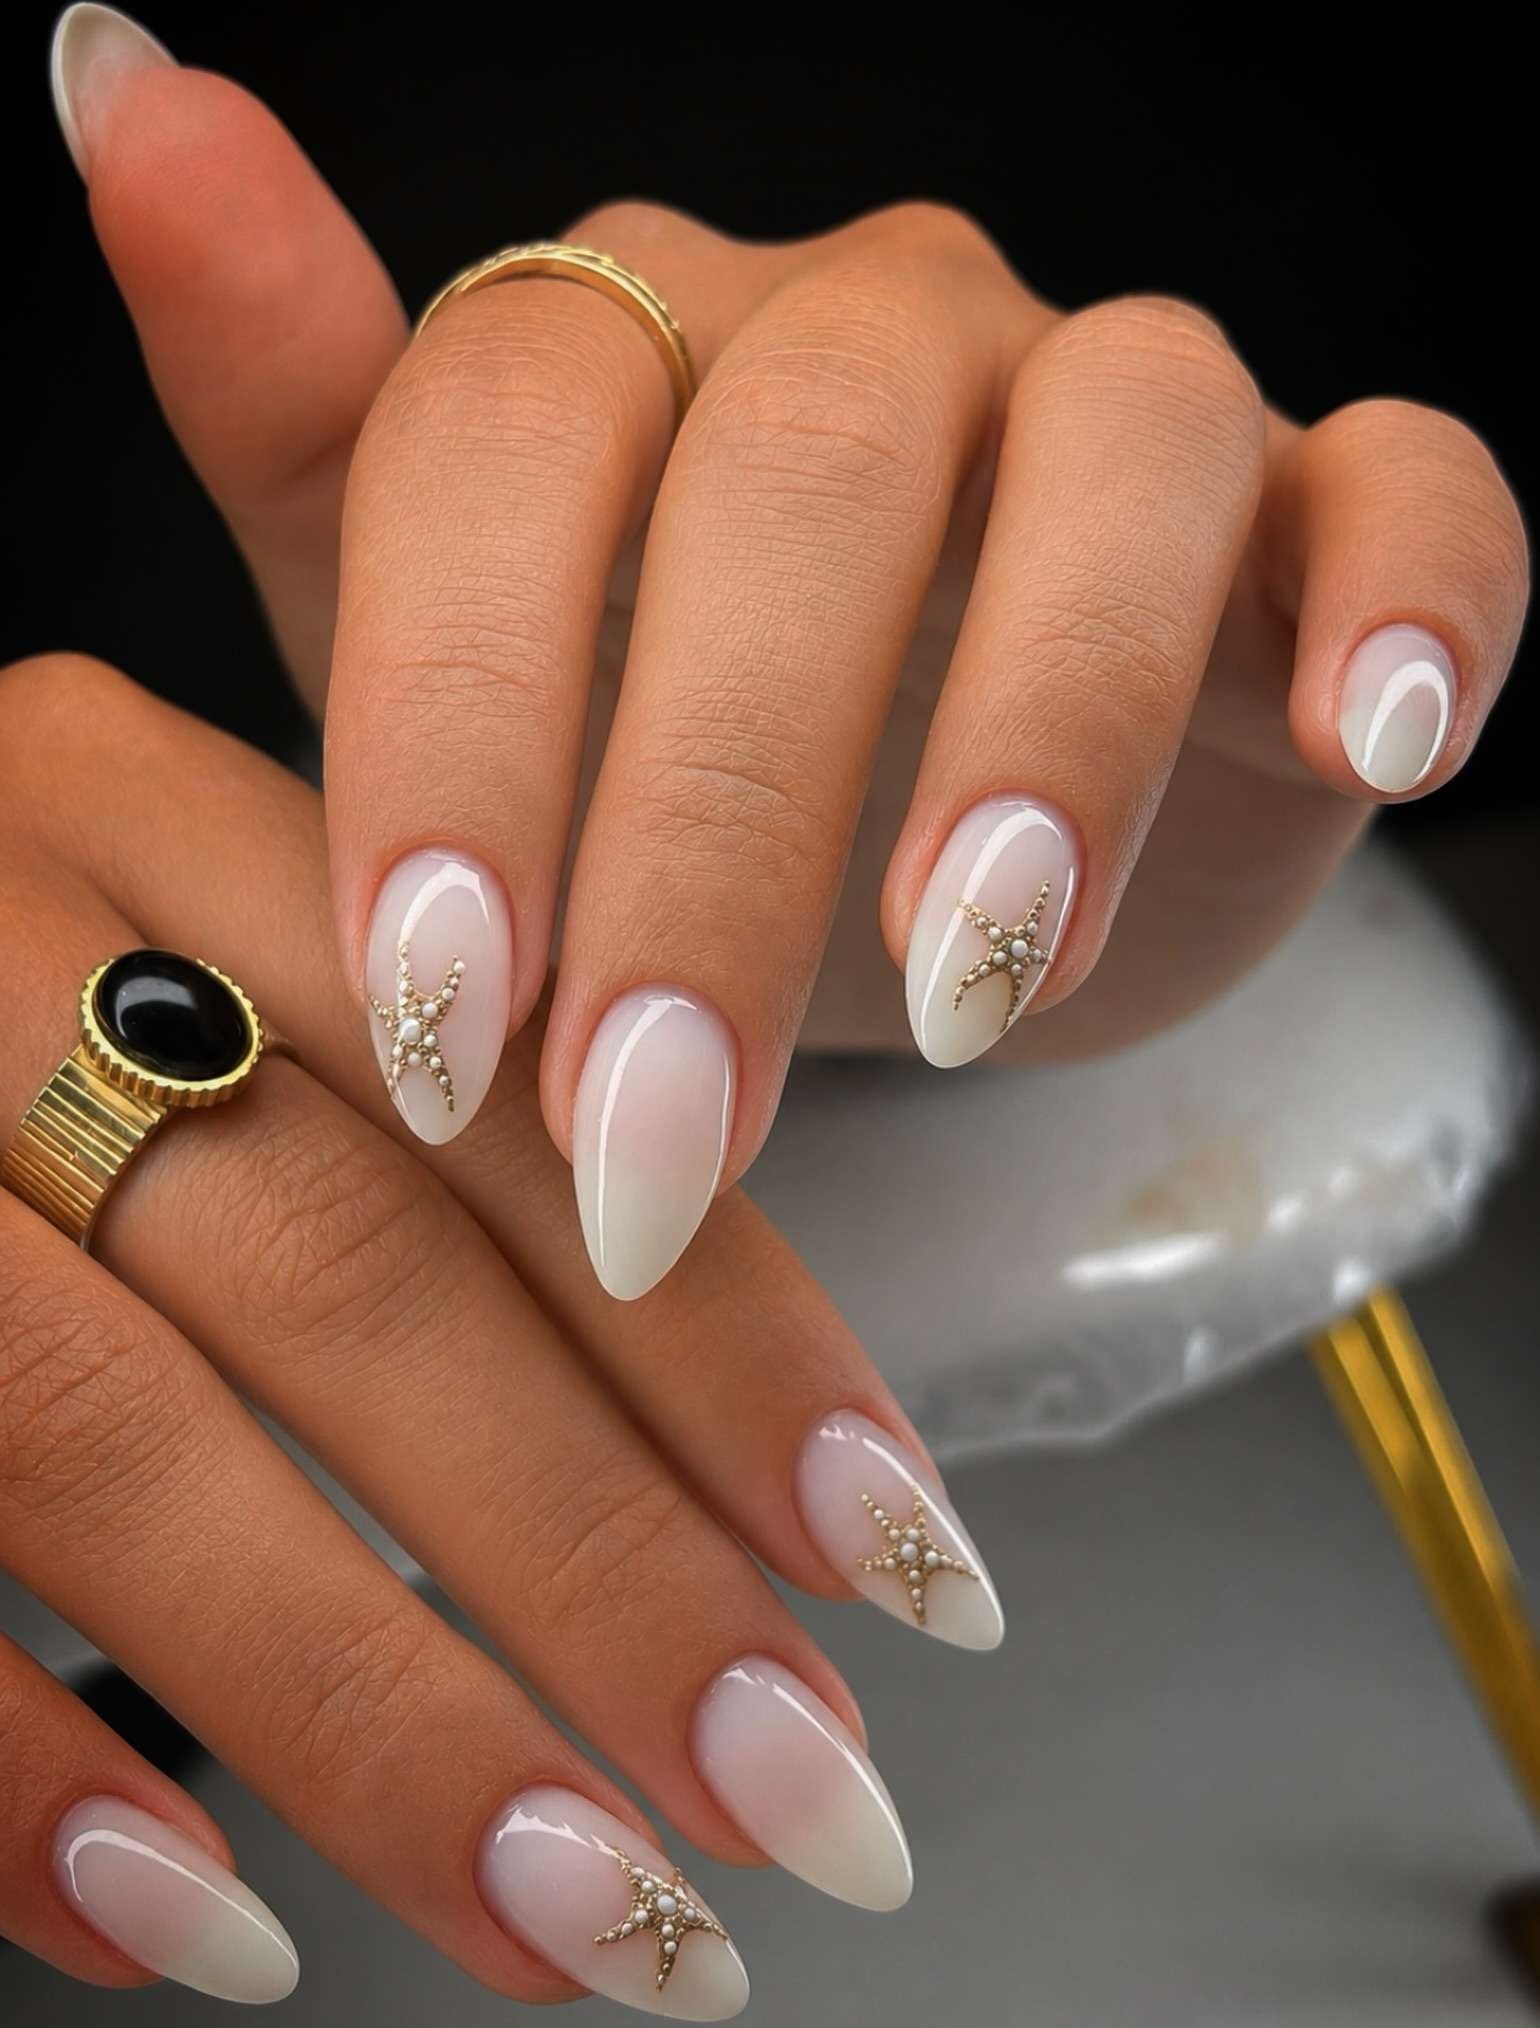
Image credit: @nailissima85
A soft ombre fades from pale pink at the base to milky white at the tip.
Two accent nails hold a gold starfish charm, edged with tiny pearls. The charms do most of the work, so the rest of the nails can stay simple. Stick them with a thin layer of builder gel, then cure.
Choose light, flat charms so the top coat sits smooth. If a charm feels thick, try a smaller size. This look feels coastal and calm, even in a city apartment.
13. Glitter French

Image credit: @n_adanails
The classic French tip gets a shimmer update. The tips are a crisp white, the base is a sheer pearl, and two accent nails carry iridescent glitter. One chrome-style nail shines like mother of pearl.
A French look is easy to book at the salon, but you can do it at home with a thin white tip guide. Apply the glitter over a tacky gel layer, then press off the excess.
Keep the tip line clean, since glitter hides small slips better than a sharp edge does. A solid option for a bridal or party set.
Conclusion
Milky white nails work because they make almost any detail look intentional. Whether you choose gold vines, a few dots, or a tiny starfish, the soft base does the heavy lifting. Start with one accent nail, then build up as your hand gets steadier. Save the looks you love, and pick one for your next manicure. If your nails feel plain, a single bloom or a thin gold line is all you need. Keep it simple and keep it clean. Pin your favorite now, so you can show it to your nail tech when you book.